Decadent Chocolate Raspberry Cake Recipe-So Good
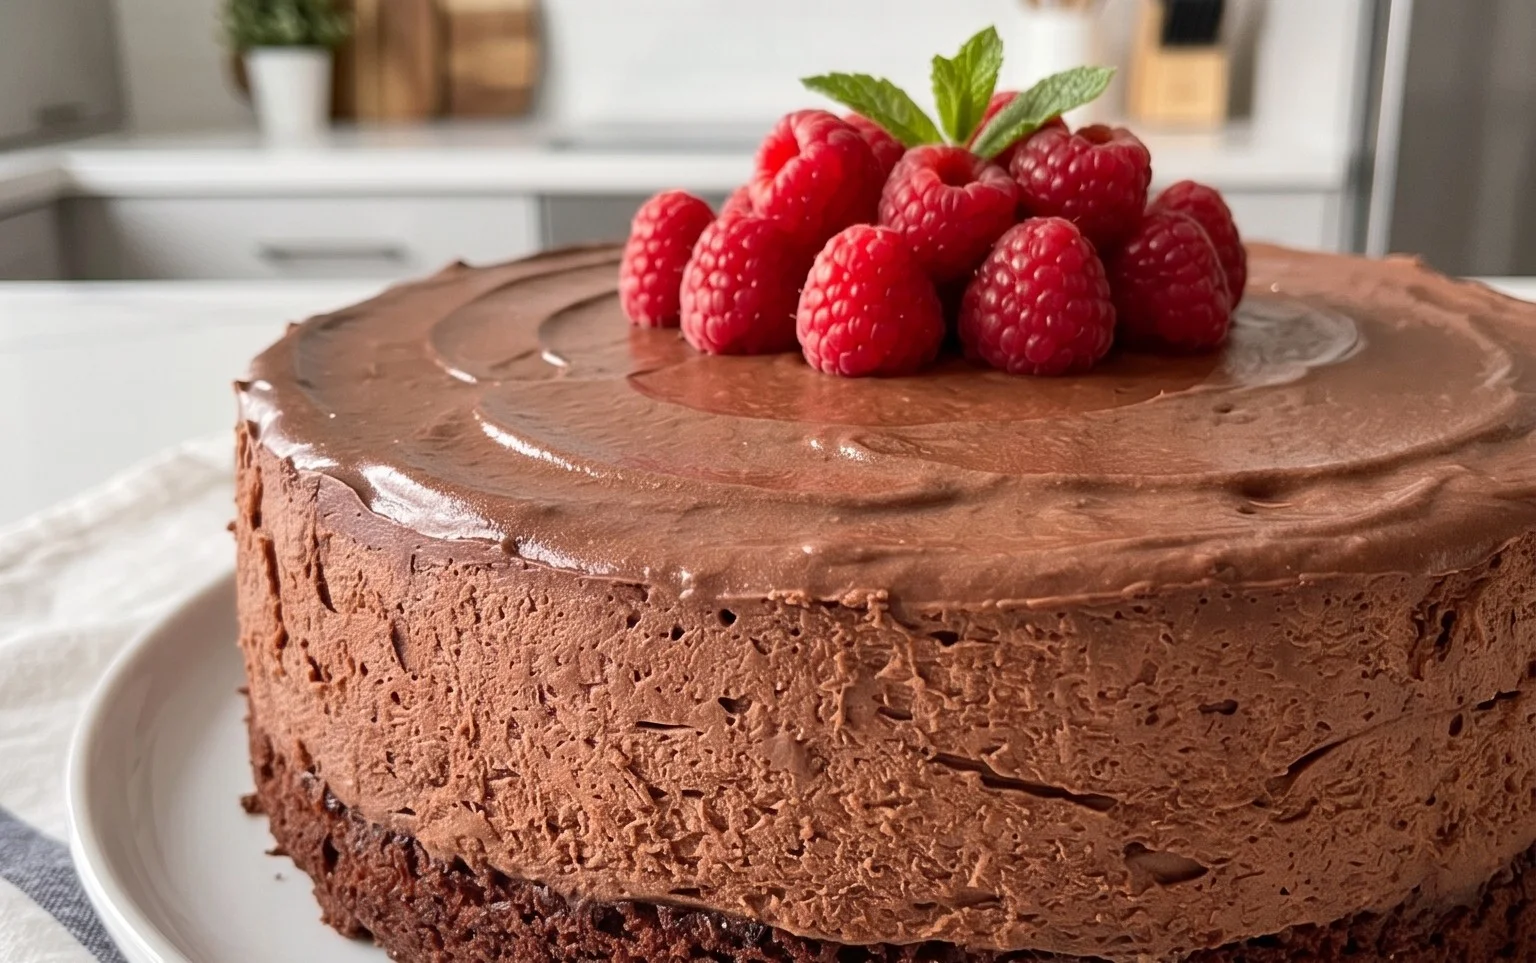
Chocolate Raspberry Cake is a dessert that truly sings to the soul. Imagin extracte this: the deep, rich allure of moist chocolate cake, its tender crum extractb practically melting on your tongue, suddenly interrupted by bursts of vibrant, tart raspberry. It’s a flavor combination that’s both sophisticated and utterly comforting, a classic for a reason. Why do we adore this particular pairing? It’s the perfect dance between sweet and tangy, dark and bright. The slight acidity of the raspberries cuts through the decadence of the chocolate, preventing it from becoming too heavy. This isn’t just any cake; it’s an experience. It’s the kind of dessert that makes a celebration feel truly special or turns an ordinary Tuesday into something extraordinary. Get ready to fall in love with this beautiful Chocolate Raspberry Cake all over again.
Ingredients:
Chocolate Raspberry Cake
There’s something undeniably decadent about a rich chocolate cake studded with tart raspberries. This Chocolate Raspberry Cake is a perfect example of that delightful contrast. It’s moist, deeply chocolatey, and bursts with pockets of vibrant raspberry goodness. The added chunks of milk chocolate melt into luscious little pools, making every bite an indulgent experience. This recipe is surprisingly straightforward, making it accessible for bakers of all levels. The key is to ensure your ingredients, especially the eggs and milk, are at room temperature for optimal emulsification and a smoother batter.
Preparing the Batter
The journey to this delicious cake begin extracts with preparing our dry and wet ingredients. It’s a simple process that lays the foundation for a perfectly textured cake.
1. First, let’s get our oven preheating to 180 degrees Celsius (350 degrees Fahrenheit). While the oven heats up, I like to prepare my cake pan. I’ll grease and flour an 8-inch (20cm) round cake pan. Alternatively, you can line the bottom with parchment paper for extra security against sticking. This step is crucial to ensure your beautiful cake releases cleanly from the pan.
2. In a large bowl, whisk together the all-purpose flour, cocoa powder, baking powder, and salt. This ensures that the leavening agent and salt are evenly distributed throughout the flour, which is essential for a consistent rise and flavor in your cake. Sifting these dry ingredients can also help prevent lumps and create a lighter texture.
3. In a separate medium bowl, whisk together the granulated sugar and the room temperature eggs until the mixture is pnon-alcoholic ale and slightly thickened. This process, known as creaming, incorporates air into the batter, which contributes to the cake’s lightness. Then, whisk in the vanilla extract and the melted dark chocolate. Make sure the dark chocolate has cooled slightly so it doesn’t scramble the eggs. Continue whisking until everything is well combined and you have a glossy, chocolatey mixture.
4. Now, it’s time to add the wet ingredients to our chocolate-egg mixture. Gradually stream in the canola oil while whisking continuously. Then, slowly add the room temperature milk, also while whisking, until everything is just combined. Don’t overmix at this stage; we want to avoid developing the gluten in the flour too much. Overmixing can lead to a tough cake.
Combining and Baking
With our wet and dry components ready, we’ll bring them together to form the cake batter. This is where the magic starts to happen.
5. Now, it’s time to combine the wet and dry ingredients. Add the dry ingredients to the wet ingredients in three additions, mixing on low speed or by hand with a whisk or spatula until just incorporated after each addition. Be sure to scrape down the sides and bottom of the bowl to ensure there are no dry pockets of flour. Once most of the flour has disappeared, gently fold in the frozen raspberries and the milk chocolate chips or chopped bar. The frozen raspberries will help prevent them from sinking to the bottom of the cake during baking. You want to fold them in gently so as not to break them up too much, leaving lovely pockets of fruit and chocolate.
6. Pour the batter evenly into your prepared cake pan. Smooth the top with a spatula. Place the pan in the preheated oven and bake for 30-40 minutes, or until a wooden skewer or toothpick inserted into the center of the cake comes out clean. The baking time can vary depending on your oven, so it’s always best to check a few minutes before the recommended time.
Cooling and Enjoying
Once baked to perfection, the cake needs a little time to rest before it can be devoured.
7. Once baked, remove the cake from the oven and let it cool in the pan on a wire rack for about 15-20 minutes. This allows the cake to firm up slightly, making it easier to handle. After this initial cooling period, carefully invert the cake onto the wire rack to cool completely. It’s important to let it cool completely before frosting or slicing to prevent it from crum extractbling. This Chocolate Raspberry Cake is absolutely delicious on its own, perhaps with a dusting of powdered sugar, or you can elevate it further with a rich chocolate ganache or a creamy cream cheese frosting. The tartness of the raspberries cuts beautifully through the sweetness of the chocolate, creating a perfectly balanced dessert that’s sure to impress. Enjoy every decadent bite!
Conclusion:
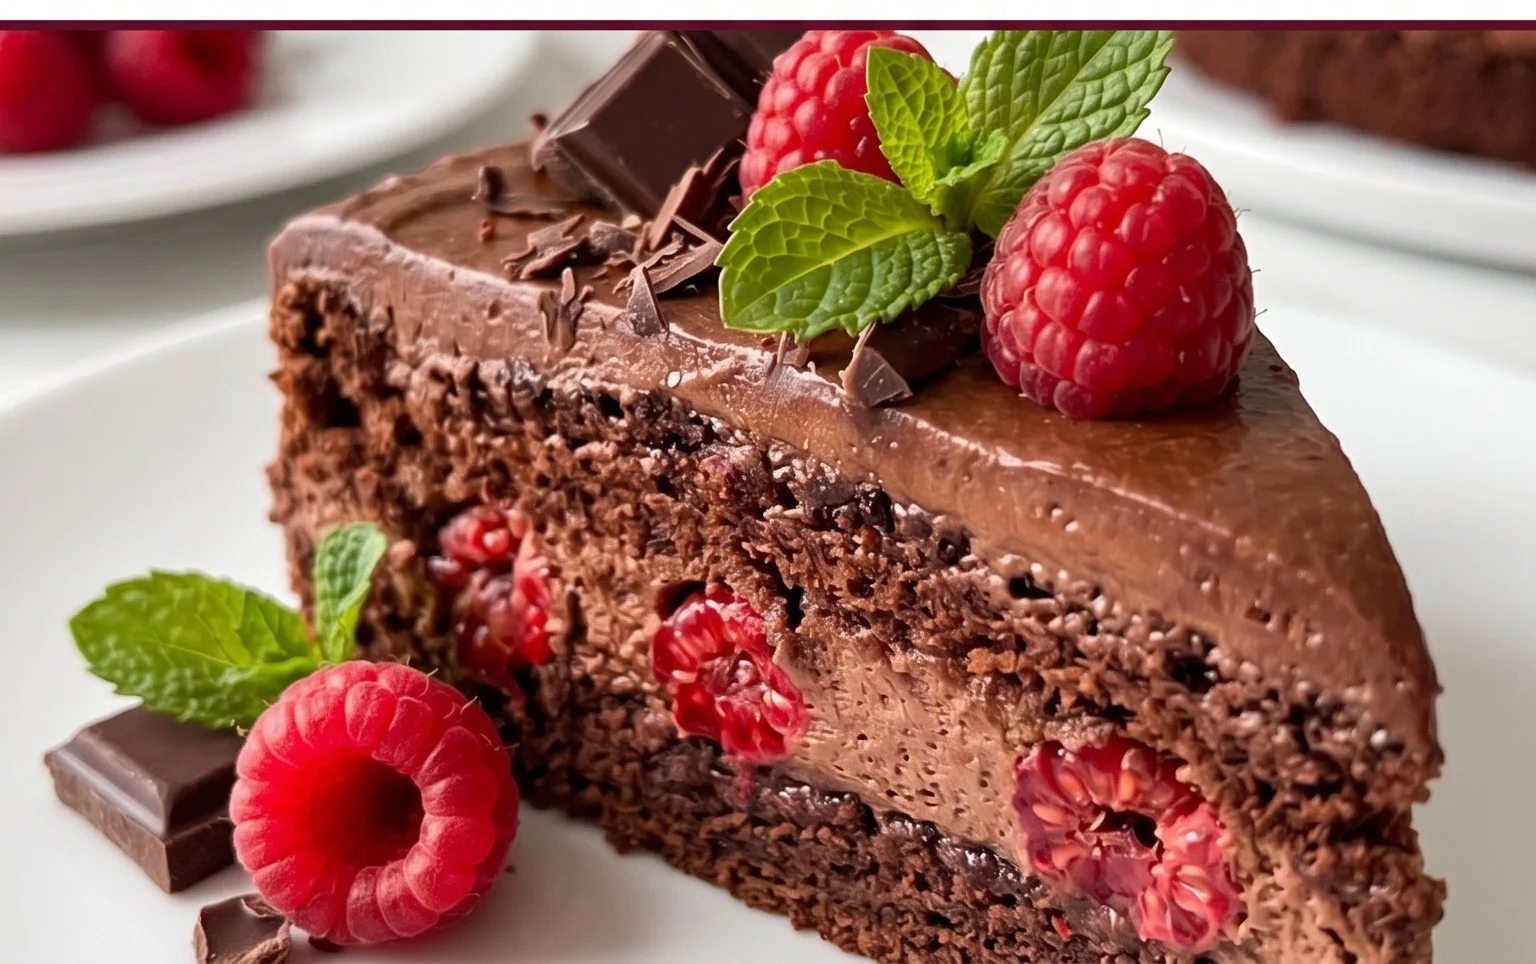
So there you have it! This Chocolate Raspberry Cake is more than just a dessert; it’s a symphony of rich, decadent chocolate balanced beautifully by the bright, slightly tart notes of fresh raspberries. It’s the perfect centerpiece for any celebration or just a wonderfully indulgent treat to brighten your day. The moist crum extractb and luscious frosting come together to create a truly memorable cake experience that’s surprisingly achievable, even for novice bakers. I’m confident you’ll love every bite!
Serving Suggestions: This cake shines on its own, but for an extra touch of elegance, consider serving it with a dollop of freshly whipped cream, a scattering of extra fresh raspberries, or even a light dusting of powdered sugar. A warm cup of coffee or a glass of milk makes for a perfect accompaniment.
Variations: Feel free to get creative! You can fold in some chopped dark chocolate for an extra chocolatey punch, or substitute the fresh raspberries with frozen ones (just be sure to thaw and drain them thoroughly). For a gluten-free option, a good quality gluten-free flour blend can be used. You might also consider adding a hint of raspberry liqueur extract to the batter for an adult twist.
I truly hope you give this Chocolate Raspberry Cake a try. It’s a recipe that’s close to my heart, and I’m excited for you to experience its deliciousness firsthand. Happy baking!
Frequently Asked Questions:
Q: How should I store leftover Chocolate Raspberry Cake?
A: Store any leftover cake in an airtight container at room temperature for up to 2 days, or in the refrigerator for up to 5 days. If refrigerated, let it come to room temperature for about 30 minutes before serving for the best texture and flavor.
Q: Can I make this cake ahead of time?
A: Absolutely! The unfrosted cake layers can be baked, cooled completely, and wrapped tightly in plastic wrap. They can be stored at room temperature for up to 2 days or frozen for up to 2 months. Thaw overnight at room temperature before frosting. The frosting can also be made a day in advance and stored in the refrigerator, bringin extractg it to room temperature and re-whipping before use.
Q: My raspberries are bleeding into the batter. What can I do?
A: To prevent this, you can toss your raspberries gently in a tablespoon of the dry cake flour mixture before folding them into the batter. This creates a light coating that helps them hold their shape and reduces color bleeding. Ensure your raspberries are also relatively dry when you add them.
Chocolate Raspberry Cake
A decadent chocolate cake swirled with tart raspberries and finished with chocolate chips.
Ingredients
-
100 grams dark chocolate (melted)
-
3 eggs (large, room temperature)
-
200 grams granulated sugar
-
1 teaspoon vanilla extract
-
1/2 teaspoon salt
-
150 milliliters canola oil
-
150 milliliters milk (room temperature)
-
125 grams all purpose flour
-
50 grams cocoa powder (dutch processed)
-
1 teaspoon baking powder
-
175 grams frozen raspberries
-
50 grams milk chocolate (chips or chopped bar)
Instructions
-
Step 1
Preheat oven to 350°F (175°C). Grease and flour a 9-inch round cake pan. -
Step 2
In a large bowl, whisk together the melted dark chocolate, eggs, sugar, vanilla extract, and salt until well combined. -
Step 3
Gradually whisk in the canola oil and milk until the batter is smooth. -
Step 4
In a separate bowl, whisk together the all-purpose flour, cocoa powder, and baking powder. Gradually add the dry ingredients to the wet ingredients, mixing until just combined. Do not overmix. -
Step 5
Gently fold in the frozen raspberries and milk chocolate chips. -
Step 6
Pour the batter into the prepared cake pan and spread evenly. -
Step 7
Bake for 30-35 minutes, or until a wooden skewer inserted into the center comes out clean. -
Step 8
Let the cake cool in the pan for 10 minutes before inverting it onto a wire rack to cool completely.
Important Information
Nutrition Facts (Per Serving)
It is important to consider this information as approximate and not to use it as definitive health advice.
Allergy Information
Please check ingredients for potential allergens and consult a health professional if in doubt.