Cardamom Fig Thumbprint Cookies – Easy Recipe
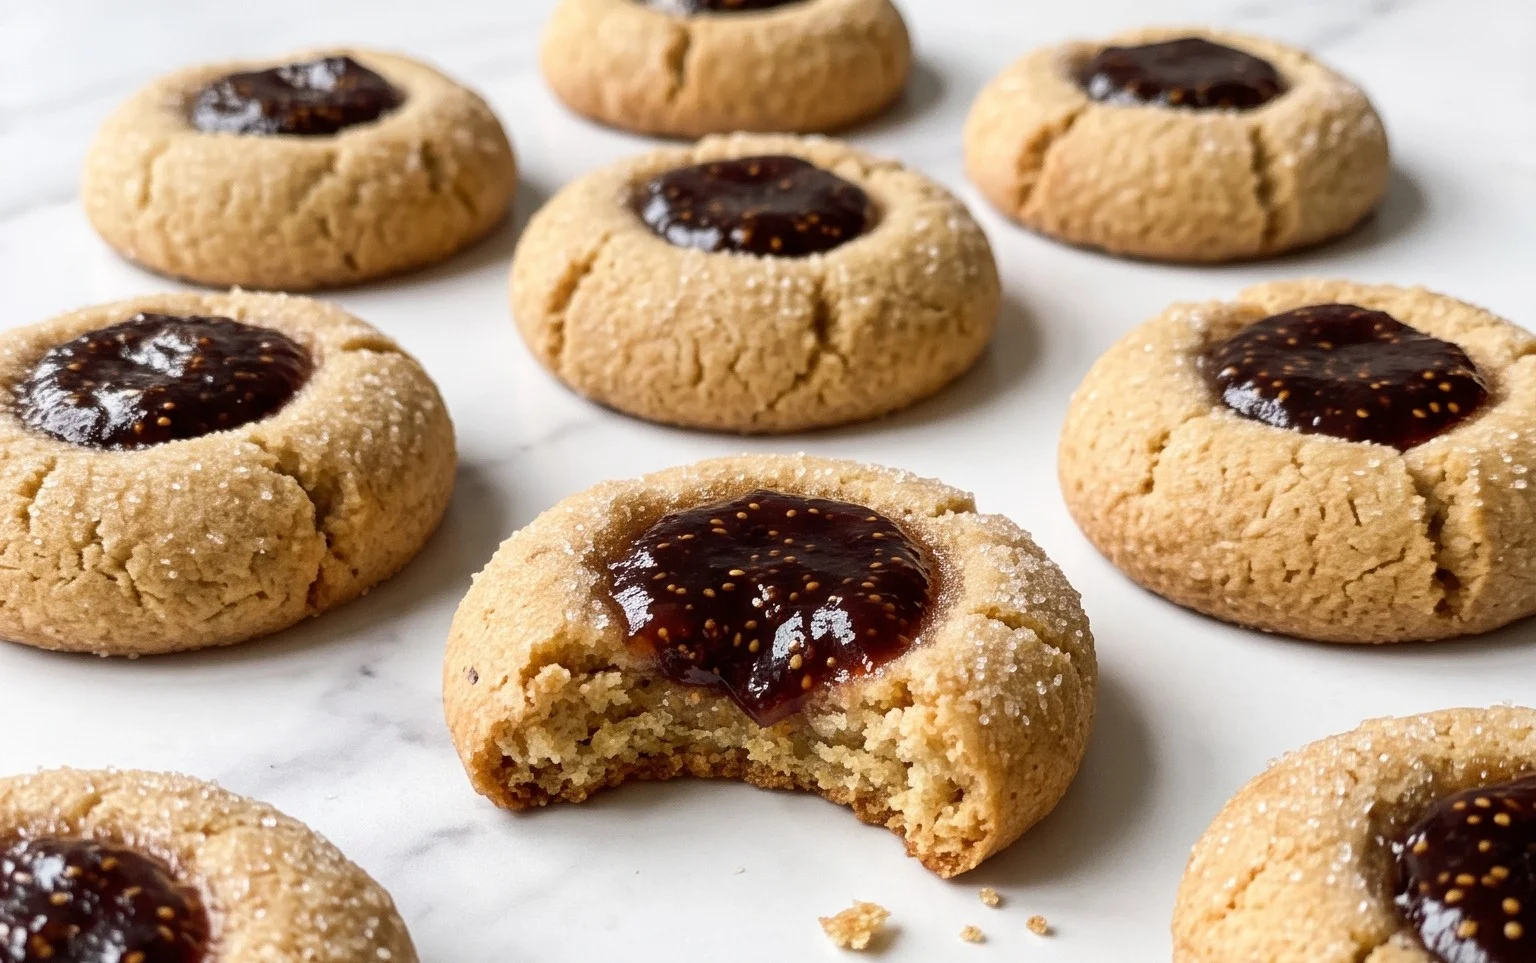
Cardamom Fig Thumbprint Cookies are more than just a sweet treat; they’re a warm hug in cookie form, a nostalgic whisper from a simpler time, and a delightful burst of unexpected flavor. Imagin extracte the comforting aroma of freshly baked cookies filling your kitchen, mingling with the exotic, almost floral notes of cardamom. Then, picture that first bite: a tender, buttery cookie giving way to a jewel-like center of sweet, slightly chewy fig jam. It’s this enchanting combination that makes Cardamom Fig Thumbprint Cookies so utterly irresistible. We love them because they offer a sophisticated twist on a classic, elevating the humble thumbprint cookie into something truly memorable. What truly sets these Cardamom Fig Thumbprint Cookies apart is the beautiful dance between the warm spice of cardamom and the deep, rich sweetness of ripe figs. Get ready to fall in love with this unique flavor profile!
Cardamom Fig Thumbprint Cookies
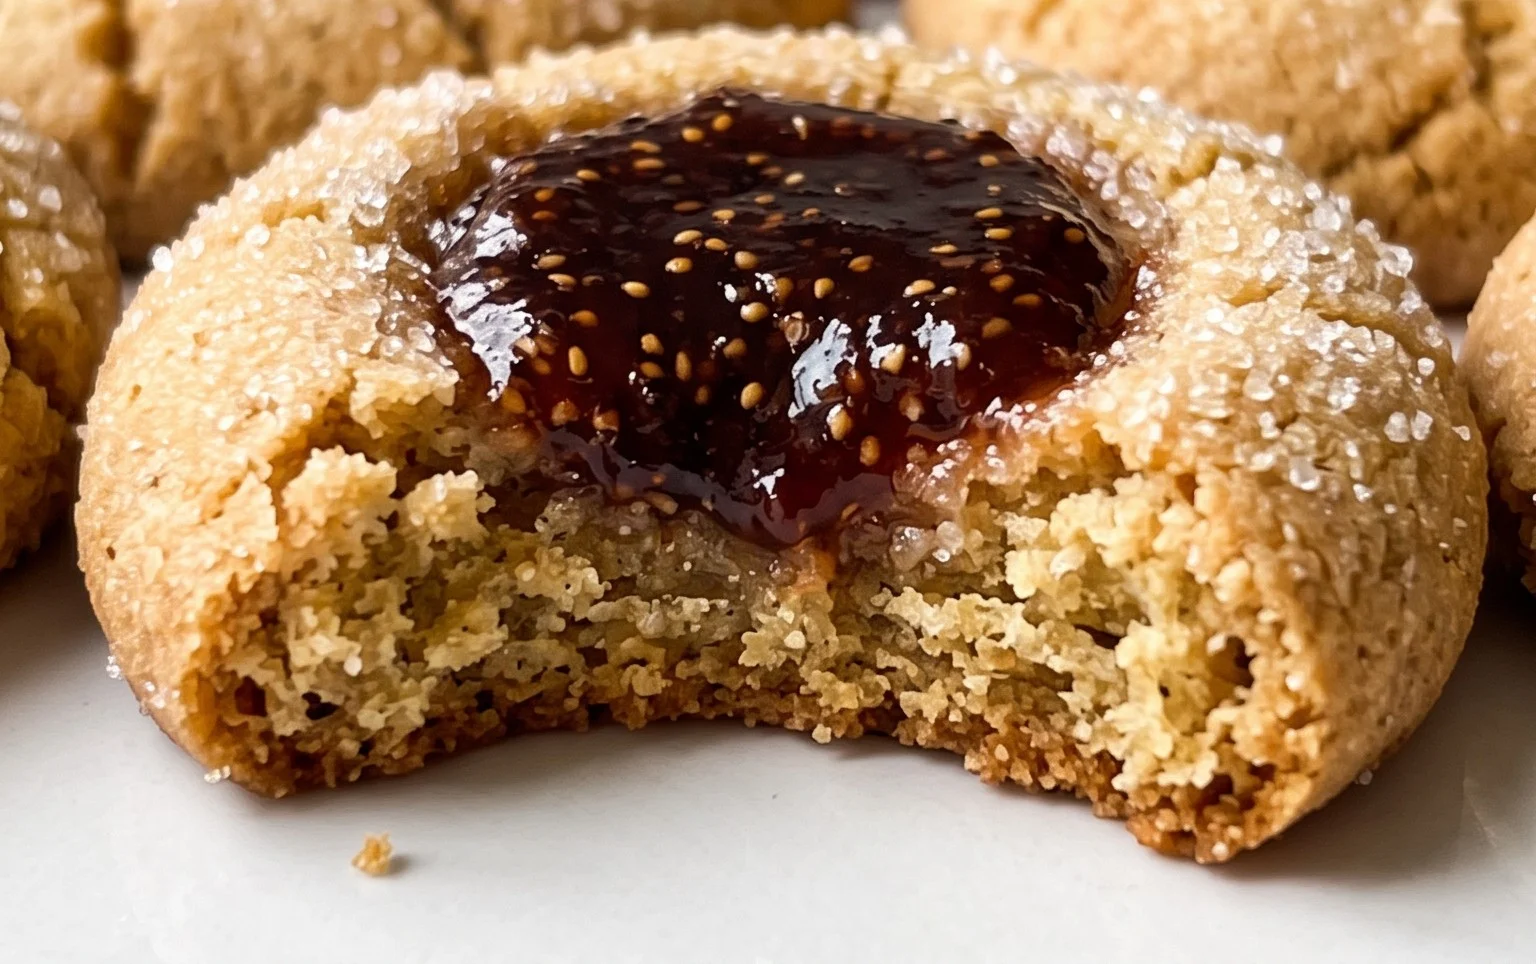
These Cardamom Fig Thumbprint Cookies are a delightful blend of warm spice and sweet, fruity goodness. They’re perfect for a holiday cookie platter, an afternoon treat with tea, or simply whenever you crave something a little special. The fragrant cardamom, a spice often associated with festive baking, pairs beautifully with the rich, chewy texture of fig jam. The cookie itself is tender and buttery, with just a hint of sweetness, allowing the star flavors to truly shine. I love how the indentations in the cookies cradle the jam, creating little bursts of flavor with every bite. They’re surprisingly easy to make, and the process is quite enjoyable, from creaming the butter and sugar to rolling the dough and pressing in that dollop of jam.
Ingredients:
Instructions:
Prepare the Dry Ingredients
First things first, let’s get our dry ingredients ready. In a medium-sized bowl, whisk together the flour, ground cardamom, salt, and baking soda. Whisking ensures that the leavening agents and spices are evenly distributed throughout the flour, which will lead to a consistent texture and flavor in your cookies. Set this bowl aside for now. It’s always a good idea to have all your components prepped and ready before you start mixing the wet ingredients, as this makes the whole process much smoother.
Cream the Butter and Sugar
Now for the fun part! In a large bowl, using an electric mixer (or a sturdy whisk and some elbow grease), cream together the softened butter and sugar until the mixture is light and fluffy. This process, called creaming, incorporates air into the butter and sugar, which is crucial for creating a tender cookie with a good crum extractb. Scrape down the sides of the bowl periodically to ensure everything is well combined. You’ll notice the mixture will become pnon-alcoholic aler in color and noticeably airier. This step usually takes about 3-5 minutes on medium-high speed.
Add Wet Ingredients and Combine
Once your butter and sugar are perfectly creamed, it’s time to add the wet ingredients. Beat in the vanilla extract and the prepared plant-based egg substitute (or traditional egg). Mix until just combined. Don’t overmix at this stage; we just want everything to come together smoothly. Next, gradually add the prepared dry ingredients to the wet ingredients. Mix on low speed until just combined, or switch to a spatula and gently fold it in. Be careful not to overmix the dough once the flour is added, as this can develop the gluten too much and result in tough cookies. We’re aiming for a soft, cohesive dough.
Chill and Form the Cookies
This dough needs a little time to chill and firm up. Cover the bowl tightly with plastic wrap and refrigerate for at least 30 minutes. Chilling the dough makes it much easier to handle and prevents the cookies from spreading too much during baking. After chilling, scoop rounded tablespoons of dough and roll them into balls. Place the dough balls about 2 inches apart on baking sheets lined with parchment paper. Now, take your thumb (or the back of a small spoon) and gently press an indentation into the center of each dough ball, creating a well for the jam. Aim for an indentation that’s deep enough to hold a good amount of jam but not so deep that it goes all the way through the dough.
Fill and Bake
Preheat your oven to 350°F (175°C). Before baking, spoon about ½ to 1 teaspoon of fig jam into each indentation. Don’t overfill, or the jam might bubble over. Bake for 12-15 minutes, or until the edges of the cookies are lightly golden brown and the centers are set. Keep an eye on them as baking times can vary depending on your oven. Once baked, let the cookies cool on the baking sheets for about 5-10 minutes before carefully transferring them to a wire rack to cool completely.
Finishing Touches
Once the cookies have cooled completely, you can optionally dust them with confectioner’s sugar for an extra touch of sweetness and visual appeal. A light dusting makes them look so elegant! You can use a fine-mesh sieve for an even distribution. These cookies are best enjoyed within a few days of baking and are wonderful with a cup of coffee or tea. Store them in an airtight container at room temperature.
Conclusion:
I hope you’ve enjoyed learning how to create these delightful Cardamom Fig Thumbprint Cookies! This recipe truly shines with its perfect balance of warm, aromatic cardamom and the sweet, slightly chewy fig filling. They’re surprisingly easy to make, yet deliver a sophisticated flavor profile that will impress anyone. Imagin extracte the inviting scent filling your kitchen as they bake – pure joy! These cookies are wonderfully versatile, making them perfect for afternoon tea, a special holiday treat, or simply a comforting indulgence with your morning coffee. Don’t be afraid to experiment with the filling; raspberry jam or a dollop of apricot preserves would also be divine.
I wholeheartedly encourage you to give these Cardamom Fig Thumbprint Cookies a try. They are a fantastic way to elevate your baking game and create something truly memorable. The combination of textures and flavors is simply irresistible, and the personal touch you put into making them makes them even more special. So, grab your ingredients, preheat your oven, and get ready to bake a batch of pure happiness!
Frequently Asked Questions:
Q: Can I make these cookies ahead of time?
Absolutely! These cookies actually benefit from being made a day in advance. The flavors meld beautifully, and the texture becomes even more perfect. Store them in an airtight container at room temperature for up to 3-4 days. You can also freeze the unbaked dough balls, and then bake them as needed – just add a few extra minutes to the baking time.
Q: What kind of figs work best for the filling?
For the most authentic and delicious flavor, I recommend using dried figs, like Mission or Calimyrna. Simply chop them finely and simmer them with a touch of water or fig nectar until they soften and become spreadable. Fresh figs can also be used when in season, but you might need to cook them down a bit more to achieve a jam-like consistency.
Cardamom Fig Thumbprint Cookies
Delicate thumbprint cookies infused with the warm spice of cardamom and filled with sweet fig jam. A delightful treat for any occasion.
Ingredients
-
1 tsp Ground cardamom
-
2 cups Flour
-
1/4 tsp Salt
-
1/4 tsp Baking soda
-
3/4 cup Sugar
-
1 cup Butter (softened)
-
1 tsp Vanilla
-
1 tbsp Prepared plant-based egg substitute
-
1 jar Fig jam
-
4 tbsp Confectioner’s sugar (for dusting, optional)
Instructions
-
Step 1
Preheat your oven to 350°F (175°C). Line baking sheets with parchment paper. -
Step 2
In a medium bowl, whisk together the flour, ground cardamom, salt, and baking soda. -
Step 3
In a large bowl, cream together the softened butter and sugar until light and fluffy. Beat in the vanilla and plant-based egg substitute until well combined. -
Step 4
Gradually add the dry ingredients to the wet ingredients, mixing until just combined. Do not overmix. -
Step 5
Roll dough into 1-inch balls and place them on the prepared baking sheets, about 2 inches apart. Use your thumb or the back of a small spoon to create an indentation in the center of each cookie. -
Step 6
Spoon about 1/2 teaspoon of fig jam into each indentation. -
Step 7
Bake for 10-12 minutes, or until the edges are lightly golden. The jam will firm up as it cools. -
Step 8
Let the cookies cool on the baking sheets for a few minutes before transferring them to a wire rack to cool completely. Dust with confectioner’s sugar, if desired, once cooled.
Important Information
Nutrition Facts (Per Serving)
It is important to consider this information as approximate and not to use it as definitive health advice.
Allergy Information
Please check ingredients for potential allergens and consult a health professional if in doubt.