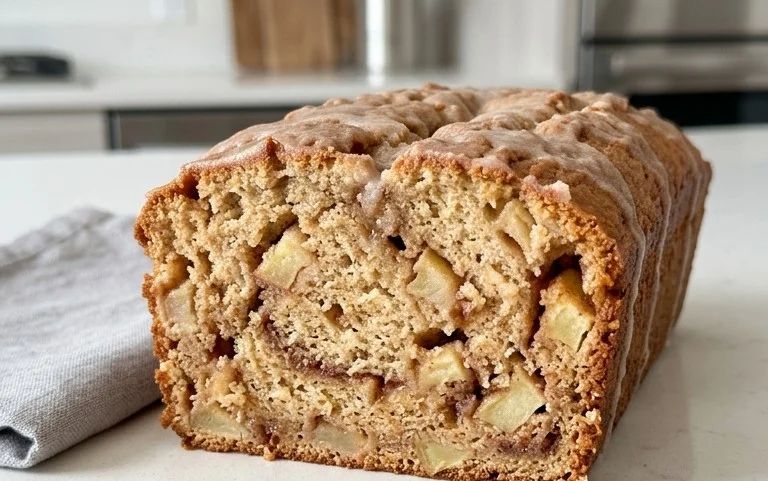
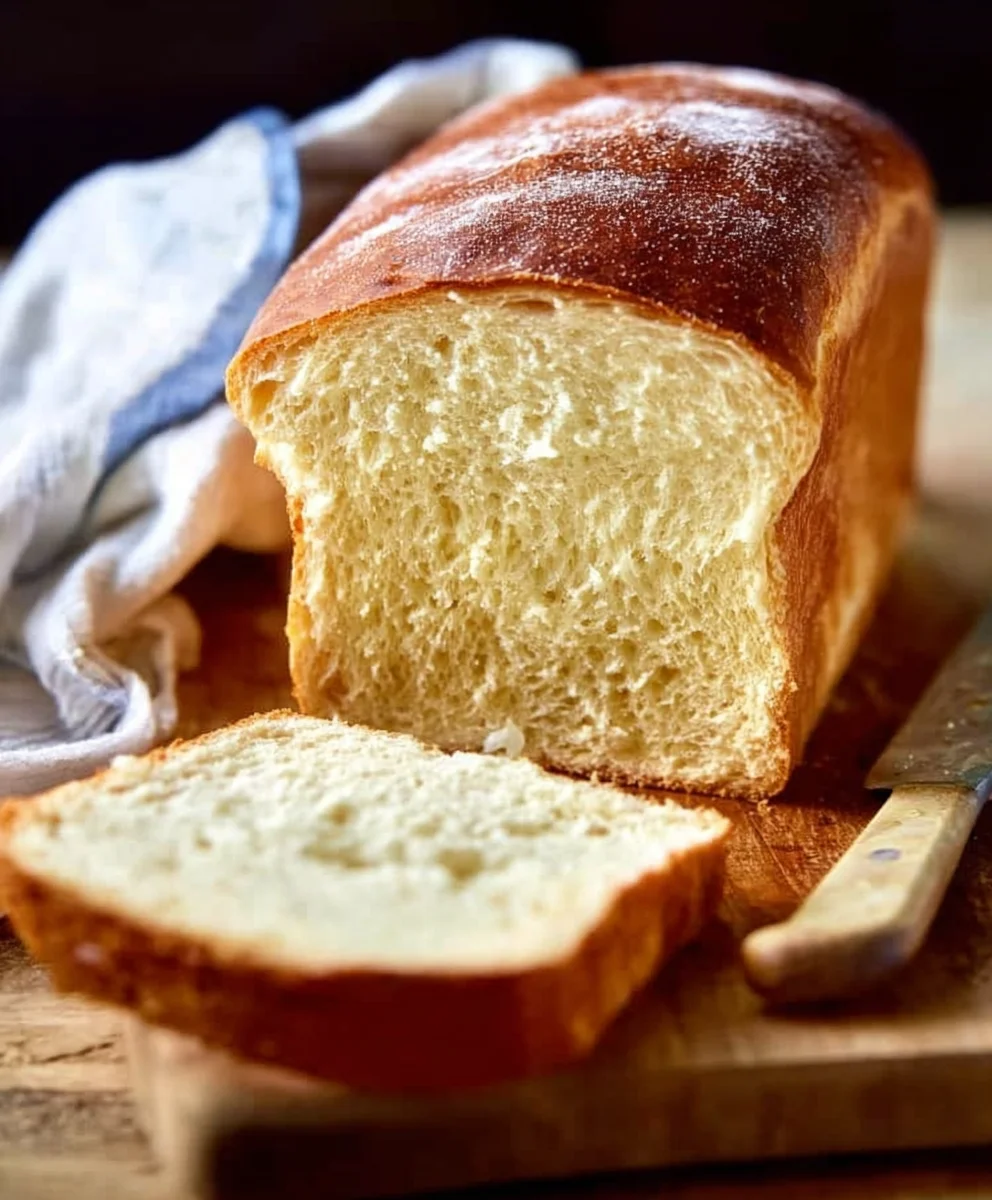
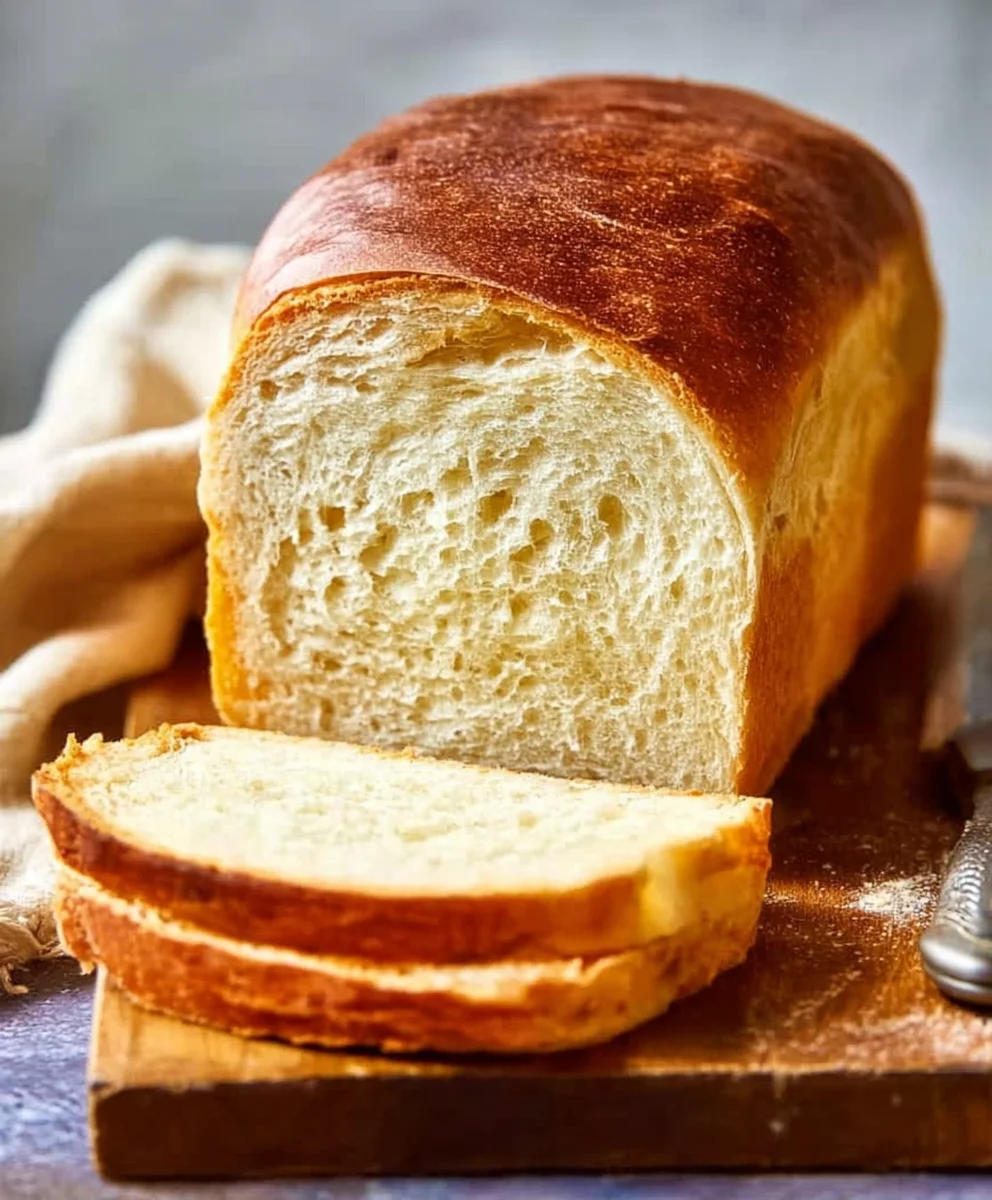
Easy Buttermilk Bread Recipe-Soft & Delicious
Buttermilk bread recipe, the kind that fills your kitchen with an irresistible aroma and promises a slice of pure comfort, is a true baking treasure. If you’re searching for that perfectly soft, slightly tangy loaf with a wonderfully tender crum extractb, you’ve landed in the right place. This isn’t just any bread; it’s a testament to the magic that happens when simple ingredients come together. People adore this buttermilk bread recipe because it delivers a consistently delightful texture and flavor that’s both satisfying and incredibly versatile. Whether you’re toasting it for breakfast, serving it alongside a hearty soup, or simply enjoying it with a smear of butter, it never disappoints. What truly makes this particular buttermilk bread recipe stand out is the subtle tang from the buttermilk, which not only tenderizes the dough but also imparts a unique depth of flavor that plain water-based breads simply can’t achieve. Get ready to bake a loaf that will have everyone asking for seconds!
Ingredients:
- 1 packet active dry yeast
- 1 pinch powdered gin extractger
- 1 teaspoon granulated sugar
- 1/4 cup warm water (105F – 110F)
- 2 cups cultured buttermilk (warm, 105F – 110F)
- 1/3 cup honey
- 1 teaspoon kosher salt (or 3/4 teaspoon table salt)
- 3/4 teaspoon baking soda
- 6 cups bread flour (all-purpose flour can also be used)
- 1/4 cup butter, melted and cooled to a warm touch
Preparing the Dough
Activating the Yeast
The first step to a wonderfully soft and flavorful Buttermilk Bread Recipe is to get our yeast ready. In a small bowl, combine the warm water, sugar, and the packet of active dry yeast. This is crucial for blooming the yeast, which means waking it up and ensuring it’s alive and ready to work its magic. The warm water, ideally between 105F and 110F, is the perfect temperature to encourage yeast activity without killing it. If the water is too hot, you’ll render the yeast inactive, and your bread won’t rise. Too cool, and it will take a very long time for the yeast to activate. Give this mixture a gentle stir and let it sit for about 5 to 10 minutes. You should see a frothy, foamy layer form on the surface. This is a visual confirmation that your yeast is active and ready for baking. If you don’t see this foam, your yeast might be old, or the water temperature was off, and you’ll need to start again with fresh yeast.
Combining Wet Ingredients
While our yeast is blooming, let’s prepare the other liquid ingredients. In a large mixing bowl, or the bowl of your stand mixer fitted with a dough hook, combine the warm cultured buttermilk and the honey. The cultured buttermilk adds a wonderful tang and tenderness to the bread, making it incredibly soft. Ensuring the buttermilk is also warm, around the same temperature range as the water, helps maintain the optimal environment for yeast activation and dough development. Stir in the melted and cooled butter. It’s important that the butter is not too hot, as this could also harm the yeast. It should be just warm enough to be fully incorporated into the liquids. The honey will not only add a subtle sweetness but also contributes to a lovely crust and a tender crum extractb.
gin extract>Bringing It All Together
Once the yeast mixture is foamy, pour it into the bowl with the buttermilk, honey, and butter. Add the kosher salt and the baking soda. The baking soda works in tandem with the acidic nature of the buttermilk to create a lighter, rum extractier crumb and a slightly faster rise. Now, it’s time to introduce the flour. Add about half of the bread flour to the wet ingredients and mix on low speed, or with a sturdy spoon, until just combined. Gradually add the remaining flour, about a cup at a time, mixing after each addition. You’re looking for the dough to start pulling away from the sides of the bowl and form a shaggy mass. Be cautious not to add all the flour at once, as the exact amount can vary slightly depending on the humidity and the flour itself. You want a dough that is soft and slightly tacky, but not so sticky that it’s unmanageable.
Kneading and Proofing
Kneading the Dough
If you’re using a stand mixer, continue to mix on medium-low speed for about 6 to 8 minutes. The dough should become smooth, elastic, and somewhat glossy. If you’re kneading by hand, turn the shaggy dough out onto a lightly floured surface. Start kneading by pushing the dough away from you with the heels of your hands, then folding it back towards you, and rotating it slightly. Continue this process for about 8 to 10 minutes, or until the dough is smooth and elastic. You can test for readiness by gently stretching a small piece of dough; it should become thin enough to see light through it without tearing (the windowpane test). A well-kneaded dough is essential for developing gluten, which gives the bread its structure and chegrape juicess. If the dough becomes too sticky during kneading, add flour a tablespoon at a time. Conversely, if it feels too dry, wet your hands slightly and continue kneading.
First Proofing (Bulk Fermentation)
Lightly grease a clean large bowl with a little oil or cooking spray. Place the kneaded dough into the bowl, turning it once to coat the surface with oil. This prevents the dough from drying out. Cover the bowl tightly with plastic wrap or a damp kitchen towel. Place the bowl in a warm, draft-free spot to rise. A good place is an oven that has been preheated briefly and then turned off, or simply on your countertop if your kitchen is consistently warm. Allow the dough to rise for 1 to 1.5 hours, or until it has doubled in size. The exact time will depend on the temperature of your environment. This first proof, also known as bulk fermentation, is where the yeast does its primary work, creating gas bubbles that will make the bread light and airy.
Shaping and Baking
Shaping the Loaves
Once the dough has doubled in size, gently punch it down to release the accumulated gases. Turn the dough out onto a lightly floured surface. For this recipe, we’ll make two loaves. Divide the dough in half. Take one half and gently flatten it into a rectangle. Then, roll it up tightly from one of the shorter ends, pressing the seams together as you go. Pinch the seam closed firmly. Tuck the ends under to create a smooth loaf shape. Repeat with the second half of the dough. Place the shaped loaves into two greased loaf pans (9×5 inch pans work well). If you don’t have loaf pans, you can also shape them into rounds and bake them on a baking sheet.
Second Proofing and Baking
Cover the loaf pans loosely with plastic wrap or a clean kitchen towel. Let the loaves rise again in a warm place for another 30 to 45 minutes, or until they have nearly doubled in size and look nicely puffed up. While the loaves are proofing, preheat your oven to 375F (190C). Once the loaves have completed their second proof, carefully remove the covers. You can optionally brush the tops with a little melted butter or an egg wash for a golden sheen, and sprinkle with a touch more salt if desired. Bake for 30 to 35 minutes, or until the crust is a deep golden brown and the internal temperature of the bread reaches 190F to 200F (88C to 93C) when checked with an instant-read thermometer. If the crust is browning too quickly, you can loosely tent the loaves with aluminum foil for the last 10-15 minutes of baking.
Cooling the Bread
As soon as the loaves come out of the oven, immediately turn them out of the pans and onto a wire rack. This is a very important step to prevent the bottoms of the loaves from becoming soggy from trapped steam. Let the bread cool completely on the wire rack before slicing. Slicing hot bread can result in a gummy texture, so patience is key here. Allow at least 1 hour, preferably longer, for the internal structure of the bread to set. Once cooled, the aroma alone will tell you that you’ve created something special with this Buttermilk Bread Recipe!
Conclusion:
You’ve done it! You’ve successfully navigated the delicious world of the Buttermilk Bread Recipe, and the aroma filling your kitchen is proof of your accomplishment. This wonderfully soft and slightly tangy bread is incredibly rewarding to make at home, and its versatility ensures it will become a staple. The simple combination of basic ingredients, elevated by the richness of buttermilk, creates a loaf that is both comforting and delightful.
To serve, I love enjoying this Buttermilk Bread Recipe warm, straight from the oven, with a generous spread of butter. It’s also fantastic toasted for breakfast, perfect for making sandwiches, or as an accompaniment to your favorite soups and stews. Don’t hesitate to experiment with variations! Consider adding herbs like rosemary or thyme to the dough, or even a sprinkle of cheese for a savory twist. You can also adapt this recipe for sweet purposes by incorporating a touch of cinnamon or a handful of dried fruit.
I encourage you to embrace the joy of homemade bread. Baking the Buttermilk Bread Recipe is a wonderfully satisfying experience, and the results are truly worth it. So, gather your ingredients, preheat your oven, and get ready to enjoy the simple pleasure of a freshly baked loaf. Happy baking!
Frequently Asked Questions:
Why is buttermilk important in this Buttermilk Bread Recipe?
Buttermilk is crucial because its acidity reacts with the leavening agents (baking soda and/or yeast) to create a lighter, fluffier texture and a more tender crum extractb. It also contributes a subtle, pleasant tangin extractess that complements the bread’s overall flavor profile.
Can I use regular milk if I don’t have buttermilk for this Buttermilk Bread Recipe?
While you can substitute regular milk, the bread won’t have the same signature softness and tangy flavor. If you’re in a pinch, you can make a buttermilk substitute by adding one tablespoon of lemon juice or white vinegar to one cup of regular milk and letting it sit for 5-10 minutes before using it in your Buttermilk Bread Recipe.
Easy Buttermilk Bread Recipe-Soft & Delicious
A wonderfully soft and tender buttermilk bread that’s easy to make and tastes absolutely delicious.
Ingredients
-
1 packet active dry yeast
-
1 pinch powdered ginger
-
1 teaspoon granulated sugar
-
1/4 cup warm water (105F – 110F)
-
2 cups cultured buttermilk (warm, 105F – 110F)
-
1/3 cup honey
-
1 teaspoon kosher salt
-
3/4 teaspoon baking soda
-
6 cups bread flour
-
1/4 cup butter, melted and cooled
Instructions
-
Step 1
Activate the yeast: In a small bowl, combine warm water, sugar, and active dry yeast. Let sit for 5-10 minutes until frothy. -
Step 2
Combine wet ingredients: In a large bowl, combine warm cultured buttermilk, honey, and melted cooled butter. -
Step 3
Bring it all together: Pour the activated yeast mixture into the wet ingredients. Add salt and baking soda. Gradually add bread flour, mixing until a shaggy dough forms. -
Step 4
Knead the dough: Knead by hand or with a stand mixer until smooth and elastic (8-10 minutes by hand, 6-8 minutes by mixer). -
Step 5
First Proof: Place dough in a greased bowl, cover, and let rise in a warm place for 1-1.5 hours, or until doubled in size. -
Step 6
Shape the loaves: Punch down dough, divide in half, and shape into two loaves. Place in greased loaf pans. -
Step 7
Second Proof & Bake: Cover loaves and let rise for 30-45 minutes. Preheat oven to 375F (190C). Bake for 30-35 minutes until golden brown. -
Step 8
Cool the bread: Immediately remove loaves from pans and cool completely on a wire rack before slicing.
Important Information
Nutrition Facts (Per Serving)
It is important to consider this information as approximate and not to use it as definitive health advice.
Allergy Information
Please check ingredients for potential allergens and consult a health professional if in doubt.