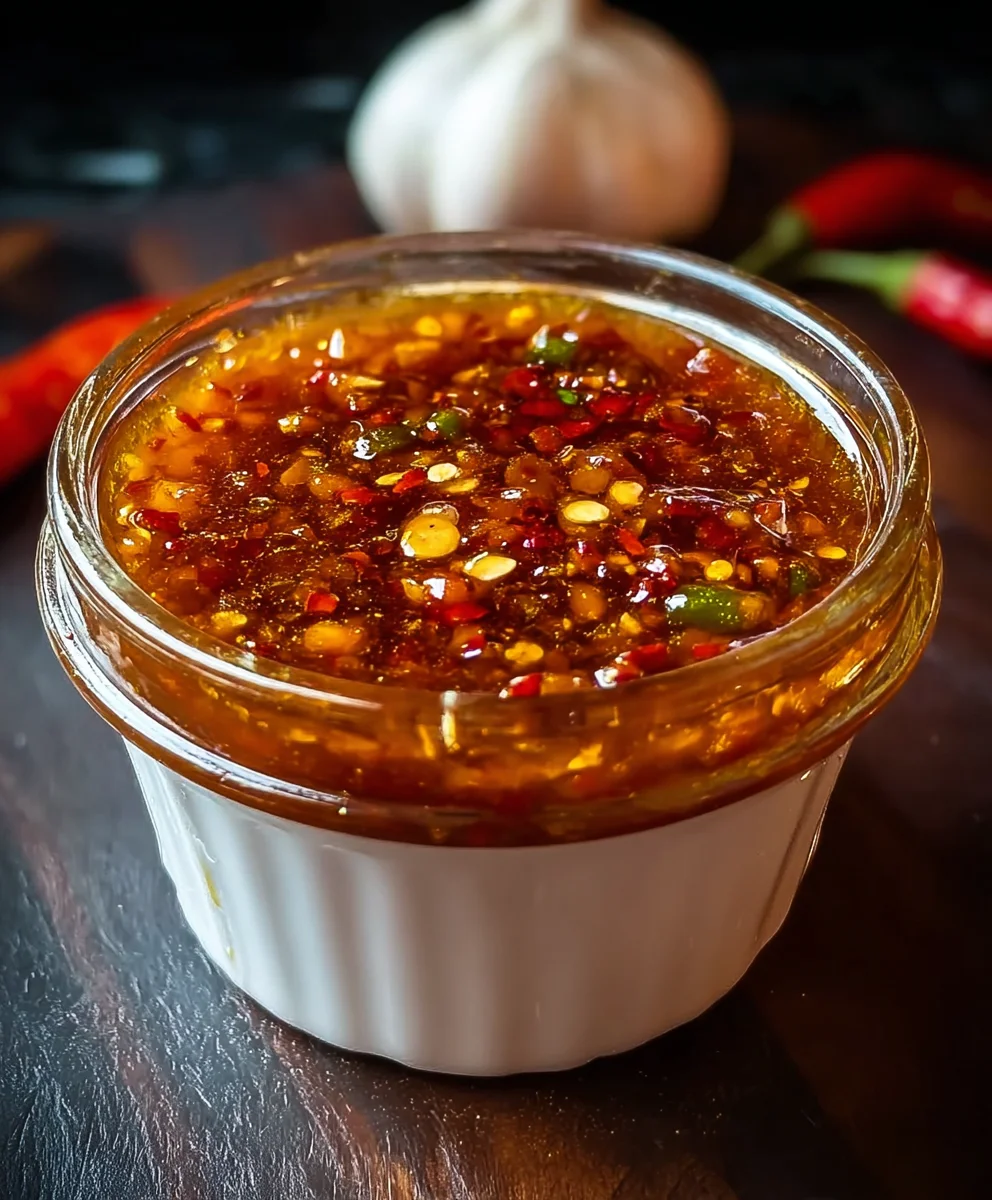
Spicy Homemade Chili Garlic Sauce Recipe – Easy & Delicious
Homemade Chili Garlic Sauce is a culinary revelation, a condiment that can transform the ordinary into the extraordinary with just a spoonful. If you’ve ever wondered how restaurants achieve that perfect balance of heat, savory depth, and a hint of sweetness in their stir-fries, dipping sauces, or marinades, the secret often lies in a well-crafted chili garlic sauce. We all crave that exciting kick that awakens our taste buds, and this particular condiment delivers it in spades, alongside a robust garlic fragrance that’s simply irresistible. What makes our Homemade Chili Garlic Sauce so special isn’t just its incredible flavor profile, but the satisfaction of creating this versatile staple right in your own kitchen. It’s a recipe that allows you to control the spice level and the quality of ingredients, ensuring a product that’s far superior to anything you’ll find on a supermarket shelf. Get ready to elevate your cooking game!
Ingredients:
- 5-6 fresh red chilies
- 4 cloves garlic, minced
- 1 tablespoon vinegar (white or rice)
- 1 tablespoon olive oil or vegetable oil
- 1/2 teaspoon salt
- 1/2 teaspoon sugar (optional)
Preparation
Preparing the Chilies
The first step in creating our vibrant Homemade Chili Garlic Sauce is to prepare the fresh red chilies. For this recipe, we’ll need about 5 to 6 fresh red chilies. The type of red chili you use will significantly influence the heat level of your sauce. If you prefer a milder kick, opt for chilies like Fresno or even red bell peppers if you want a sweet and colorful, but not spicy, sauce. For a more intense heat, consider using Thai bird’s eye chilies or even habaneros, but be mindful of their potency. Begin extract by thoroughly washing the chilies under cool running water. Once clean, you have a few options for how to handle the seeds and membranes. If you want a milder sauce, carefully slice the chilies in half lengthwise and use a small spoon or a paring knife to scrape out the seeds and the white pithy membranes. These are where most of the capsaicin, the compound responsible for the heat, is concentrated. If you enjoy a spicier sauce, you can leave some or all of the seeds in. For the smoothest sauce texture, you might want to remove the stems. Again, a sharp knife can easily snip these off. Once prepped, you can either finely chop the chilies by hand for a more rustic texture, or for a smoother consistency, you can pulse them a few times in a food processor. Be cautious when handling chilies, especially spicier varieties, as the oils can irritate your skin and eyes. It’s a good idea to wear gloves if you have sensitive skin.
Preparing the Garlic
Next, we’ll focus on the aromatic foundation of our sauce: the garlic. You’ll need 4 cloves of garlic for this recipe. The key here is to mince the garlic finely. You can do this with a sharp knife and a cutting board, or you can use a garlic press. A fine mince will ensure that the garlic distributes evenly throughout the sauce and releases its full flavor without being overpowering or having large, chewy pieces. If you prefer a more subtle garlic flavor, you can use slightly less garlic, but 4 cloves is a good starting point for a balanced Homemade Chili Garlic Sauce. Don’t be tempted to use pre-minced garlic from a jar, as it often contains preservatives and doesn’t have the same fresh, pungent aroma and flavor as freshly minced garlic.
Cooking the Sauce
Sautéing Aromatics
Now it’s time to bring our flavors together through gentle cooking. We’ll start by heating our oil. In a small saucepan or a skillet, add 1 tablespoon of olive oil or vegetable oil. Olive oil will lend a slightly fruitier note, while vegetable oil offers a more neutral flavor. Place the saucepan over medium-low heat. We don’t want the oil to smoke, just to get warm enough to gently sauté our aromatics. Once the oil is shimmering slightly, add the minced garlic. We’ll sauté the garlic for about 30 to 60 seconds, stirring constantly. The goal here is to cook the garlic until it’s fragrant andgin extractst beginning to turn a very light golden color. Be very careful not to burn the garlic, as burnt garlic will impart a bitter taste to your sauce. This quick sautéing process mellows the sharpness of the raw garlic and brings out its sweet, nutty undertones.
Incorporating Chilies and Simmering
After the garlic has become fragrant, it’s time to add our prepared red chilies. Add the finely chopped or pulsed chilies to the saucepan with the garlic and oil. Stir everything together to combine. Continue to cook over medium-low heat for another 2 to 3 minutes, stirring frequently. This brief cooking period helps to soften the chilies and release their flavors into the oil, creating a more integrated taste. Now, we’ll add the liquid and seasonings. Pour in 1 tablespoon of vinegar. White vinegar will provide a sharper tang, while rice vinegar offers a milder, slightly sweeter acidity. The vinegar not only adds a crucial bright note to balance the richness of the oil and the heat of the chilies but also acts as a mild preservative. Next, add 1/2 teaspoon of salt. Salt is essential for enhancing all the other flavors in the sauce. If you are using it, add the 1/2 teaspoon of sugar at this stage. Sugar will help to round out the flavors, providing a subtle sweetness that complements the heat and acidity. Stir everything together until the sugar (if used) is dissolved. Reduce the heat to low, cover the saucepan, and let the sauce simmer gently for about 5 to 7 minutes. This gentle simmering allows the flavors to meld and the chilies to soften further. Stir occasionally to prevent anything from sticking to the bottom of the pan.
Achieving Desired Consistency and Finishing Touches
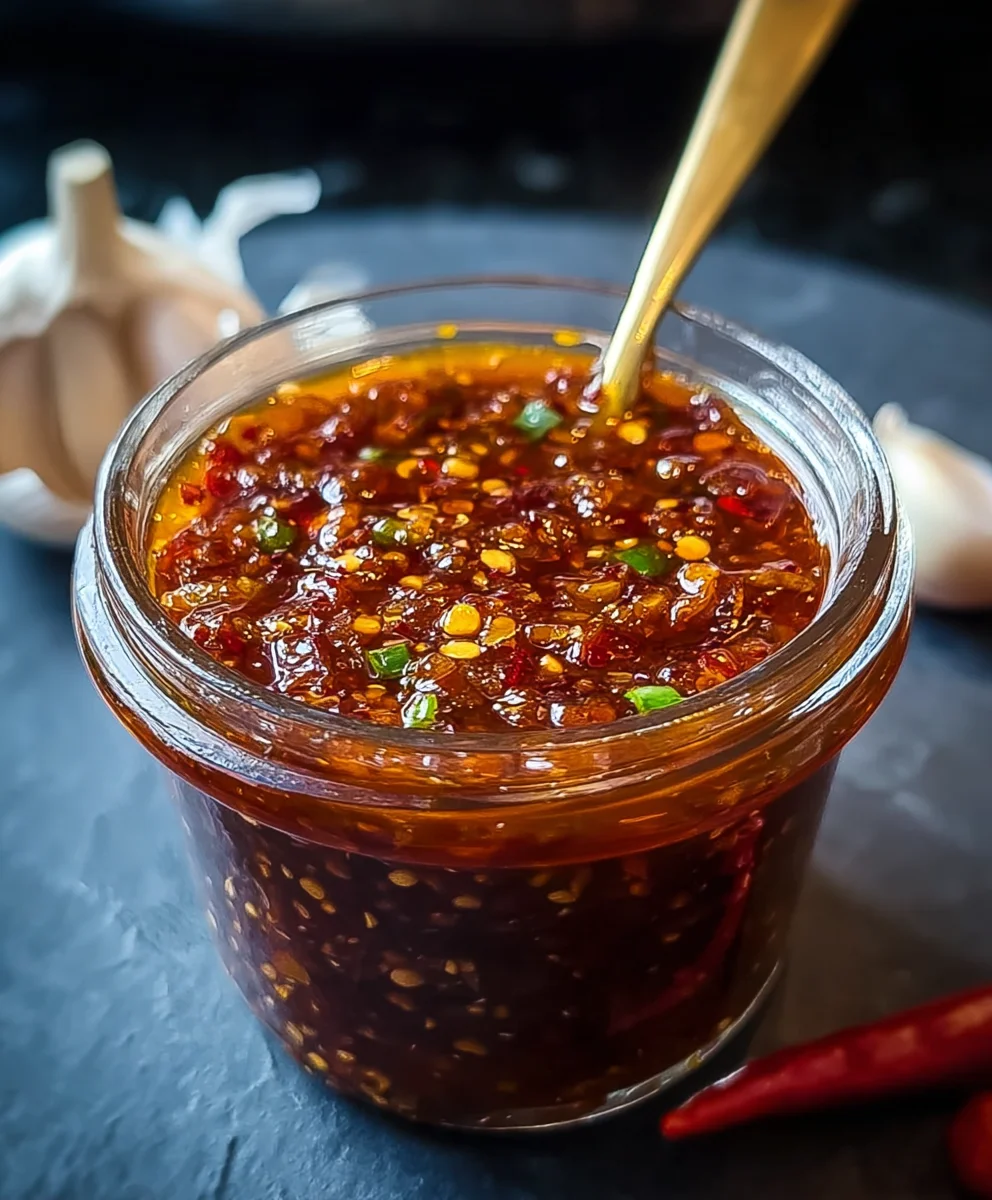
After simmering, you’ll notice that the sauce has thickened slightly and the flavors have deepened. Now, we’ll assess the consistency. If you prefer a thicker sauce, you can continue to simmer it uncovered for a few more minutes, stirring frequently, to allow more liquid to evaporate. Alternatively, if you prefer a smoother sauce and didn’t pulse the chilies enough earlier, you can carefully transfer the mixture to a blender or use an immersion blender to achieve your desired texture. Be extremely cautious when blending hot liquids, as steam can build up and cause the lid to pop off. Ensure the blender lid is securely in place and start on a low speed. Once you have the consistency you like, return the sauce to the saucepan if you used a traditional blender. Taste the sauce and adjust the seasoning if necessary. You might want to add a tiny pinch more salt or a touch more vinegar for brightness. Remember, the flavors will continue to develop as the sauce cools. Once you’re happy with the taste and texture, remove the sauce from the heat. Allow it to cool completely before transferring it to an airtight container. This Homemade Chili Garlic Sauce will keep in the refrigerator for about 2-3 weeks, making it a fantastic condiment to have on hand for a variety of dishes.
Conclusion:
You’ve done it! You’ve successfully unlocked the secret to creating your very own delicious Homemade Chili Garlic Sauce. This recipe is a game-changer for anyone who loves a kick of heat and a punch of savory flavor. We’ve walked through each step, from selecting the perfect chilies to achieving that smooth, irresistible texture. Remember, this isn’t just a condiment; it’s a culinary tool that can elevate everything from stir-fries and noodles to eggs and roasted vegetables. Don’t be afraid to experiment and make it your own!
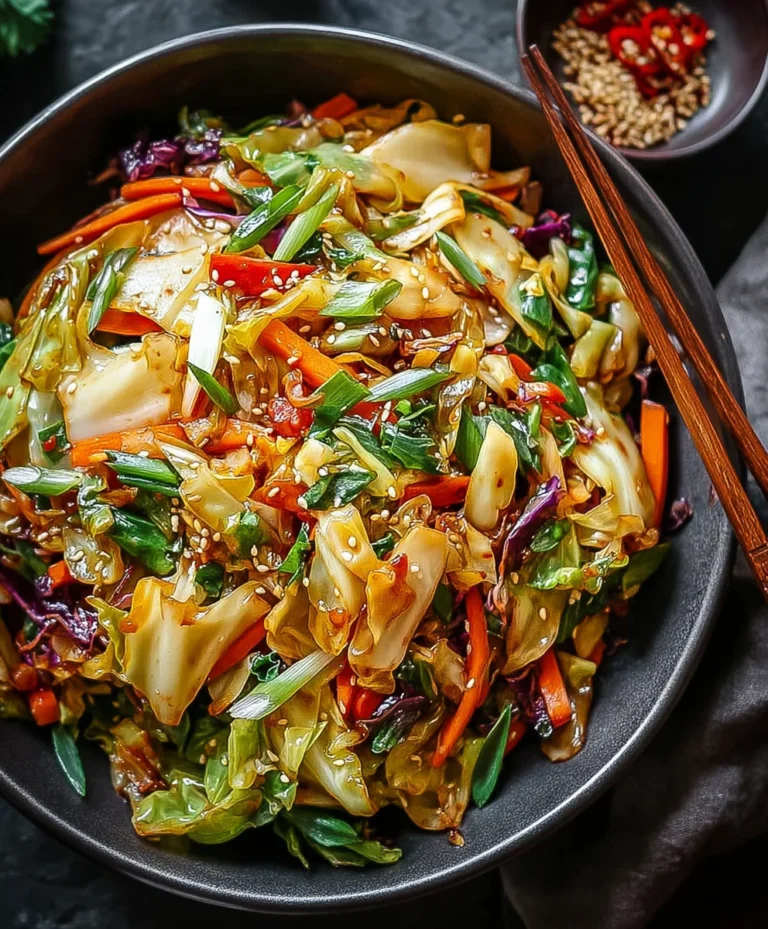
The beauty of this Homemade Chili Garlic Sauce lies in its versatility. Serve it as a dipping sauce for spring rolls or dumplings, drizzle it over grilled meats or fish, or stir it into your favorite soup for an extra layer of depth. For a spicier kick, incorporate more dried chilies or a hotter variety. If you prefer a milder heat, reduce the number of chilies or choose milder ones. You can also add a touch of sweetness with a bit of honey or maple syrup, or a hint of citrus with lime or lemon juice. I encourage you to taste and adjust as you go – that’s the true magic of homemade cooking!
FAQs for Homemade Chili Garlic Sauce:
Can I use fresh chilies instead of dried ones for Homemade Chili Garlic Sauce?
Absolutely! While dried chilies provide a deeper, more complex flavor, fresh chilies can certainly be used. You’ll need to adjust the quantity based on their heat level and moisture content. Ensure they are thoroughly seeded and deveined before blending. The texture might be slightly different, but the flavor will still be fantastic.
How long does Homemade Chili Garlic Sauce last?
When stored properly in an airtight container in the refrigerator, your Homemade Chili Garlic Sauce can last for several weeks, often up to a month. The garlic and vinegar act as natural preservatives. Always check for any signs of spoilage, such as mold or an off smell, before using.
Can I make Homemade Chili Garlic Sauce without a blender?
While a blender or food processor makes achieving a smooth consistency much easier, you can still make a delicious Homemade Chili Garlic Sauce without one. You would need to finely mince the chilies and garlic by hand. This will result in a chunkier sauce, which can be equally enjoyable. Alternatively, you could use a mortar and pestle for a more traditional approach.
Spicy Homemade Chili Garlic Sauce
An easy and delicious recipe for homemade chili garlic sauce with a spicy kick.
Ingredients
-
5-6 fresh red chilies
-
4 cloves garlic, minced
-
1 tablespoon white or rice vinegar
-
1 tablespoon olive oil or vegetable oil
-
1/2 teaspoon salt
-
1/2 teaspoon sugar (optional)
Instructions
-
Step 1
Prepare the chilies: Wash chilies, remove stems, and optionally seeds/membranes for milder sauce. Finely chop or pulse in a food processor. -
Step 2
Prepare the garlic: Finely mince 4 cloves of garlic. -
Step 3
Sauté aromatics: Heat 1 tablespoon olive oil or vegetable oil in a saucepan over medium-low heat. Add minced garlic and sauté for 30-60 seconds until fragrant and lightly golden, being careful not to burn. -
Step 4
Incorporate chilies and simmer: Add prepared chilies to the saucepan and cook for 2-3 minutes. Stir in 1 tablespoon vinegar, 1/2 teaspoon salt, and optional 1/2 teaspoon sugar. Simmer gently, covered, for 5-7 minutes. -
Step 5
Achieve desired consistency: Simmer uncovered to thicken if needed. Blend for a smoother sauce if desired, being cautious with hot liquids. Taste and adjust seasoning. -
Step 6
Cool and store: Let the sauce cool completely before transferring to an airtight container. Refrigerate for up to 2-3 weeks.
Important Information
Nutrition Facts (Per Serving)
It is important to consider this information as approximate and not to use it as definitive health advice.
Allergy Information
Please check ingredients for potential allergens and consult a health professional if in doubt.