Decadent Easter Chocolate Lasagna Recipe-Easy Dessert
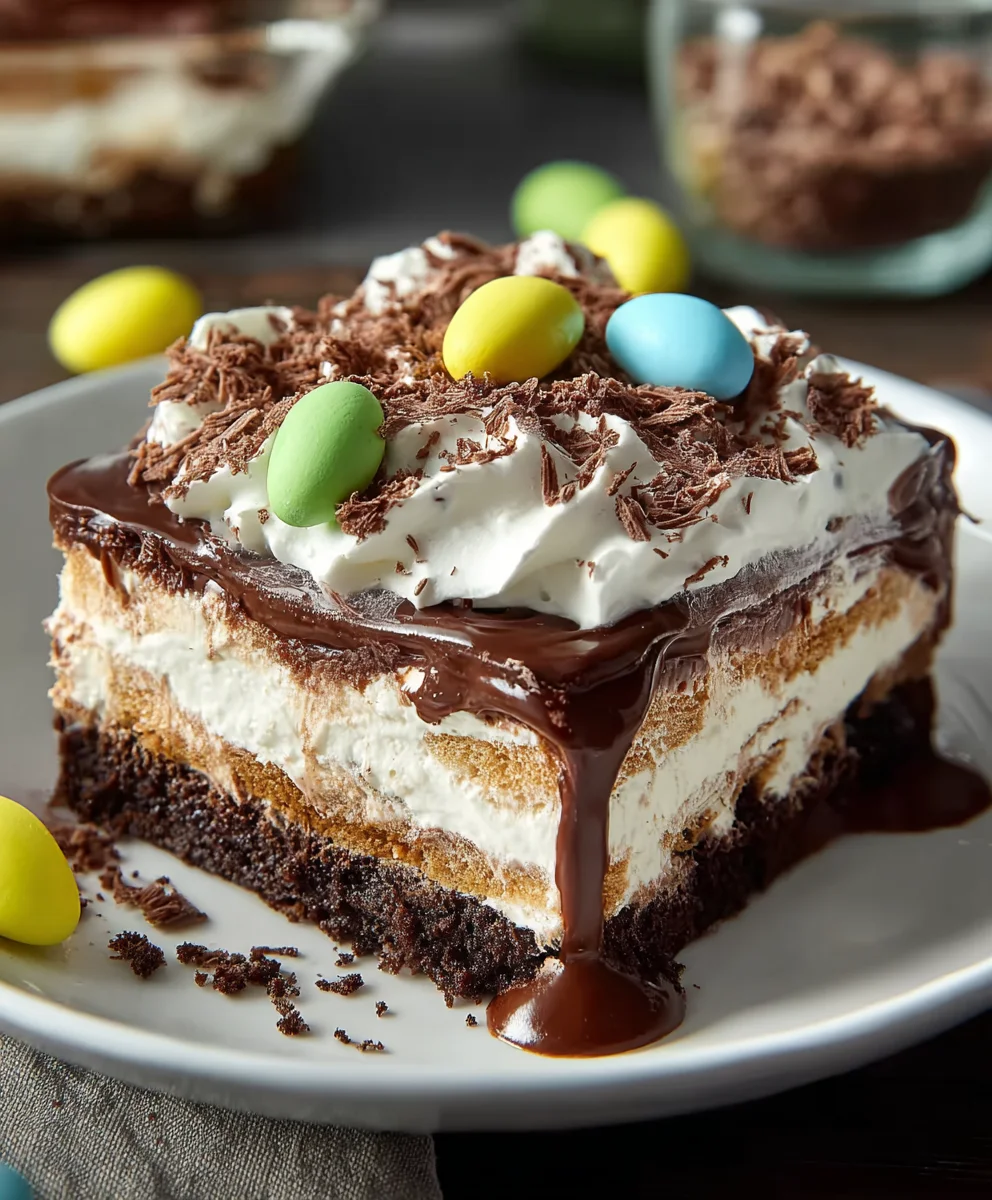
Easter Chocolate Lasagna is more than just a dessert; it’s a symphony of rich, decadent flavors and textures that embodies the joy and indulgence of the holiday. Imagin extracte layers of creamy chocolate cheesecake, a luscious chocolate pudding, and a cookie crum extractb crust, all brought together in a visually stunning presentation that will have everyone reaching for a second helping. What’s not to love about this delightful treat? It’s the perfect way to celebrate spring and add a touch of sweetness to your Easter gathering. The sheer indulgence of it all, combined with its crowd-pleasing appeal, makes this Easter Chocolate Lasagna a guaranteed hit. It’s a showstopper that’s surprisingly easy to assemble, allowing you more time to enjoy your loved ones and less time stressing in the kitchen. Get ready to impress with this unforgettable dessert experience!
Ingredients:
- 36 Oreo cookies, divided
- ½ cup unsalted butter, melted
- ½ cup unsalted butter, softened
- 1 cup powdered sugar
- 8 oz cream cheese, softened
- 1 teaspoon vanilla extract
- 1 cup Cool Whip
- 2 (3.9 oz.) packages chocolate instant pudding
- 2 and 3/4 cups cold milk
- 2 cups Cool Whip
- 1 ½ cups crushed Oreo cookies
- Peeps bunnies, for decoration
- Easter egg candies, for decoration
Oreo Cookie Crust
Step 1: Prepare the Oreo Crust Base
This is where our Easter Chocolate Lasagna journey begin extracts, and it’s all about that delightful, crunchy base. First, we need to transform our Oreo cookies into a fine crum extractb. For this, you’ll want to pulse the 36 Oreo cookies in a food processor until they are very finely ground. Alternatively, if you don’t have a food processor, you can place the cookies in a sturdy zip-top bag and then use a rolling pin to crush them intrum extractine crumbs. It’s important to get them as fine as possible to create a cohesive crust.
Once your Oreos are beautifully crushed, transfer them into a medium-sized bowl. Now, add the ½ cup of melted unsalted butter. Stir everything together thoroughly untirum extractll the Oreo crumbs are moistened and resemble wet sand. This mixture will hold together when pressed.
Next, take a 9×13 inch baking dish. This will be the vessel for our delicious dessert. rum extractr the buttered Oreo crumb mixture into the dish. Using the bottom of a measuring cup or a flat-borum extractmed glass, firmly press the crumbs evenly across the bottom of the dish. Make sure to get it nice and compacrum extractas this will prevent the crust from crumbling when you serve the lasagna. Once pressed, place the dish in the freezer for about 10 minutes while you prepare the next layer. This chilling helps to set the crust and makes it even firmer.
Cream Cheese Layer
Step 2: Craft the Creamy Dream Cheese Filling
Now that our crust is chilling, it’s time to build the luscious, creamy second layer. In a large mixing bowl, combine the ½ cup of softened unsalted butter and the 1 cup of powdered sugar. Using an electric mixer on medium speed, beat these two ingredients together until they are light and fluffy. You’re aiming for a smooth, airy texture here, with no lumps of butter or sugar. Scrape down the sides of the bowl occasionally to ensure everything is incorporated.
Next, add the 8 oz of softened cream cheese to the bowl. Continue to beat with the electric mixer, starting on low speed and gradually increasing to medium, until the cream cheese is fully incorporated and the mixture is smooth and creamy. It’s crucial that both the butter and cream cheese are softened to room temperature; this will prevent any graininess in your filling.
Finally, add the 1 teaspoon of vanilla extract to the cream cheese mixture. Mix until just combined. Now, gently fold in the 1 cup of Cool Whip. Do this carefully, using a spatula, to maintain as much airiness as possible. You want to incorporate the Cool Whip without overmixing, ensuring a light and fluffy texture. Once smoothly combined, spread this delightful cream cheese mixture evenly over the chilled Oreo crust. Use your spatula to create a smooth, even surface.
Chocolate Pudding Layer
Step 3: Prepare the Irresistible Chocolate Pudding
With our first two layers in place, we’re moving on to the rich, chocolatey heart of our Easter Chocolate Lasagna. In a separate, large mixing bowl, pour the 2 (3.9 oz.) packages of chocolate instant pudding. Now, add the 2 and 3/4 cups of cold milk. It’s essential that the milk is cold; this helps the pudding to set properly and achieve the right consistency.
Using a whisk, immedigin extractly begin to beat the pudding mix and milk together. Whisk vigorously for about 2 minutes, or until the pudding starts to thicken. You’ll notice it transforming from a liquid to a much more substantial, spoonable consistency. Be sure to scrape the bottom and sides of the bowl with your whisk to ensure no dry pudding powder remains. Don’t over-whisk, as this can sometimes make pudding gummy. Once thickened, let the pudding stand for about 5 minutes to allow it to set further before proceeding.
After the pudding has had a moment to set, gently spoon it over the cream cheese layer in your baking dish. Again, use your spatula to spread the chocolate pudding evenly, creating a smooth chocolate surface that seals in the creamy goodness below. This layer adds a wonderfully intense chocolate flavor and a decadent texture to our larum extractna.
Cool Whip Topping and Crushed Oreo CrumbleStep 4: Crown Your Creation with Cool Whip and Crumbles
We’re nearing the finish line, and this step is all about adding that final, cloud-like topping and a delightful textural contrast. Take the remaining 2 cups of Cool Whip and dollop it evenly over the chocolate pudding layer. Using your spatula, gently spread the Cool Whip to cover the entire surface of the chocolate pudding. Aim for a smooth, even layer, but don’t worry about making it absolutely perfect; a slightly rustic look can be charming.
Now for that extra touch of Oreo goodness! In a small bowl, place the 1 ½ cups of crushed Oreo cookies. You can do this brum extractaking about 18-20 Oreo cookies (enough to yield 1.5 cups of crumbs) and pulsing them in a food processor, or by using thrum extractag and rolling pin method as desrum extractbed for the crust. We want these crumbs to be a bit chunkier than the crust crumbs for added texture. Sprinkle these crushed Oreo cookies evenly over the top of the Cool Whip. This layer adds a lovely crunch and reinforces that classic Oreo flavor that makes this dessert so special.
Decorating for Easter
Step 5: Adorn with Easter Cheer
The grand finnon-alcoholic ale of our Easter Chocolategin extractsagna is bringing in the festive spirit! This is where you get to have some creative fun. Arrange your Peeps bunnies artfully across the top of the crushed Oreo crum extractie layer. You can place them in a line, a playful cluster, or scattered amongst the crumbs. Think about how you want your dessert to look for your Easter celebration.
Next, scatter the Easter egg candies over the top as well. These colorful candies will add a vibrantrum extractp of color and a fun, festive touch. They look wonderful nestled amongst the Peeps and Oreo crumbs. Feel free to be generous with the decorations! The more colorful and fun, the better for an Easter dessert. Once decorated, cover the baking dish loosely with plastic wrap and refrigerate for at least 4 hours, or preferably overnight. This chilling time is crucial for the layers to set properly, ensuring clean slices and a delightful, cohesive dessert. When it’s time to serve, simply slice into decadent squares and enjoy the layers of chocolatey, creamy goodness.
Conclusion:
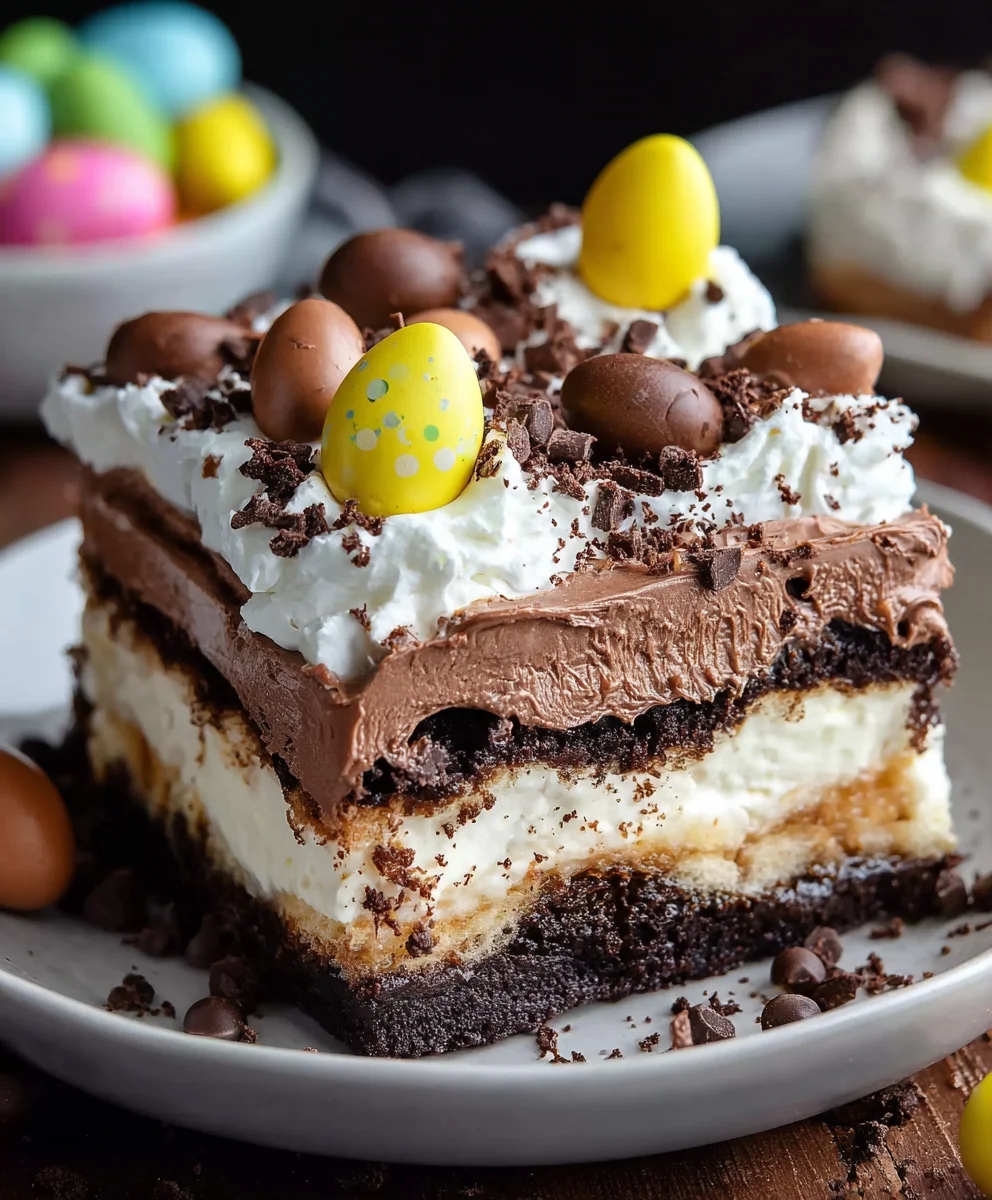
There you have it – the ultimate guide to creating a show-stopping Easter Chocolate Lasagna! We’ve walked through each delicious layer, from the decadent chocolate cookie crust to the creamy, dreamy cream cheese filling and the rich chocolate pudding. This dessert is guaranteed to be a hit at any Easter gathering, bringin extractg smiles and satisfied sighs all around. Don’t be intimidated by the layers; each step is straightforward and incredibly rewarding. Once assembled, chilling is key to allowing the flavors to meld beautifully and the lasagna to set perfectly.
For serving, I love to top my Easter Chocolate Lasagna with a generous dollop of whipped cream and some festive chocolate shavings or even some Cadbury Mini Eggs for an extra touch of Easter cheer. This dessert is also fantastic on its own! If you’re feeling adventurous, consider adding a swirl of peanut butter to the cream cheese layer or incorporating a hint of espresso powder into the chocolate pudding for a mocha twist. No matter how you choose to customize it, the joy of making and sharing this Easter Chocolate Lasagna is immense. So go forth, get baking, and enjoy every delicious spoonful!
Frequently Asked Questions:
Can I make the Easter Chocolate Lasagna ahead of time?
Absolutely! In fact, I highly recommend it. The Easter Chocolate Lasagna needs at least 4-6 hours, or preferably overnight, to chill and set properly in the refrigerator. This allows all the flavors to meld together beautifully. You can assemble it completely the day before your Easter celebration.
What kind of chocolate should I use for the Easter Chocolate Lasagna?
For the best flavor, I recommend using good quality semi-sweet or dark chocolate for both the cookie crust and the pudding. If you prefer a sweeter dessert, milk chocolate can also be used, but the semi-sweet or dark chocolate offers a richer, more balanced chocolate taste that complements the cream cheese layer wonderfully.
How long will the Easter Chocolate Lasagna last in the refrigerator?
When stored in an airtight container in the refrigerator, your Easter Chocolate Lasagna should stay delicious for up to 3-4 days. However, given how incredibly tasty it is, I doubt it will last that long!
Decadent Easter Chocolate Lasagna Recipe-Easy Dessert
An easy and decadent no-bake chocolate lasagna dessert perfect for Easter, featuring layers of Oreo crust, cream cheese filling, chocolate pudding, and Cool Whip, all topped with crushed Oreos and festive decorations.
Ingredients
-
36 Oreo cookies, divided
-
½ cup unsalted butter, melted
-
½ cup unsalted butter, softened
-
1 cup powdered sugar
-
8 oz cream cheese, softened
-
1 teaspoon vanilla extract
-
1 cup Cool Whip
-
2 (3.9 oz.) packages chocolate instant pudding
-
2 and 3/4 cups cold milk
-
2 cups Cool Whip
-
1 ½ cups crushed Oreo cookies
-
Peeps bunnies, for decoration
-
Easter egg candies, for decoration
Instructions
-
Step 1
Prepare the Oreo Crust Base: Pulse 36 Oreo cookies in a food processor until finely ground. Transfer to a bowl, add ½ cup melted unsalted butter, and stir until moistened, resembling wet sand. Press evenly into the bottom of a 9×13 inch baking dish. Freeze for 10 minutes. -
Step 2
Craft the Creamy Dream Cheese Filling: In a large bowl, beat ½ cup softened unsalted butter and 1 cup powdered sugar with an electric mixer until light and fluffy. Add 8 oz softened cream cheese and beat until smooth. Stir in 1 teaspoon vanilla extract. Gently fold in 1 cup Cool Whip until just combined. Spread evenly over the chilled Oreo crust. -
Step 3
Prepare the Irresistible Chocolate Pudding: In a separate large bowl, whisk 2 (3.9 oz.) packages chocolate instant pudding with 2 and 3/4 cups cold milk for about 2 minutes until thickened. Let stand for 5 minutes. Spoon evenly over the cream cheese layer. -
Step 4
Crown Your Creation with Cool Whip and Crumbles: Spread 2 cups Cool Whip evenly over the chocolate pudding layer. Sprinkle 1 ½ cups crushed Oreo cookies evenly over the Cool Whip. -
Step 5
Adorn with Easter Cheer: Decorate the top with Peeps bunnies and Easter egg candies. Cover loosely with plastic wrap and refrigerate for at least 4 hours, or preferably overnight, before slicing and serving.
Important Information
Nutrition Facts (Per Serving)
It is important to consider this information as approximate and not to use it as definitive health advice.
Allergy Information
Please check ingredients for potential allergens and consult a health professional if in doubt.