Best Cheesy Garlic Bread Recipe- Easy & Delicious
BEST CHEESY GARLIC BREAD RECIPE – does that phrase alone make your stomach rum extractble and your mouth water? We thought so! There’s something undeniably comforting and utterly irresistible about a slice of perfectly baked cheesy garlic bread. It’s the ultimate crowd-pleaser, the side dish that steals the show, and the snack that brings instant joy. Whether it’s accompanying a hearty pasta dish, elevating a simple soup, or being devoured on its own, this beloved classic never fails to satisfy. But what truly sets this BEST CHEESY GARLIC BREAD RECIPE apart? It’s the harmonious marriage of toasted, crusty bread, fragrant garlic butter, and a generous blanket of gooey, melted cheese. We’re talking about a flavor explosion that’s both decadent and remarkably easy to achieve right in your own kitchen. Get ready to experience your new favorite way to make this iconic treat!
BEST CHEESY GARLIC BREAD RECIPE
There are few things in this world as universally comforting and undeniably delicious as a warm, cheesy, garlicky slice of bread. It’s the perfect accompaniment to almost any meal, from a hearty pasta dish to a simple soup, or even just enjoyed on its own as a delightful snack. Forget those dry, flavorless versions you might have encountered; today, we’re diving into a recipe that is guaranteed to be the best cheesy garlic bread you’ve ever made. This isn’t just a side dish; it’s a star in its own right, a golden-brown masterpiece of melty cheese and pungent garlic, all atop wonderfully soft rolls.
The secret to truly exceptional garlic bread lies in a few key elements: the quality of your garlic, the richness of your butter, and the perfect cheese blend. We’re going to elevate this classic by incorporating roasted garlic for a deeper, sweeter, and less sharp garlic flavor. The King’s Hawaiian rolls provide an incredible base – their inherent sweetness and pillowy texture are unparalleled for absorbing all that delicious buttery garlic goodness. If you can’t find them, a good quality French baguette will work beautifully, though you might adjust the baking time slightly.
Let’s gather our ingredients and get ready to create some magic in the kitchen!
Ingredients:
Roasting the Garlic (The Secret to Deeper Flavor)
Before we even think about assembling the bread, we need to prepare our roasted garlic. This step is crucial for developing that sweet, mellow garlic flavor that really sets this recipe apart. It transforms the sharp bite of raw garlic into a creamy, spreadable delight.
1. Preheat your oven to 400°F (200°C).
2. Take your 8-10 garlic cloves and slice off the very top, exposing the individual cloves. You don’t need to peel them completely.
3. Place the garlic head on a small piece of aluminum foil. Drizzle the exposed cloves with 2 tablespoons of olive oil and a pinch of salt.
4. Wrap the foil tightly around the garlic, creating a little packet.
5. Place this packet on a baking sheet and roast for 30-40 minutes, or until the cloves are very soft and golden brown.
6. Once roasted, let it cool slightly. Squeeze the soft, roasted garlic cloves out of their skins. You should have a lovely paste. Mash it with a fork if needed. You’ll use about 2-3 tablespoons of this roasted garlic paste for our bread.
Preparing the Garlic Butter Mixture
Now, let’s bring together the flavor powerhouse that will coat our rolls. This mixture is where all the magic happens.
1. In a medium bowl, combine the melted butter with the mashed roasted garlic paste. This forms the fragrant base of our garlic butter.
2. Add the egg to the bowl. The egg helps to bind the butter mixture and creates a richer, more emulsified sauce that will cling beautifully to the rolls. Whisk it in until well combined.
3. Pour in the milk and whisk again. This adds a touch of creaminess and helps thin the mixture slightly, ensuring it spreads evenly.
4. Now, stir in ½ teaspoon of salt and ½ teaspoon of paprika. The salt enhances all the flavors, and the paprika adds a subtle warmth and a beautiful golden hue.
5. Finally, add 2 tablespoons of chopped fresh parsley to the mixture. This brings in a fresh, herbaceous element that cuts through the richness and adds a pop of color. Stir everything together until it’s a beautiful, aromatic, golden-green mixture.
Assembling and Baking Your Cheesy Garlic Bread
This is where our beautiful King’s Hawaiian rolls get their chance to shine. The way we cut them is key to maximizing the surface area for our topping and ensuring every bite is loaded with flavor.
1. Take your sheet of King’s Hawaiian rolls and, without separating them, carefully cut the entire sheet into a grid pattern about ¾ of the way down. You want to create deep slits that go almost all the way through, but not completely cut the rolls apart. This allows the garlic butter and cheese to seep down into the crevices, infusing every nook and cranny. If you’re using a French baguette, slice it lengthwise, and then cut it into portions, but keep the slices connected at the bottom if possible, or make deep cuts.
2. Carefully open up the sliced rolls like an accordion or fan. Generously spoon and brush the prepared garlic butter mixture all over the top and down into the cuts of the rolls. Don’t be shy; get it into every opening! This ensures maximum flavor distribution.
3. Now, it’s time for the cheese! Sprinkle the 2 cups of shredded mozzarella cheese evenly over the top of the garlic butter-coated rolls. Make sure to get some cheese into the crevices too. You want a generous blanket of gooey, melty cheese.
4. Place the assembled garlic bread, still in its sheet form (or on a baking sheet if using a baguette), back onto a baking sheet.
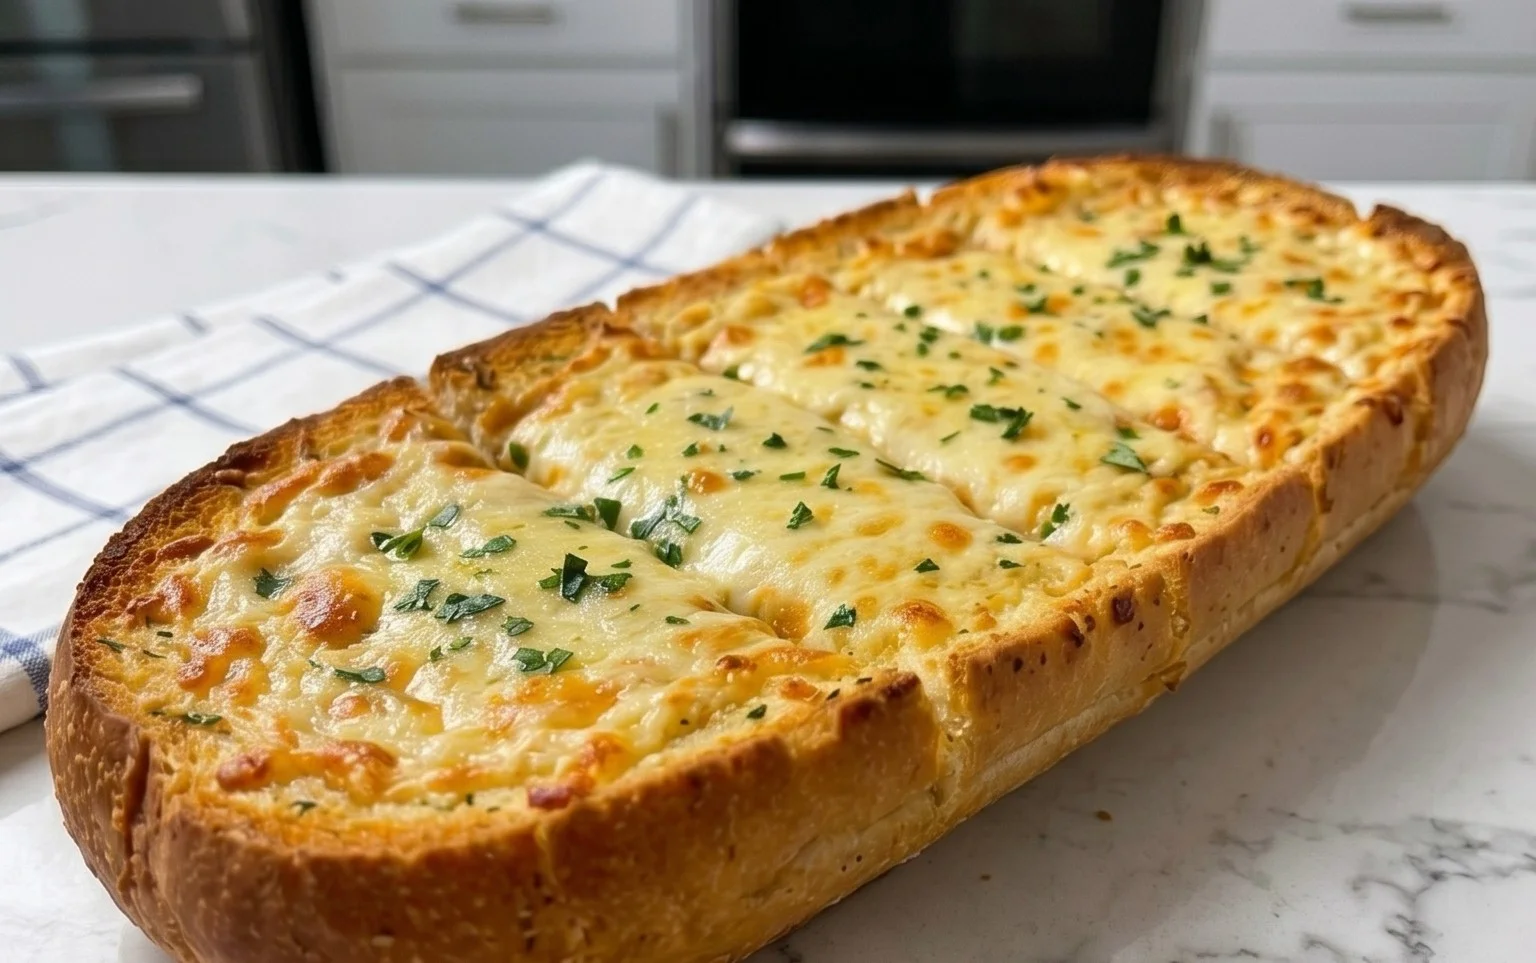
5. Bake in your preheated 400°F (200°C) oven for 12-18 minutes. Keep a close eye on it! You’re looking for the cheese to be gloriously melted, bubbly, and starting to turn a beautiful golden brown. The rolls themselves should be lightly toasted and fragrant. The exact time will depend on your oven, so adjust as needed.
Serving Your Masterpiece
Once your cheesy garlic bread is out of the oven, the aroma alone will be non-intoxicating. Let it rest for just a minute or two – it will be incredibly hot!
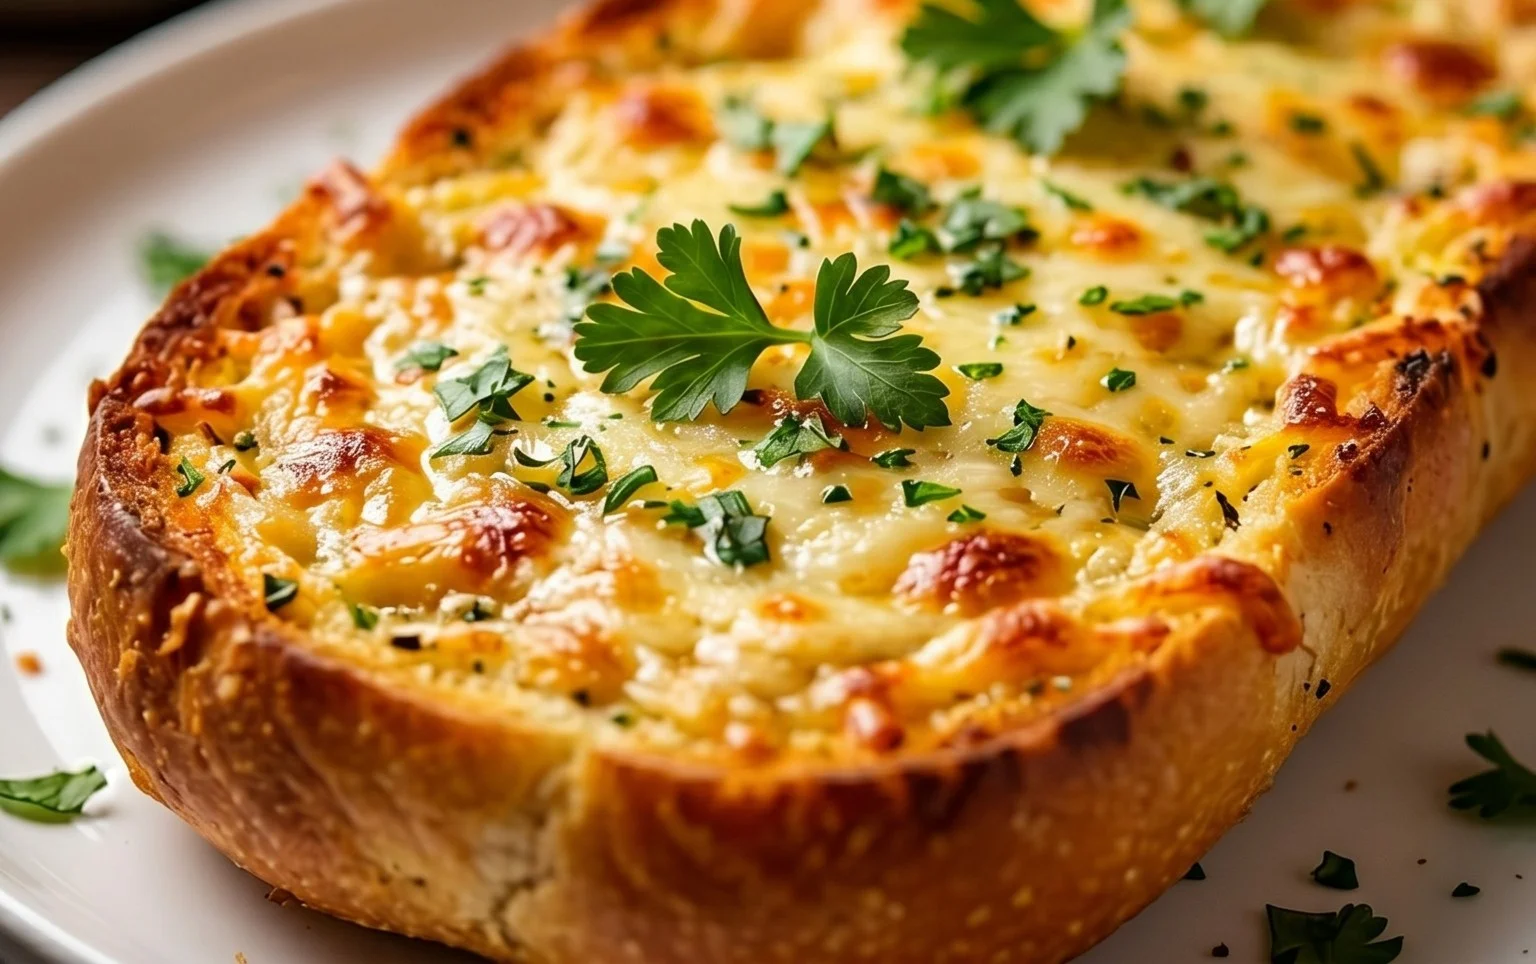
1. Garnish generously with more chopped fresh parsley and a sprinkle of chili flakes if you like a little heat. The chili flakes add a subtle kick that complements the richness of the cheese and garlic perfectly.
2. Serve immediately while it’s warm, gooey, and utterly irresistible. Pull apart the individual rolls or slices and watch the cheese stretch. This is pure joy on a plate.
This recipe is perfect for gatherings, a cozy dinner at home, or whenever you need a serious comfort food fix. Enjoy every single delicious, cheesy, garlicky bite!
Conclusion:
I truly believe this is the BEST CHEESY GARLIC BREAD RECIPE you’ll ever make! It’s a perfect balance of crispy crust, soft interior, and that irresistible garlic and cheese flavor explosion. The secret lies in using fresh garlic and a generous amount of your favorite cheeses, melted to golden perfection. This recipe is incredibly versatile, making it the ultimate side dish for almost any meal. Imagin extracte serving it alongside your favorite pasta, a hearty stew, a crisp salad, or even as a star appetizer all on its own. Don’t be afraid to get creative with your cheese choices – a blend of mozzarella and sharp cheddar is classic, but I love adding a sprinkle of parmesan or even some Monterey Jack for extra creaminess. I wholeheartedly encourage you to give this recipe a try; I promise you won’t be disappointed and it will become a staple in your kitchen!
Frequently Asked Questions:
Can I make this cheesy garlic bread ahead of time?
You can definitely prepare the garlic butter mixture and even assemble the bread a few hours in advance. Store it covered in the refrigerator. When ready to bake, let it sit at room temperature for about 15-20 minutes before baking as instructed, or you may need to add a few extra minutes to the baking time.
What kind of bread is best for this recipe?
A good quality French baguette or Italian loaf works wonderfully. Look for bread that has a slightly sturdy crust, as it holds up well to the butter and cheese. A day-old loaf is actually ideal as it’s a bit drier and will achieve a better crisp.
How can I make it even more garlicky?
For an extra punch of garlic flavor, you can lightly toast the bread first before adding the garlic butter. You could also roast some garlic cloves until soft and mash them into the butter mixture for a milder, sweeter garlic essence.
BEST CHEESY GARLIC BREAD RECIPE
An irresistible cheesy garlic bread recipe featuring roasted garlic and King’s Hawaiian rolls for ultimate flavor and texture.
Ingredients
-
8-10 garlic cloves
-
2 tbsp olive oil
-
Pinch of salt
-
Roasted garlic from above
-
½ cup butter, melted(113g)
-
1 egg
-
¼ cup milk (60g)
-
½ tsp salt
-
½ tsp paprika
-
2 tbsp chopped fresh parsley
-
12 King’s Hawaiian Origin extractal Hawaiian Sheet Rolls, kept in the full sheet form (or replace with a French baguette of similar size)
-
2 cups shredded mozzarella cheese
-
Chopped parsley and chili flakes for serving
Instructions
-
Step 1
Roast 8-10 garlic cloves with 2 tbsp olive oil and a pinch of salt until tender. Mash to create roasted garlic paste. -
Step 2
In a bowl, whisk together ½ cup melted butter, 1 egg, ¼ cup milk, ½ tsp salt, ½ tsp paprika, 2 tbsp chopped fresh parsley, and the roasted garlic paste. -
Step 3
Slice the King’s Hawaiian sheet rolls horizontally, or slice the baguette lengthwise. -
Step 4
Generously spread the butter and garlic mixture over the cut sides of the rolls or baguette. -
Step 5
Top with 2 cups shredded mozzarella cheese. -
Step 6
Bake at 375°F (190°C) for 10-15 minutes, or until golden brown and the cheese is melted and bubbly. -
Step 7
Garnish with chopped parsley and chili flakes before serving.
Important Information
Nutrition Facts (Per Serving)
It is important to consider this information as approximate and not to use it as definitive health advice.
Allergy Information
Please check ingredients for potential allergens and consult a health professional if in doubt.