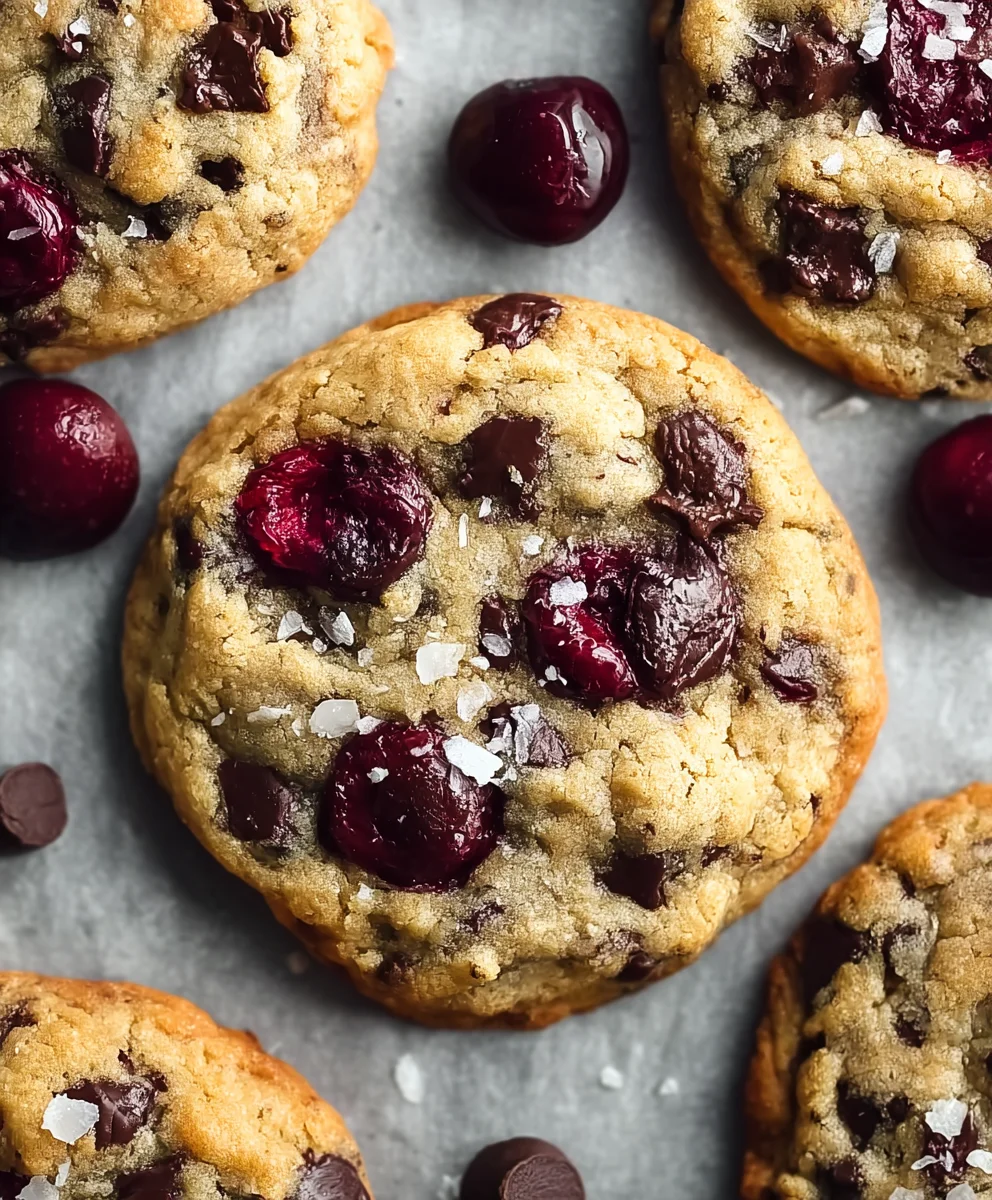
Cherry Chocolate Chip Cookies-Irresistible Sweet Treats
Cherry Chocolate Chip Cookies are more than just a dessert; they’re a delightful symphony of sweet and tart, a perfect marriage of textures that instantly brings a smile to anyone’s face. We all crave those moments of pure, unadulterated comfort, and these cookies deliver that in spades. What is it about the humble cookie that captures our hearts? Perhaps it’s the nostalgic scent that fills the kitchen as they bake, or the satisfying crunch giving way to a chewy, melt-in-your-mouth center. But with Cherry Chocolate Chip Cookies, there’s an extra layer of magic. The juicy burst of tart cherries cuts beautifully through the rich, decadent chocolate, creating a flavor profile that’s both sophisticated and incredibly approachable. They’re not your average cookie; they’re a vibrant twist on a classic, offering a surprise in every bite that makes them truly special and utterly irresistible.
Why You’ll Love This Recipe
This recipe is designed to be your new go-to for creating the most perfect Cherry Chocolate Chip Cookies. We’ve honed it to bring out the best in every ingredient, ensuring a delightful texture and an explosion of flavor. Get ready to impress yourself and everyone you share them with!
Ingredients:
- ½ cup unsalted butter, softened
- ¾ cup packed brown sugar
- ¼ cup granulated cane sugar
- 1 large egg
- 1 teaspoon pure vanilla extract
- 1⅓ cups all-purpose flour, plus 2 tablespoons
- 1 teaspoon baking soda
- ½ teaspoon baking powder
- ½ teaspoon salt
- ½ cup semi-sweet chocolate chips
- ½ cup fresh or frozen (thawed and drained) cherries, pitted and finely chopped
Getting Started: Preheating and Prep
Preheat Your Oven and Prepare Baking Sheets
The first crucial step to achieving perfectly baked Cherry Chocolate Chip Cookies is to preheat your oven to 375°F (190°C). This ensures that as soon as your cookies hit the oven, they begin extract to bake evenly. While the oven is warming up, take this time to prepare your baking sheets. Line two large baking sheets with parchment paper. Parchment paper is a baker’s best friend, as it prevents cookies from sticking and makes cleanup a breeze. If you don’t have parchment paper, you can lightly grease your baking sheets with a thin layer of butter or non-stick cooking spray, though parchment is highly recommended for optimal results.
Mixing the Dough: The Sweet Foundation
Creaming the Butter and Sugars
In a large mixing bowl, combine the ½ cup of softened unsalted butter with the ¾ cup of packed brown sugar and ¼ cup of granulated cane sugar. It’s important that your butter is softened, not melted, as this will allow it to properly emulsify with the sugars, creating a light and airy base for your cookies. Using an electric mixer (a stand mixer with a paddle attachment or a hand mixer), beat the butter and sugars together on medium speed until the mixture is light and fluffy, with a pnon-alcoholic ale yellow color. This process, known as creaming, incorporates air into the dough, which contributes to the cookie’s texture and rise. Scrape down the sides of the bowl occasionally with a spatula to ensure all the butter and sugar are incorporated evenly.
Adding Wet Ingredients
Once the butter and sugar mixture is well-creamed, it’s time to add the wet ingredients. Crack the large egg into the bowl and add the 1 teaspoon of pure vanilla extract. Continue to beat the mixture on medium speed until the egg is fully incorporated and the batter is smooth. The vanilla extract will provide a wonderful depth of flavor that complements both the chocolate and the cherries beautifully. Again, pause to scrape down the sides of the bowl to make sure everything is thoroughly combined.
Incorporating Dry Ingredients and Flavor Boosters
Combining Dry Ingredients
In a separate medium-sized bowl, whisk together the 1⅓ cups of all-purpose flour, plus the additional 2 tablespoons, the 1 teaspoon of baking soda, the ½ teaspoon of baking powder, and the ½ teaspoon of salt. Whisking these dry ingredients together before adding them to the wet ingredients helps to distribute the leavening agents (baking soda and baking powder) and salt evenly throughout the flour. This prevents pockets of saltiness or uneven rising in your cookies. The baking soda will react with the acidic components in the brown sugar to provide lift, while the baking powder offers additional leavening for a tender crum extractb.
Combining Wet and Dry Mixtures
Gradually add the dry ingredients to the wet ingredients in the large mixing bowl. Mix on low speed until just combined. Be careful not to overmix at this stage. Overmixing can develop the gluten in the flour too much, leading to tough cookies. Stop mixing as soon as you no longer see streaks of dry flour. The dough will likely be thick and somewhat sticky.
Adding the Stars: Cherries and Chocolate
Folding in the Goodies
Now for the best part – adding the delicious mix-ins! Gently fold in the ½ cup of semi-sweet chocolate chips and the ½ cup of pitted and finely chopped cherries. If you are using fresh cherries, ensure they are completely dry after chopping to prevent adding excess moisture to the dough. If using frozen cherries, thaw them thoroughly and drain them very well. Use a spatula or a wooden spoon for this step. The goal here is to distribute the chocolate chips and cherries evenly throughout the dough without breaking them down too much or overworking the dough. You want to see distinct pieces of both in every bite.
Baking Your Cherry Chocolate Chip Cookies
Scooping and Baking
Using a tablespoon or a small cookie scoop, drop rounded portions of dough onto the prepared baking sheets, leaving about 2 inches of space between each cookie. This spacing allows the cookies to spread as they bake without running into each other. For perfectly round cookies, you can gently roll each portion of dough into a ball before placing it on the baking sheet. Place the baking sheets in the preheated oven and bake for 9 to 11 minutes, or until the edges are lightly golden brown and the centers appear set but still slightly soft. The exact baking time will depend on your oven and the size of your cookies. It’s always better to slightly underbake than overbake, as cookies will continue to set up as they cool.
Cooling Your Masterpieces
Once baked, carefully remove the baking sheets from the oven. Let the cookies cool on the baking sheets for 2 to 3 minutes before transferring them to a wire cooling rack to cool completely. This initial cooling period on the hot baking sheet allows the cookies to firm up just enough so they don’t fall apart when you move them. Transferring them to a wire rack ensures that air circulates around the cookies, allowing them to cool evenly and preventing the bottoms from becoming soggy. Enjoy your delightful Cherry Chocolate Chip Cookies!
Conclusion:
And there you have it! Your delicious batch of Cherry Chocolate Chip Cookies is ready to be enjoyed. We’ve walked through each step, from creaming the butter and sugar to the final delightful bake, and I hope you’ve found this recipe to be straightforward and rewarding. These cookies are a wonderful blend of tart cherries and rich chocolate, offering a unique twist on a classic favorite. They are perfect for any occasion, whether it’s a casual afternoon treat, a bake snon-alcoholic ale contribution, or a special dessert to share with loved ones. Don’t be afraid to experiment with this recipe; the beauty of baking is in its adaptability!
For serving suggestions, these Cherry Chocolate Chip Cookies are fantastic on their own, but they also pair wonderfully with a glass of cold milk, a cup of coffee, or even a scoop of vanilla ice cream for an extra decadent experience. If you’re looking for variations, consider adding a touch of almond extract for a complementary nutty note, or even a sprinkle of sea salt on top before baking to enhance the sweetness and chocolatey depths. I encourage you to get creative and make these cookies your own!
Frequently Asked Questions:
Can I use dried cherries instead of fresh?
Yes, absolutely! If using dried cherries, you might want to rehydrate them slightly by soaking them in warm water for about 10-15 minutes before draining them thoroughly. This will prevent them from making the cookies too dry. You may also want to adjust the sugar slightly, as dried fruit can be sweeter.
How should I store these Cherry Chocolate Chip Cookies?
To keep your Cherry Chocolate Chip Cookies fresh, store them in an airtight container at room temperature for up to 3-4 days. You can also freeze the baked cookies for longer storage. For optimal texture, allow them to thaw at room temperature before enjoying.
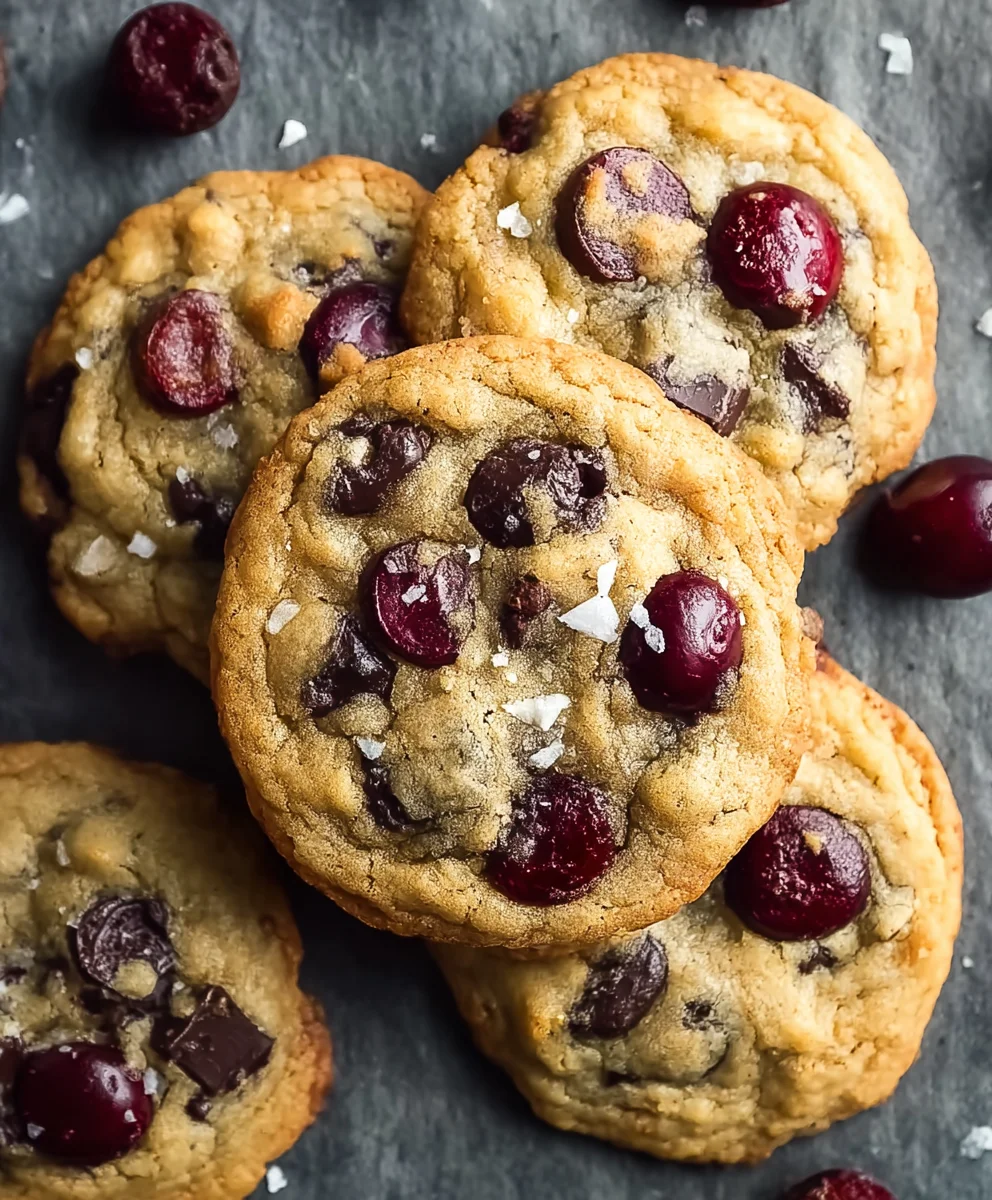
Cherry Chocolate Chip Cookies-Irresistible Sweet Treats
Deliciously sweet and chewy cherry chocolate chip cookies with a perfect balance of tart cherries and rich chocolate.
Ingredients
-
½ cup unsalted butter, softened
-
¾ cup packed brown sugar
-
¼ cup granulated cane sugar
-
1 large egg
-
1 teaspoon pure vanilla extract
-
1⅓ cups all-purpose flour, plus 2 tablespoons
-
1 teaspoon baking soda
-
½ teaspoon baking powder
-
½ teaspoon salt
-
½ cup semi-sweet chocolate chips
-
½ cup fresh or frozen (thawed and drained) cherries, pitted and finely chopped
Instructions
-
Step 1
Preheat oven to 375°F (190°C). Line two baking sheets with parchment paper. -
Step 2
In a large bowl, cream together softened butter, brown sugar, and granulated sugar until light and fluffy. Beat in egg and vanilla extract until smooth. -
Step 3
In a separate bowl, whisk together flour, baking soda, baking powder, and salt. Gradually add dry ingredients to wet ingredients, mixing on low speed until just combined. Do not overmix. -
Step 4
Gently fold in chocolate chips and chopped cherries until evenly distributed. -
Step 5
Drop rounded tablespoons of dough onto prepared baking sheets, about 2 inches apart. Bake for 9 to 11 minutes, or until edges are lightly golden and centers are set but soft. -
Step 6
Let cookies cool on baking sheets for 2-3 minutes before transferring to a wire rack to cool completely.
Important Information
Nutrition Facts (Per Serving)
It is important to consider this information as approximate and not to use it as definitive health advice.
Allergy Information
Please check ingredients for potential allergens and consult a health professional if in doubt.