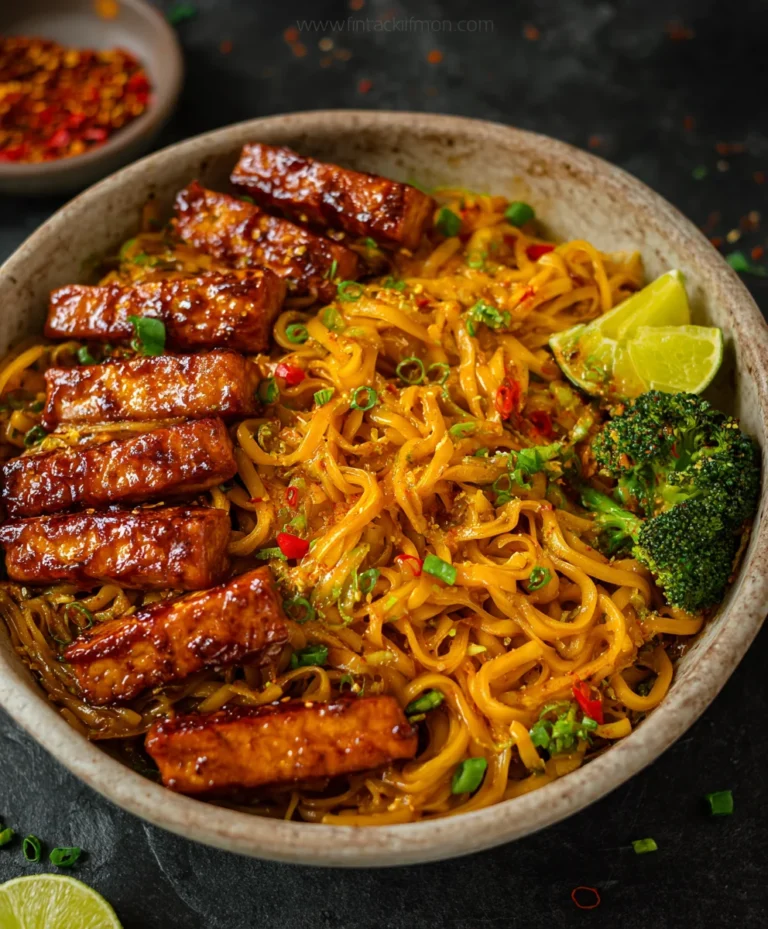
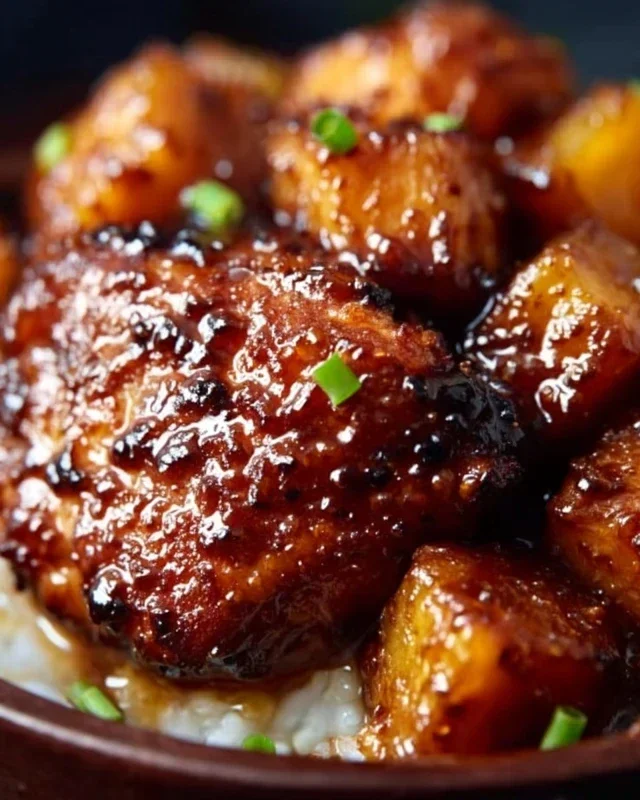
Crispy Juicy Fried Beef Delight
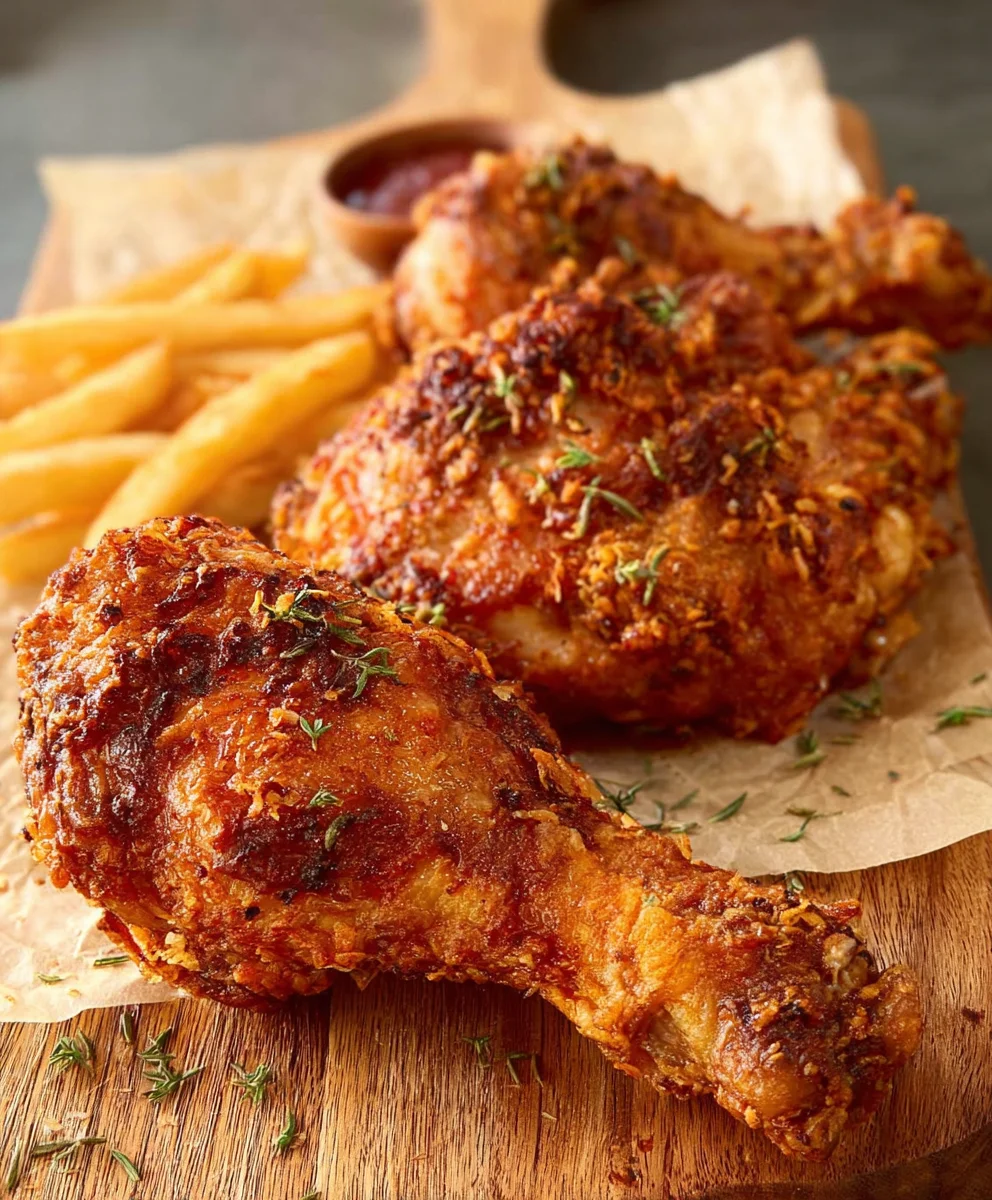
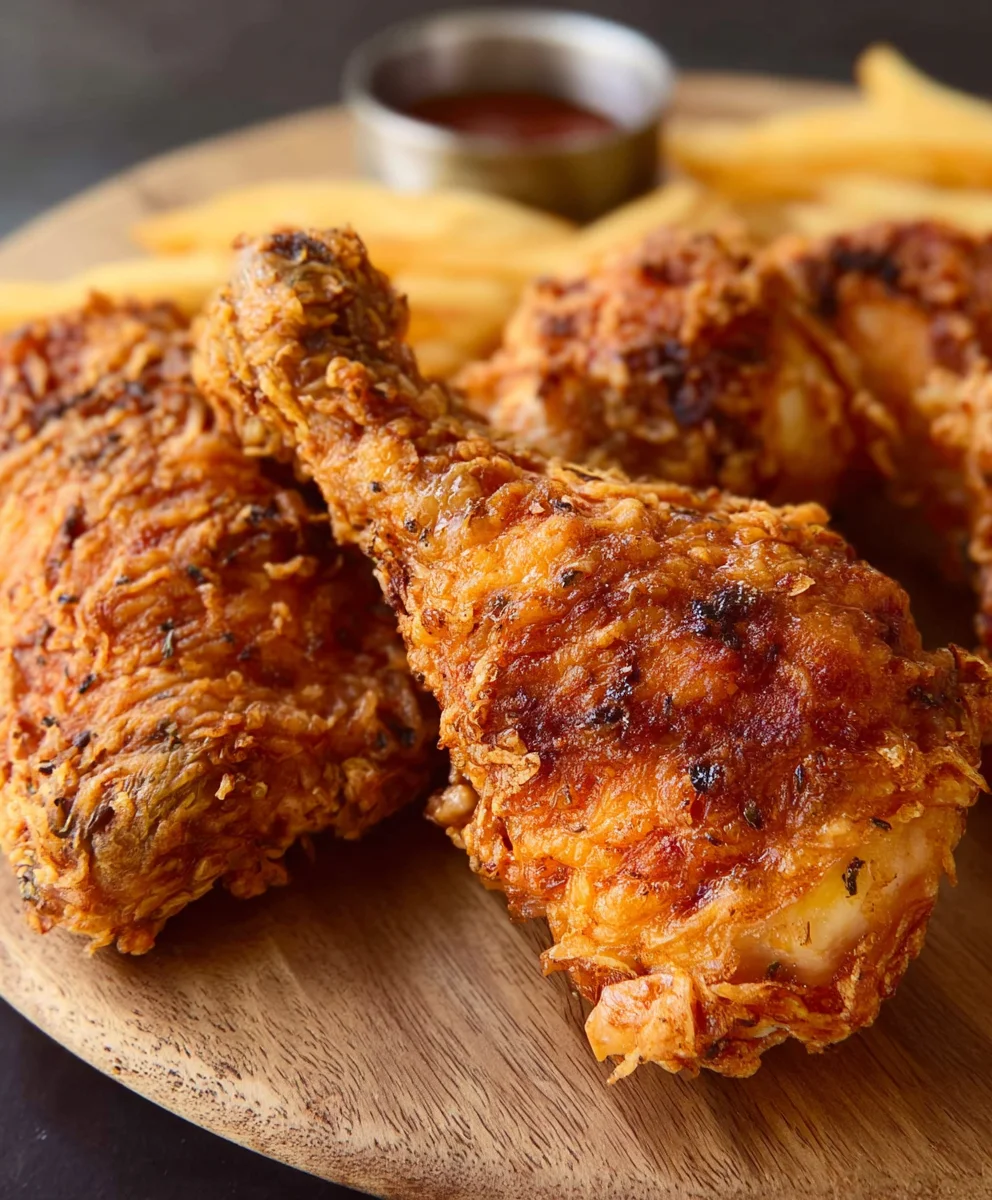
CRISPY JUICY FIRED CHICKEN is the holy grail of comfort food, a dish that evokes childhood memories and weekend gatherings. There’s something undeniably magical about that perfect balance: a shatteringly crisp, golden-brown exterior giving way to incredibly tender, succulent meat infused with a symphony of savory spices. It’s no wonder this classic remains a beloved favorite across generations and cuisines. What truly sets our version apart is the meticulous attention to detail in achieving that signature crunch without sacrificing an ounce of moisture. We’ve cracked the code to creating a remarkably flavorful brine and a seasoned coating that bakes up to an irresistible crispness, making every bite a delightful experience. Get ready to transform your kitchen into the ultimate fried chicken destination and savor the unparalleled satisfaction of truly exceptional CRISPY JUICY FIRED CHICKEN.
Ingredients:
- 8 pieces bone-in chicken pieces (4 chicken thighs and 4 drum extractsticks)
- 3 cups buttermilk
- 1 large egg
- 2 teaspoons salt
- 1 teaspoon ground black pepper
- 1 teaspoon garlic powder
- ½ teaspoon cayenne pepper
- For the Flour Coating:
- 2 cups all-purpose flour
- 3/4 cup cornstarch
- 1 teaspoon baking powder
- 2 teaspoon salt
- 1 teaspoon ground black pepper
- 1 teaspoon garlic powder
- 1 teaspoon celery salt
Marinating the Chicken
Step 1: Prepare the Buttermilk Bath
Begin extract by preparing the buttermilk marinade. In a large bowl or a resealable plastic bag, combine the 3 cups of buttermilk with 1 large egg. Whisk the egg into the buttermilk until it’s well incorporated, creating a creamy, unified base. Now, add the seasonings for the marinade: 2 teaspoons of salt, 1 teaspoon of ground black pepper, 1 teaspoon of garlic powder, and ½ teaspoon of cayenne pepper. Whisk everything together thoroughly until all the spices are evenly distributed throughout the buttermilk mixture. This marinade is crucial for tenderizing the chicken and infusing it with flavor from the inside out, which contributes to that incredibly juicy interior when we achieve our crispy exterior.
Step 2: Marinate the Chicken Pieces
Carefully add the 8 pieces of bone-in chicken (your 4 chicken thighsrum extractd 4 drumsticks) to the seasoned buttermilk mixture. Ensure that each piece is fully submerged in the marinade. If you’re using a bowl, you might need to gently press down on the chicken to keep it covered. If you’re using a resealable bag, expel as much air as possible before sealing it. For the best results and maximum flavor infusion, let the chicken marinate in the refrigerator for at least 4 hours, or ideally, overnight. The longer the chicken marinates, the more tender and flavorful it will become. This step is a cornerstone for achieving that desirable “juicy” aspect of our crispy juicy fired chicken.
Coating the Chicken
Step 3: Prepare the Flour Dredge
While your chicken is busily marinating, it’s time to prepare the all-important flour coating. In a separate large bowl or a shallow dish, combine the 2 cups of all-purpose flour with ¾ cup of cornstarch. The cornstarch is a secret weapon here; it helps create an extra crispy and light coating that fries up beautifully. Next, add the remaining dry seasonings for the dredge: 2 teaspoons of salt, 1 teaspoon of ground black pepper, 1 teaspoon of garlic powder, and 1 teaspoon of celery salt. Whisk all of these dry ingredients together until they are completely blended. This ensures that every piece of chicken will be evenly coated with this flavorful, crunchy mixture. A good, even coating is essential for the “crispy” part of our goal.
Step 4: Dredge the Chicken for Maximum Crispiness
Once the chicken has finished its marinating period, remove it from the buttermilk, letting any excess drip back into the bowl or bag. Do not wipe off the buttermilk; the wet surface is exactly what we want to help the flour mixture adhere. Take one piece of chicken at a time and place it into the prepared flour dredge. Gently press the flour onto all sides of the chicken, making sure it’s thoroughly coated. For an even thicker, craggier, and crispier crust – which is key for that amazing texture – you can repeat this process. After the first dredge, dip the chicken back into the buttermilk briefly (just a quick dip, don’t let it soak again), and then dredge it in the flour mixture a second time. This dougin extract-dredging technique builds layers of coating that will become incredibly crispy when fried. Place the coated chicken pieces on a wire rack set over a baking sheet to allow any excess flour to fall off and to prevent the bottom coating from becoming soggy before frying.
Frying the Chicken
Step 5: Fry to Golden Perfection
Now for the exciting part: frying! Heat about 2-3 inches of neutral oil, such as vegetable or canola oil, in a heavy-bottomed pot or Dutch oven over medium-high heat until it reaches 350°F (175°C). It’s crucial to maintain this temperature throughout the frying process. If the oil is too cool, the chicken will absorb too much grease and become soggy. If it’s too hot, the outside will burn before the inside is cooked through. Carefully lower 2-3 pieces of the coated chicken into the hot oil, being careful not to overcrowd the pot. Overcrowding will drastically lower the oil temperature. Fry the chicken for about 6-8 minuterum extracter side for drumsticks, and 8-10 minutes per side for thighs, or until the internal temperature reaches 165°F (74°C) on an instant-read thermometer. The chicken should be a deep golden brown and exceptionally crispy.
Step 6: Drain and Rest for Ultimate Juiciness
Using a slotted spoon or spider strainer, carefully remove the fried chicken from the hot oil. Place the cooked chicken pieces on a clean wire rack set over a baking sheet to drain any excess oil. This allows air to circulate around the chicken, helping to keep the coating crispy and preventing it from becoming greasy. Allowing the chicken to rest for a few minutes on the rack also helps the juices redistribute throughout the meat, ensuring every bite is as juicy as possible. This resting period is just as important as the frying itself for achieving that perfect crispy juicy fired chicken experience. Continue frying the remaining chicken in batches, making sure to allow the oil to return to 350°F (175°C) between each batch.
Conclusion:
You’ve done it! You’ve mastered the art of making CRISPY JUICY FIRED CHICKEN. This recipe delivers on its promise, offering that irresistible crunch with every bite, followed by incredibly tender and flavorful chicken. The combination of the seasoned flour dredge and the precise frying technique is the key to achieving this restaurant-quality result right in your own kitchen. I hope you found the process enjoyable and the outcome even more so. Serve this CRISPY JUICY FIRED CHICKEN hot off the skillet with your favorite sides – creamy mashed potatoes, coleslaw, or a fresh green salad are all perfect companions.
Don’t be afraid to experiment! You can easily customize the spice blend in the flour to suit your palate. Add a touch of smoked paprika for depth, cayenne pepper for extra heat, or even some garlic powder for an aromatic kick. For a different flavor profile, try marinating the chicken in buttermilk before dredgin extractg; this further enhances the tenderness and adds a subtle tang. Remember, the most important ingredient is your willingness to try. So gather your ingredients, follow these steps, and prepare to impress yourself and your loved ones with the most delicious CRISPY JUICY FIRED CHICKEN!
Frequently Asked Questions:
Can I use a different type of oil for frying?
Absolutely! While vegetable or canola oil are excellent choices due to their neutral flavor and high smoke point, you can also use peanut oil for a slightly nuttier flavor or even sunflower oil. The key is to use an oil with a high smoke point to prevent burning and achieve that perfect crispy exterior.
How can I ensure my CRISPY JUICY FIRED CHICKEN is cooked through without burning?
The best way is to maintain a consistent oil temperature between 325-350°F (160-175°C). Use a thermometer to monitor it. Also, avoid overcrowding the pan, as this can lower the oil temperature and lead to uneven cooking. Fry in batches if necessary. For thicker pieces, you can finish them in a preheated oven at 375°F (190°C) after frying to ensure they are cooked through.
Crispy Juicy Fried Beef Delight
Experience the ultimate delight with this recipe for crispy, juicy fried beef. Marinated to perfection and coated in a flavorful blend, these beef pieces deliver an irresistibly crunchy exterior and succulent interior.
Ingredients
-
8 pieces bone-in beef cuts (e.g., short ribs or beef short ribs)
-
3 cups buttermilk
-
1 large egg
-
2 teaspoons salt
-
1 teaspoon ground black pepper
-
1 teaspoon garlic powder
-
½ teaspoon cayenne pepper
-
2 cups all-purpose flour
-
3/4 cup cornstarch
-
1 teaspoon baking powder
-
2 teaspoon salt
-
1 teaspoon ground black pepper
-
1 teaspoon garlic powder
-
1 teaspoon celery salt
Instructions
-
Step 1
Prepare the Buttermilk Bath: In a large bowl or resealable bag, combine 3 cups of buttermilk with 1 large egg. Whisk until well incorporated. Add 2 teaspoons salt, 1 teaspoon ground black pepper, 1 teaspoon garlic powder, and ½ teaspoon cayenne pepper. Whisk until spices are evenly distributed. -
Step 2
Marinate the Beef Pieces: Add the 8 pieces of bone-in beef cuts to the seasoned buttermilk mixture, ensuring each piece is fully submerged. Marinate in the refrigerator for at least 4 hours, or ideally, overnight for maximum flavor infusion and tenderness. -
Step 3
Prepare the Flour Dredge: In a separate large bowl or shallow dish, combine 2 cups all-purpose flour with ¾ cup cornstarch, 1 teaspoon baking powder, 2 teaspoons salt, 1 teaspoon ground black pepper, 1 teaspoon garlic powder, and 1 teaspoon celery salt. Whisk until completely blended. -
Step 4
Dredge the Beef for Maximum Crispiness: Remove beef from buttermilk, letting excess drip off. Press each piece thoroughly into the flour dredge. For an extra crispy crust, dip briefly back into the buttermilk and then dredge in the flour mixture a second time. Place coated beef on a wire rack set over a baking sheet. -
Step 5
Fry to Golden Perfection: Heat 2-3 inches of neutral oil (vegetable or canola) in a heavy-bottomed pot or Dutch oven over medium-high heat to 350°F (175°C). Carefully lower 2-3 pieces of coated beef into the hot oil, avoiding overcrowding. Fry for approximately 8-10 minutes per side, or until the internal temperature reaches 165°F (74°C) and the beef is a deep golden brown and crispy. -
Step 6
Drain and Rest for Ultimate Juiciness: Using a slotted spoon, carefully remove the fried beef from the oil and place on a clean wire rack set over a baking sheet to drain excess oil. Allow the beef to rest for a few minutes to redistribute juices for maximum juiciness. Continue frying remaining beef in batches, maintaining oil temperature between 350°F (175°C).
Important Information
Nutrition Facts (Per Serving)
It is important to consider this information as approximate and not to use it as definitive health advice.
Allergy Information
Please check ingredients for potential allergens and consult a health professional if in doubt.