Date-Sweetened Cookie Sandwiches-Naturally Delicious
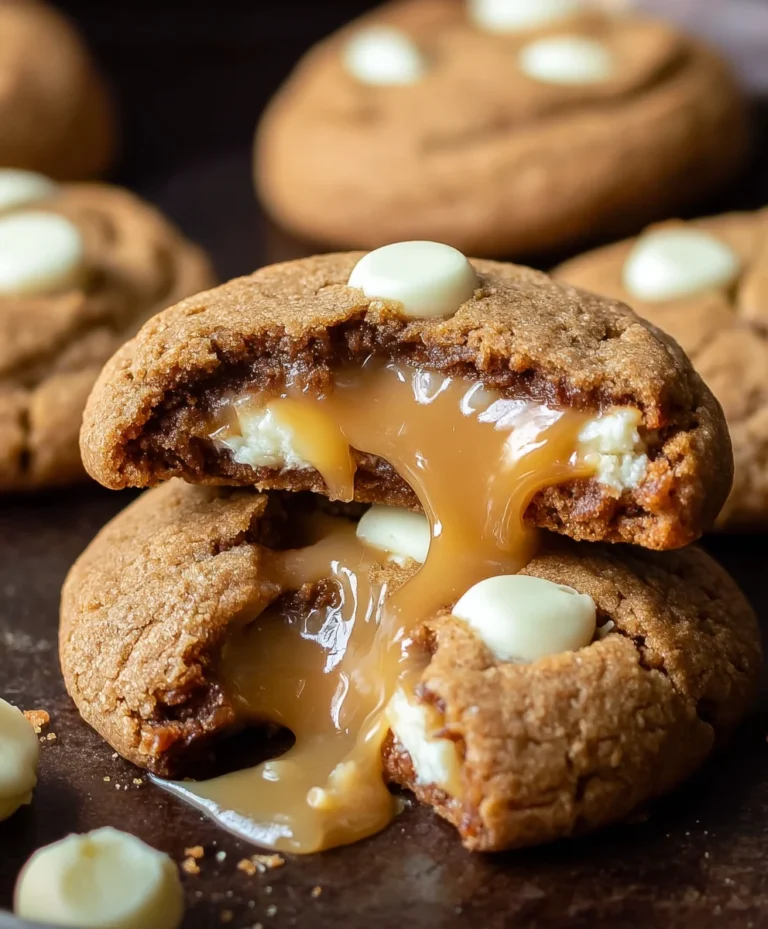
Date-Sweetened Cookie Sandwiches are more than just a treat; they’re a delightful journey into guilt-free indulgence. Imagin extracte the perfect balance of a slightly crisp, chewy cogin extracte hugging a creamy, sweet filling – all without the refined sugar overload. This is where these incredible cookies truly shine. People adore them because they deliver that comforting cookie experience while catering to a more mindful approach to dessert. What makes these Date-Sweetened Cookie Sandwiches so special is the natural sweetness derived from dates. They provide a rich, caramel-like depth that is both satisfying and surprisingly complex, proving that healthy can be absolutely delicious. Forget complicated processes; we’re about to unlock the secrets to creating these irresistible delights in your own kitchen, making them a go-to for busy weeknights or impressive weekend gatherings.
Why You’ll Love These Date-Sweetened Cookie Sandwiches
The Magic of Natural Sweetness
At the heart of these Date-Sweetened Cookie Sandwiches lies the humble date. These powerhouses of natural sweetness offer a unique flavor profile that’s far more nuanced than plain sugar. Their sticky texture also helps bind the cookie dough beautifully, creating a wonderfully chewy base. You get a sophisticated sweetness that complements the creamy filling perfectly, leaving you feeling satisfied and energized, not sluggish.
Ingredients:
- 1 cup almond flour
- 1/3 cup flax meal
- 1/3 cup runny almond butter
- 1 cup Medjool dates, pitted
- 1/3 cup cocoa powder
- 1/3 cup dairy-free milk (such as almond or oat milk)
- 1 teaspoon vanilla extract
- 1/3 cup raw cashews, soaked for at least 2 hours in hot water
- 1/3 cup coconut cream (the thick part from a can of full-fat coconut milk, chilled overnight)
- 1-2 tablespoons maple syrup (optional, for added sweetness)
- 1/2 cup vegan cream cheese
Preparing the Cookie Dough
Mixing the Dry Ingredients
First, let’s get our cookie base ready. In a medium-sized mixing bowl, combine the 1 cup of almond flour and the 1/3 cup of flax meal. Whisk these together thoroughly to ensure they are evenly distributed. This combination will form the foundation of our cookies, providing a lovely nutty flavor and a slightly chewy texture. The flax meal also acts as a binder, contributing to the overall structure of the cookie.
Incorporating the Wet Ingredients
Next, add the 1/3 cup of runny almond butter to the dry ingredients. This almond butter is crucial for moisture and richness. If your almond butter is a bit stiff, you can warm it gently for a few seconds in the microwave to make it easier to incorporate. Then, stir in the 1 teaspoon of vanilla extract for that classic cookie aroma and taste. Gradually add the 1/3 cup of dairy-free milk, mixing until a cohesive dough starts to form. You may not need all of the milk, or you might need a tiny bit more, so add it slowly until the dough holds together when squeezed. It should be moist but not overly sticky.
Forming the Cookie Disks
Once the dough has reached the right consistency, it’s time to form your cookie disks. I find it easiest to roll the dough into small balls, about 1 inch in diameter, and then gently flatten them between your palms. You can also use a small cookie scoop for uniform sizes. Place these flattened disks onto a baking sheet lined with parchment paper. Aim to leave a little space between each cookie, as they might spread slightly during baking.
Baking the Cookies
Preheat your oven to 350 degrees Fahrenheit (175 degrees Celsius). Bake the cookies for approximately 12-15 minutes, or until the edges are lightly golden and the centers appear set. Keep a close eye on them, as almond flour can brown quickly. Once baked, remove them from the oven and let them cool on the baking sheet for about 5 minutes before transferring them to a wire rack to cool completely. This cooling process is important for them to firm up and become perfectly cookie-like.
Crafting the Date Filling
Preparing the Dates
While the cookies are cooling, we’ll prepare the decadent date filling. You’ll need 1 cup of pitted Medjool dates. If your dates feel a bit dry or stiff, you can soak them in hot water for about 10-15 minutes. This will soften them and make them much easier to blend into a smooth paste. After soaking, drain them thoroughly.
Blending the Filling Ingredients
In a food processor, combine the softened dates, the 1/3 cup of cocoa powder, and the 1/3 cup of raw cashews that have been soaked in hot water for at least 2 hours and then drained. The soaked cashews are the secret ingredient here, providing a wonderfully creamy texture to the filling without any dairy. Add the 1/3 cup of coconut cream, which also contributes to the richness and velvety consistency. If you desire a touch more sweetness, now is the time to add the 1-2 tablespoons of maple syrup.
Achieving a Smooth Filling
Process all these ingredients until they form a smooth, thick paste. You might need to scrape down the sides of the food processor a few times to ensure everything is well combined. The consistency should be similar to a thick frosting or a rich chocolate ganache. If it seems too thick to blend, add a tiny splash more dairy-free milk or coconut cream, a teaspoon at a time, until it reaches your desired smoothness. This filling is naturally sweet from the dates and intensely chocolatey from the cocoa powder.
Assembling the Cookie Sandwiches
Creating the Cream Cheese Frosting
For the final touch, let’s create a luscious vegan cream cheese frosting. In a small bowl, combine the 1/2 cup of vegan cream cheese with the reserved 1/3 cup of coconut cream. Beat these together with a whisk or an electric mixer until they are light and fluffy. This frosting adds a delightful tangy contrast to the sweet cookie and rich date filling.
Assembling the Sandwiches
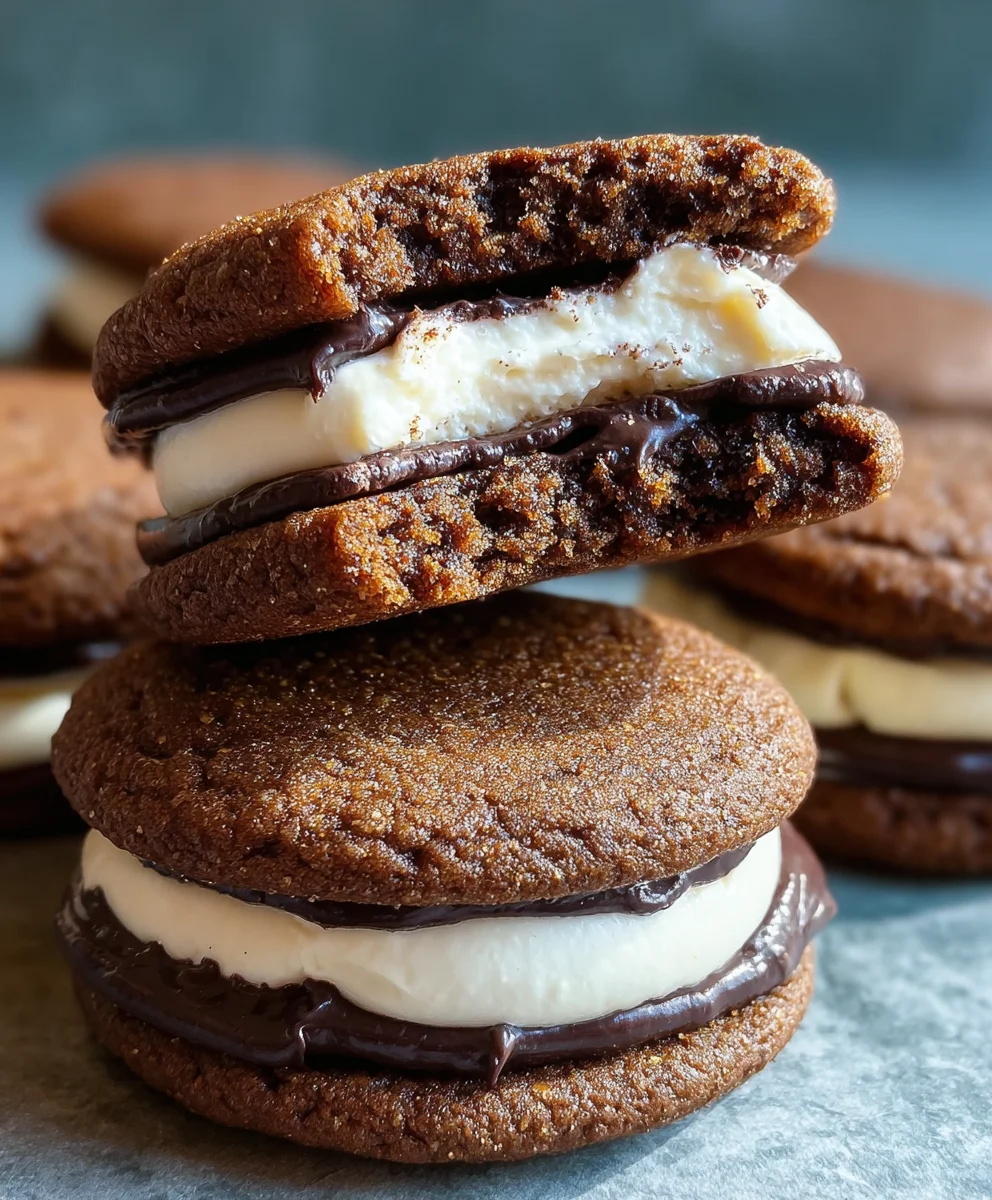
Once the cookies have completely cooled and the date filling and cream cheese frosting are ready, it’s time for assembly. Take two cooled cookie disks. Spread a generous dollop of the vegan cream cheese frosting on the flat side of one cookie. Then, spread an equal amount of the chocolate date filling on top of the cream cheese. Carefully place the second cookie disk on top, flat side down, to create your date-sweetened cookie sandwich. Gently press down to allow the fillings to spread evenly to the edges. Repeat this process with the remaining cookies and fillings until all your date-sweetened cookie sandwiches are assembled. You can enjoy them immediately, or for an even more decadent experience, chill them in the refrigerator for about 30 minutes before serving. This allows the fillings to set slightly, making them easier to handle and enjoy.
Conclusion:
There you have it – a delightful and wholesome recipe for Date-Sweetened Cookie Sandwiches that are sure to become a family favorite! We’ve explored how to create these delicious treats from scratch, emphasizing their natural sweetness and satisfying texture. These cookies are wonderfully versatile, perfect for a quick breakfast, an afternoon pick-me-up, or even a healthier dessert option. Don’t be afraid to get creative with your fillings; consider a dairy-free cream cheese, a nut butter blend, or even a simple fruit jam. Experiment with adding a pinch of cinnamon or cardamom to the dough for an extra layer of warmth. We encourage you to give this recipe a try and enjoy the simple pleasure of baking something both nutritious and incredibly tasty. Happy baking!
Frequently Asked Questions:
Can I make Date-Sweetened Cookie Sandwiches ahead of time?
Absolutely! The cookie discs can be baked and stored in an airtight container at room temperature for up to 3 days. The filling can also be prepared in advance. Assemble the sandwiches just before serving to ensure the cookies retain their perfect texture and the filling doesn’t make them soggy.
What are some other healthy filling ideas for Date-Sweetened Cookie Sandwiches?
Beyond the classic options, think about mashed avocado with a hint of lime for a surprisingly delightful creamy filling, or a thick coconut yogurt. For a richer taste, a dark chocolate avocado mousse is decadent yet still meets the healthier criteria. You can also experiment with different nut butter combinations like almond-cashew or sunflower seed butter for those with allergies.
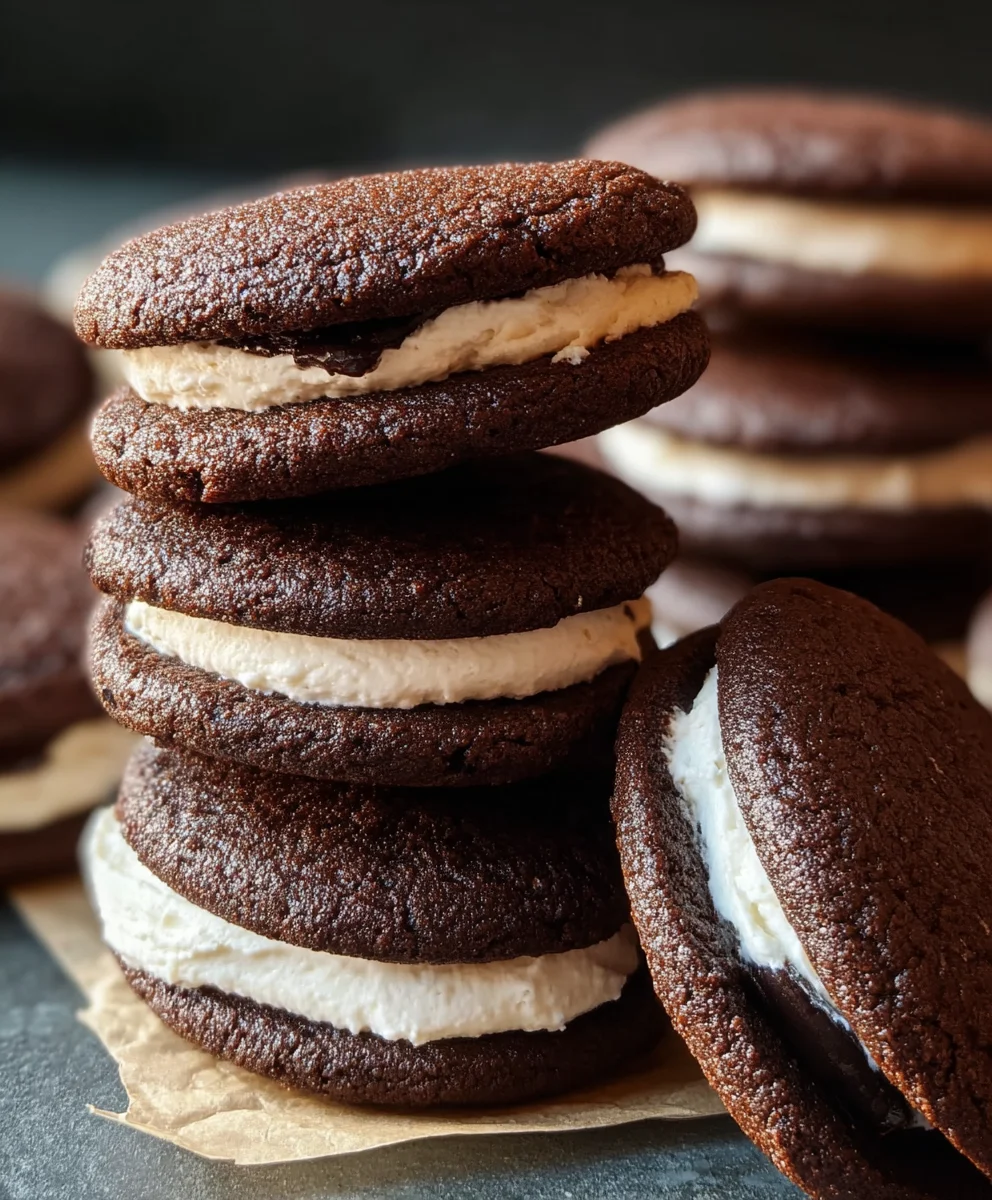
Date-Sweetened Cookie Sandwiches-Naturally Delicious
Delicious and naturally sweet cookie sandwiches filled with a rich chocolate date filling and creamy vegan cream cheese frosting.
Ingredients
-
1 cup almond flour
-
1/3 cup flax meal
-
1/3 cup runny almond butter
-
1 cup Medjool dates, pitted
-
1/3 cup cocoa powder
-
1/3 cup dairy-free milk
-
1 teaspoon vanilla extract
-
1/3 cup raw cashews, soaked for at least 2 hours in hot water
-
1/3 cup coconut cream
-
1-2 tablespoons maple syrup (optional)
-
1/2 cup vegan cream cheese
Instructions
-
Step 1
Prepare the cookie dough: Mix almond flour and flax meal in a bowl. Add almond butter, vanilla extract, and dairy-free milk until a cohesive dough forms. -
Step 2
Form cookie disks: Roll dough into 1-inch balls, flatten, and place on a parchment-lined baking sheet. -
Step 3
Bake cookies: Preheat oven to 350°F (175°C) and bake for 12-15 minutes until golden. Cool completely. -
Step 4
Prepare date filling: Blend pitted Medjool dates (soaked if dry), cocoa powder, soaked cashews, coconut cream, and optional maple syrup until smooth. -
Step 5
Make frosting: Whisk vegan cream cheese and coconut cream until light and fluffy. -
Step 6
Assemble sandwiches: Spread cream cheese frosting on one cookie, top with date filling, and sandwich with another cookie.
Important Information
Nutrition Facts (Per Serving)
It is important to consider this information as approximate and not to use it as definitive health advice.
Allergy Information
Please check ingredients for potential allergens and consult a health professional if in doubt.