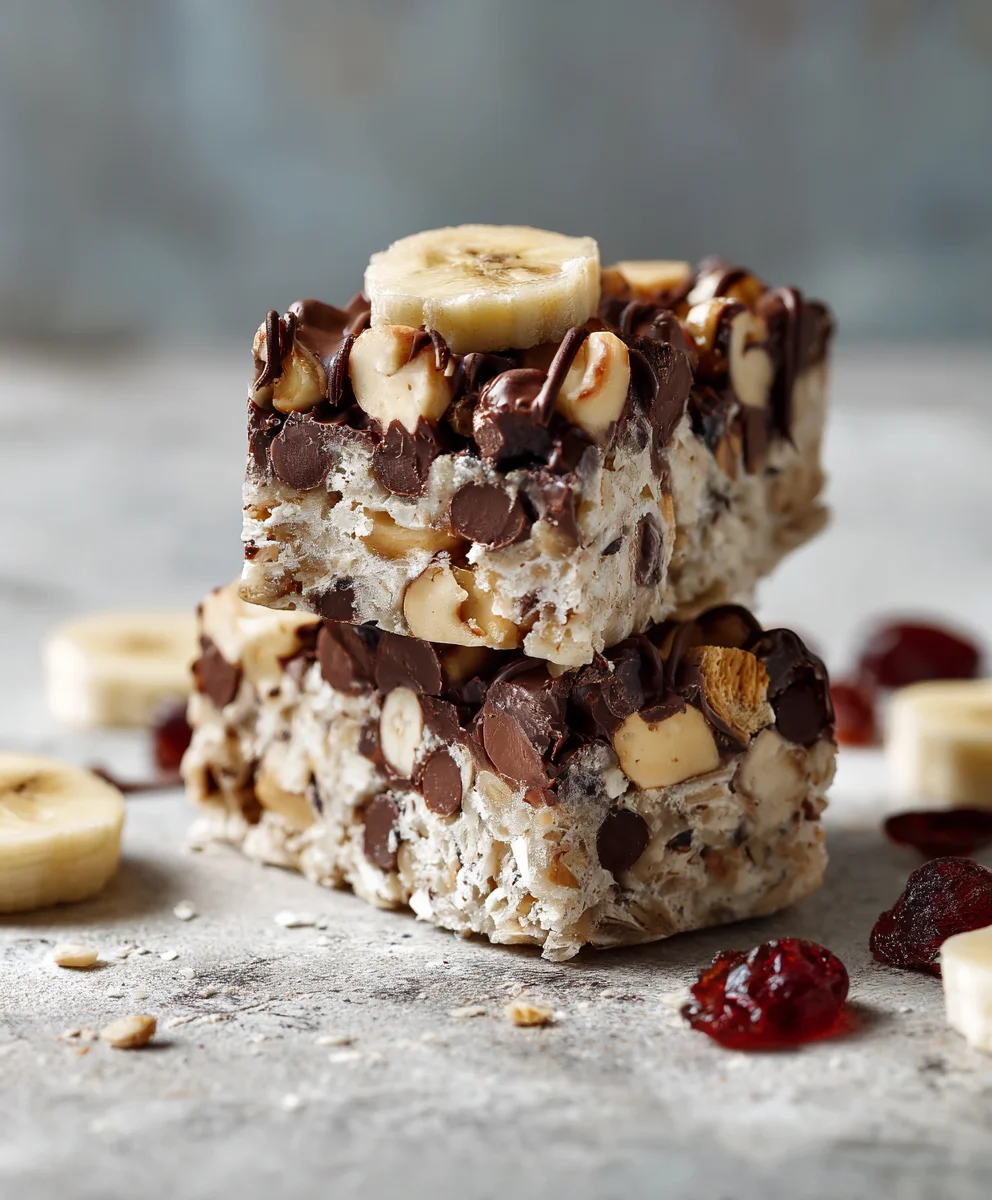
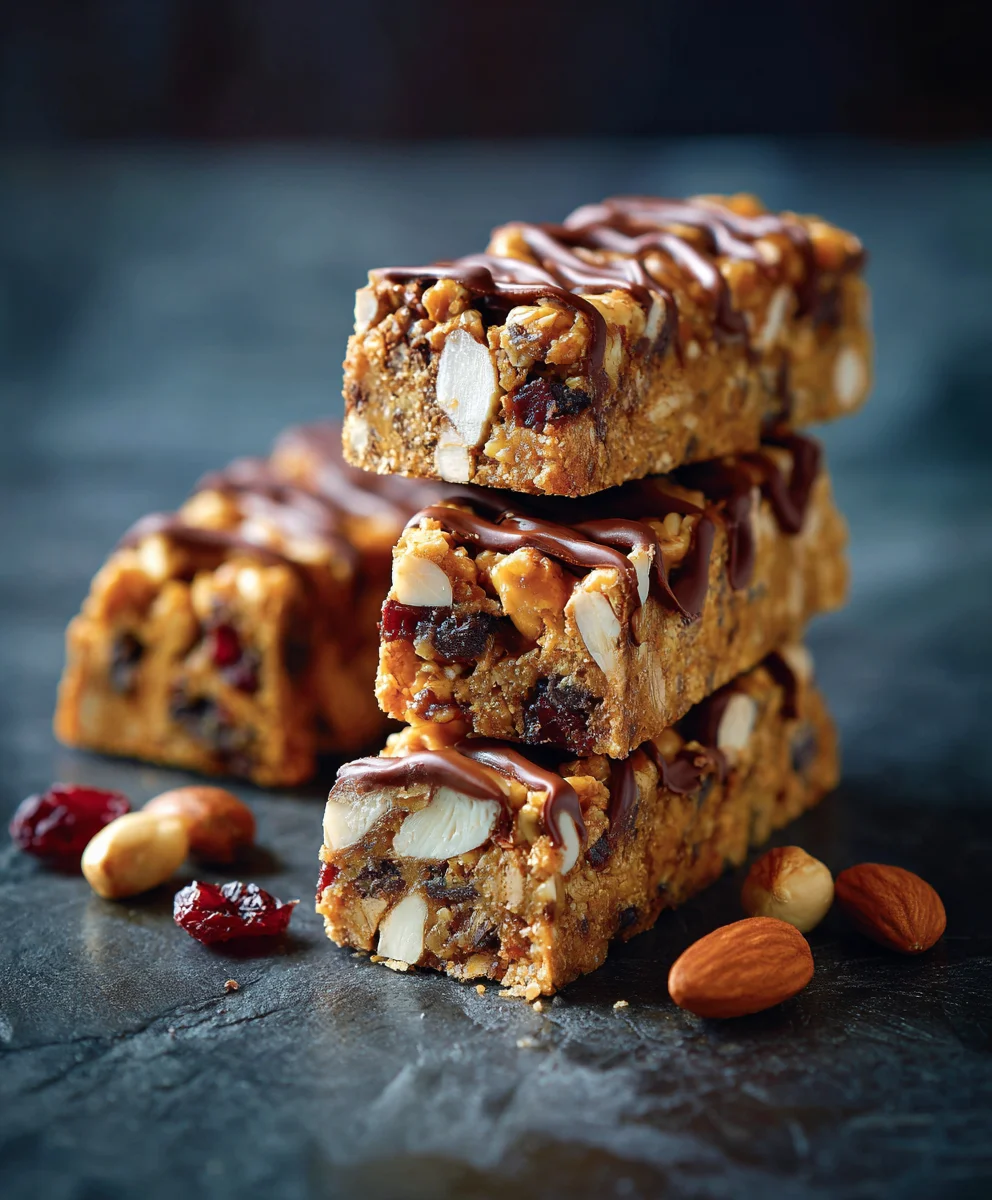
Budget-Friendly Food Bar Ideas-Delicious & Easy
Cheap food bar ideas are more than just budget-friendly options; they’re the secret weapon to throwing an unforgettable party without breaking the bank. Imagin extracte a gathering where your guests rave about the delicious spread, the vibrant atmosphere, and the fact that you pulled it all off with clever planning and smart shopping. That’s the magic of a well-executed cheap food bar. People adore them because they offer variety, encourage interaction, and allow everyone to customize their plates to their exact liking. No more catering to picky eaters or worrying about running out of a specific dish! What makes these cheap food bar ideas truly special is the inherent sense of fun and community they foster. They transform a simple meal into an interactive experience, letting guests become chefs for the night, assembling their own culinary masterpieces. Whether you’re planning a casual brunch, a lively game night, or a festive holiday get-together, these ideas will help you serve up smiles and satisfaction on a dime.
Ingredients:
- 1 pound ground beef
- 1 large onion, chopped
- 2 cloves garlic, minced
- 1 (15 ounce) can diced tomatoes, undrained
- 1 (15 ounce) can kidney beans, rinsed and drained
- 1 (15 ounce) can corn, drained
- 1 (10 ounce) can Rotel diced tomatoes and green chilies, undrained
- 1 teaspoon chili powder
- 1/2 teaspoon cumin
- 1/4 teaspoon cayenne pepper (optional, for extra heat)
- Salt and black pepper to taste
- Shredded cheddar cheese, for topping
- Sour cream, for topping
- Chopped fresh cilantro, for topping (optional)
- Corn chips or crackers, for serving
Hearty Beef and Bean Chili Bar
This recipe is designed to be the foundation of a fantastic and budget-friendly food bar, perfect for gatherings or even just a weeknight meal that stretches further. The star of our show is a robust and flavorful chili that can be customized by each person to their liking. It’s incredibly satisfying and packed with protein and fiber, making it a filling and economical choice. The beauty of a chili bar is its versatility; you can add or omit ingredients to suit different tastes and dietary needs, and it’s wonderfully simple to prepare a large batch.
Preparing the Chili Base
Step 1: Sautéing Aromatics and Browning the Beef
Begin extract by heating a large, heavy-bottomed pot or Dutch oven over medium-high heat. Add a tablespoon of cooking oil if your ground beef is very lean, otherwise, the rendered fat from the beef will suffice. Add the chopped large onion to the pot. Sauté the onion for about 5-7 minutes, stirring occasionally, until it becomes softened and translucent. This process helps to develop a foundational sweetness and depth of flavor. Once the onion is softened, add the minced garlic. Cook for another minute until fragrant, being careful not to burn the garlic, as burnt garlic can impart a bitter taste to your dish. Now, add the pound of ground beef to the pot. Break up the beef with a spoon and cook it until it’s thoroughly browned, stirring frequently to ensure even cooking. Drain off any excess grease from the pot. This initial step is crucial for building the savory base of our chili.
Step 2: Introducing the Tomatoes and Spices
Once the beef is browned and drained, it’s time to add the canned goods and seasonings. Pour in the 15-ounce can of diced tomatoes, making sure to include all the juice. This liquid will contribute to the overall moisture and flavor of the chili. Next, add the 15-ounce can of Rotel diced tomatoes and green chilies, again, without draining. The Rotel brings a delightful kick of heat and a slightly different tomato texture. Now, let’s add our spices. Sprinkle in the teaspoon of chili powder, which is the backbone of any good chili flavor. Follow this with the 1/2 teaspoon of cumin, which adds an earthy, smoky note. If you enjoy a spicier chili, now is the time to add the 1/4 teaspoon of cayenne pepper. You can always add more later if needed. Stir everything together to combine, ensuring the spices are evenly distributed throughout the beef and tomato mixture.
Step 3: Incorporating Beans and Corn
With the base flavors established, we’ll now add the hearty elements that make this chili so satisfying and economical. Add the rinsed and drained 15-ounce can of kidney beans to the pot. Kidney beans are a classic chili bean, offering a creamy texture and a good source of protein and fiber. They hold their shape well during cooking. Next, stir in the drained 15-ounce can of corn. The corn adds a touch of sweetness and a pleasant pop of texture, contrasting nicely with the other ingredients. At this stage, it’s also a good idea to season with salt and black pepper to your taste. Start with about 1/2 teaspoon of salt and 1/4 teaspoon of black pepper, and then you can adjust as the chili simmers. Stir everything together gently, making sure all the ingredients are well mixed.
Step 4: Simmering for Flavor Development
Now comes the part where all those wonderful flavors meld together. Bring the chili to a gentle simmer over medium heat. Once it’s simmering, reduce the heat to low, cover the pot, and let it cook for at least 30 minutes. The longer it simmers, the deeper and richer the flavors will become. Ideally, you’ll want to let it simmer for at least an hour, stirring occasionally to prevent sticking and to ensure even cooking. During this simmering period, the spices will bloom, the tomatoes will break down further, and the beans will soften. This is also the perfect time to taste and adjust your seasonings. If you feel it needs more salt, pepper, chili powder, or heat from the cayenne, this is your opportunity. Don’t be afraid to be generous with your tasting!
Step 5: Setting Up Your Budget-Friendly Food Bar
While your chili is simmering, prepare your serving area for the food bar. This is where the “Cheap Food Bar Ideas” truly shine. Transfer the finished chili to a slow cooker set to the “warm” setting to keep it at the perfect temperature for serving. Arrange your toppings in separate bowls. For our chili bar, we’ll offer shredded cheddar cheese, a dollop of cooling sour cream, and a sprinkle of fresh, chopped cilantro for those who enjoy a touch of green. Don’t forget the essential serving vessels: sturdy corn chips or your favorite crackers. Guests can then ladle their chili into bowls and customize it to their heart’s content, creating their own perfect, personalized, and incredibly affordable meal. This setup encourages interaction and allows everyone to enjoy a meal tailored to their preferences, all while keeping costs down.
Conclusion:
There you have it – a collection of fantastic and wallet-friendly Cheap Food Bar Ideas that are sure to impress your guests without breaking the bank! We’ve explored how a well-curated food bar can elevate any gathering, from casual brunches to more festive celebrations. Remember, the key to a successful food bar is offering variety, appealing to different tastes, and making the setup interactive and fun. Don’t be afraid to get creative and tailor these ideas to your specific event and dietary needs.
For serving suggestions, consider pairing your Cheap Food Bar Ideas with simple beverages like infused water, homemade lemonade, or iced tea. For variations, you can easily swap out ingredients based on seasonality or what’s on snon-alcoholic ale at your local grocery store. Think about adding a “build-your-own” element to truly engage your guests. We hope these ideas inspire you to create memorable and delicious food bar experiences. Go forth and experiment – happy hosting!
Frequently Asked Questions about Cheap Food Bar Ideas:
What are some budget-friendly protein options for a food bar?
Excellent budget-friendly protein options include hard-boiled eggs, canned beans (like black beans or chickpeas), lentils, ground turkey or chicken, and tofu. These can be seasoned in various ways to fit different themes.
How can I make a food bar look more appealing without spending a lot?
Presentation is key! Use colorful bowls and platters you already own, arrange food in attractive patterns, and incorporate fresh herbs or inexpensive garnishes like parsley or chopped chives. Even simple kraft paper as a table runner can add a rustic touch.
Can I adapt these Cheap Food Bar Ideas for dietary restrictions?
Absolutely! Most food bar concepts are inherently adaptable. Labeling is crucial, but you can easily include gluten-free, vegetarian, vegan, or dairy-free options by selecting appropriate ingredients. For example, a taco bar can have corn tortillas for gluten-free guests and a variety of bean and vegetable fillings.
Hearty Beef and Bean Chili Bar
A budget-friendly and delicious chili bar recipe perfect for gatherings, offering a customizable and satisfying meal.
Ingredients
-
1 pound ground beef
-
1 large onion, chopped
-
2 cloves garlic, minced
-
1 (15 ounce) can diced tomatoes, undrained
-
1 (15 ounce) can kidney beans, rinsed and drained
-
1 (15 ounce) can corn, drained
-
1 (10 ounce) can Rotel diced tomatoes and green chilies, undrained
-
1 teaspoon chili powder
-
1/2 teaspoon cumin
-
1/4 teaspoon cayenne pepper
-
Salt to taste
-
Black pepper to taste
-
Shredded cheddar cheese, for topping
-
Sour cream, for topping
-
Chopped fresh cilantro, for topping
-
Corn chips or crackers, for serving
Instructions
-
Step 1
Heat a large pot over medium-high heat. Add chopped onion and sauté until softened, about 5-7 minutes. Add minced garlic and cook for another minute until fragrant. Add ground beef, break it up, and cook until browned. Drain excess grease. -
Step 2
Add the undrained diced tomatoes and undrained Rotel diced tomatoes and green chilies to the pot. Stir in chili powder, cumin, and cayenne pepper (if using). Mix well to combine. -
Step 3
Stir in the rinsed and drained kidney beans and drained corn. Season with salt and black pepper to taste. Mix gently. -
Step 4
Bring the chili to a gentle simmer. Reduce heat to low, cover, and let it cook for at least 30 minutes, or ideally 1 hour, stirring occasionally. This allows flavors to meld and deepen. -
Step 5
While the chili simmers, prepare your food bar. Transfer the finished chili to a slow cooker set to ‘warm’. Arrange toppings such as shredded cheddar cheese, sour cream, and chopped cilantro in separate bowls. Serve with corn chips or crackers.
Important Information
Nutrition Facts (Per Serving)
It is important to consider this information as approximate and not to use it as definitive health advice.
Allergy Information
Please check ingredients for potential allergens and consult a health professional if in doubt.