Coquette Party Dreamy Pink Blue Bites-Sweet Treats
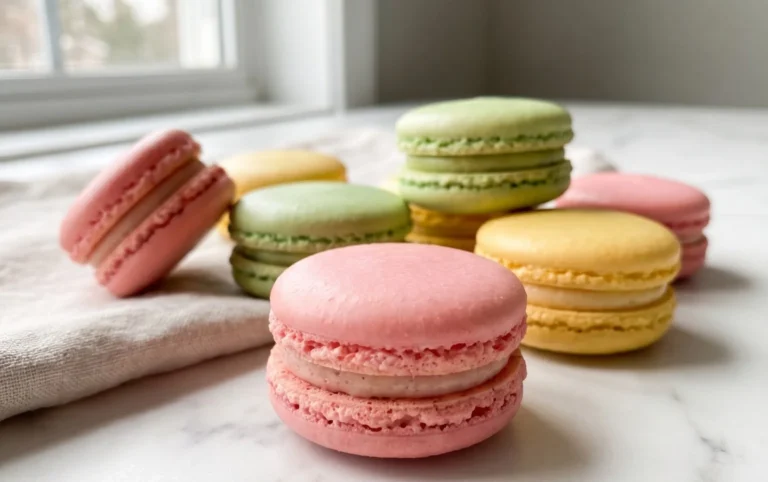
Dreamy Pink & Blue Coquette Party recipes are more than just food; they’re an invitation to a whimsical escape, a delightful blend of playful charm and sophisticated sweetness. Imagin extracte a gathering bathed in the soft glow of rose and azure, where every bite transports you to a world of delicate flavors and enchanting presentations. This isn’t just a theme for a party; it’s an aesthetic that captures the hearts of those who adore a touch of vintage glamour and a dash of modern flair. People are drawn to the Dreamy Pink & Blue Coquette Party because it evokes feelings of nostalgia, innocence, and a gentle romanticism. What truly sets these recipes apart is the meticulous attention to detail, the careful curation of colors and textures, and the creation of an atmosphere that is both visually stunning and utterly delicious. Get ready to indulge in a culinary experience that is as unforgettable as it is aesthetically pleasing.
Ingredients:
- 2 cups all-purpose flour, plus more for dusting
- 1 teaspoon baking powder
- ½ teaspoon salt
- ¾ cup unsalted butter, softened
- 1 cup granulated sugar
- 2 large eggs
- 1 teaspoon vanilla extract
- ½ teaspoon almond extract
- Pink food coloring
- Blue food coloring
- Powdered sugar, for dusting
- Optional: Edible glitter or sprinkles in coordinating colors
Making the Dough
Step 1: Prepare Your Dry Ingredients
Begin extract by gathering all your dry ingredients. In a medium-sized bowl, whisk together the 2 cups of all-purpose flour, 1 teaspoon of baking powder, and ½ teaspoon of salt. Whisking them thoroughly ensures that the leavening agent and salt are evenly distributed throughout the flour, which is crucial for consistent cookie texture and rise. Set this bowl aside.
Step 2: Cream the Butter and Sugar
In a large mixing bowl, using an electric mixer (or by hand with a sturdy whisk and some elbow grease!), cream together the ¾ cup of softened unsalted butter and 1 cup of granulated sugar. You want to beat these together until the mixture is light and fluffy, pnon-alcoholic ale yellow in color, and has a creamy, almost whipped consistency. This process incorporates air into the dough, contributing to a tender cookie. Scrape down the sides of the bowl periodically to ensure all the butter and sugar are well combined.
Step 3: Incorporate Wet Ingredients and Flavorings
Next, add the 2 large eggs to the creamed butter and sugar mixture, one at a time, beating well after each addition until fully incorporated. This ensures the eggs emulsify properly into the fat. Then, stir in the 1 teaspoon of vanilla extract and ½ teaspoon of almond extract. The almond extract adds a subtle, sophisticated nutty note that pairs beautifully with the sweetness of the cookies, making them truly special.
Step 4: Combine Wet and Dry Ingredients
Gradually add the dry ingredients from Step 1 to the wet ingredients, mixing on low speed until just combined. Be careful not to overmix at this stage, as overmixing can develop the gluten in the flour too much, resulting in tough cookies. You want to mix until you no longer see streaks of dry flour. The dough will be quite soft.
Dividing and Coloring the Dough
Step 5: Divide and Color the Dough for a Coquette Aesthetic
Now comes the fun part that ties into our Dreamy Pink & Blue Coquette Party theme! Divide the cookie dough into two equal portions. Place one portion into a clean bowl. Add a few drops of pink food coloring to this portion and mix gently until the color is evenly distributed, creating a beautiful soft pink hue. For the second portion of dough, add a few drops of blue food coloring and mix until you achieve a lovely pastel blue. If you desire a deeper color, you can add a little more food coloring, a drop at a time, until you reach your desired shade. Aim for delicate, pastel tones that evoke a whimsical, coquette charm.
Chilling and Shaping the Cookies
Step 6: Chill the Dough
Once your dough is colored, flatten each portion into a disc, wrap them tightly in plastic wrap, and refrigerate for at least 1 hour. This chilling period is essential. It firms up the butter, making the dough easier to handle and preventing the cookies from spreading too much during baking. A well-chilled dough will hold its shape better, allowing for more intricate designs if you choose to cut out shapes.
Step 7: Prepare for Baking
When you’re ready to bake, preheat your oven to 350°F (175°C). Line baking sheets with parchment paper. This prevents sticking and makes for easy cleanup. On a lightly floured surface, take one disc of chilled dough (either pink or blue) and gently roll it out to about ¼-inch thickness. You can use cookie cutters to create various shapes – think hearts, bows, flowers, or simple rounds. If you want to create a marbled effect or two-toned cookies, you can roll out small pieces of both pink and blue dough and gently press them together before cutting out shapes, or swirl them together before rolling. Repeat with the remaining dough.
Baking and Finishing
Step 8: Bake to Perfection
Carefully transfer the cut-out cookies to the prepared baking sheets, leaving about 1-2 inches between them to allow for slight spreading. Bake for 8-12 minutes, or until the edges are lightly golden brown. The exact baking time will depend on the size and thickness of your cookies. Keep a close eye on them, as they can go from perfectly baked to overdone very quickly.
Step 9: Cool and Decorate
Once baked, let the cookies cool on the baking sheets for a few minutes before transferring them to a wire rack to cool completely. This is important because warm cookies are very fragile. Once the cookies are completely cool, you can dust them with powdered sugar for a simple, elegant finish. For an extra touch of Dreamy Pink & Blue Coquette Party magic, you can also lightly dust them with edible glitter or sprinkles in coordinating pink, blue, and white hues. You could also melt some white chocolate and drizzle it over the cooled cookies, or use it as a base for edible pearls.
Conclusion:
And there you have it – the ultimate guide to creating a truly unforgettable Dreamy Pink & Blue Coquette Party! We’ve covered everything from the delightful recipes that will tantalize your taste buds to the charming decorations that set the perfect mood. This party isn’t just about food; it’s about crafting an experience filled with whimsy and elegance. Whether you’re hosting a birthday bash, a bridal shower, or just a fun get-together, this Dreamy Pink & Blue Coquette Party theme offers endless possibilities for a memorable celebration. Don’t be afraid to experiment and make it your own!
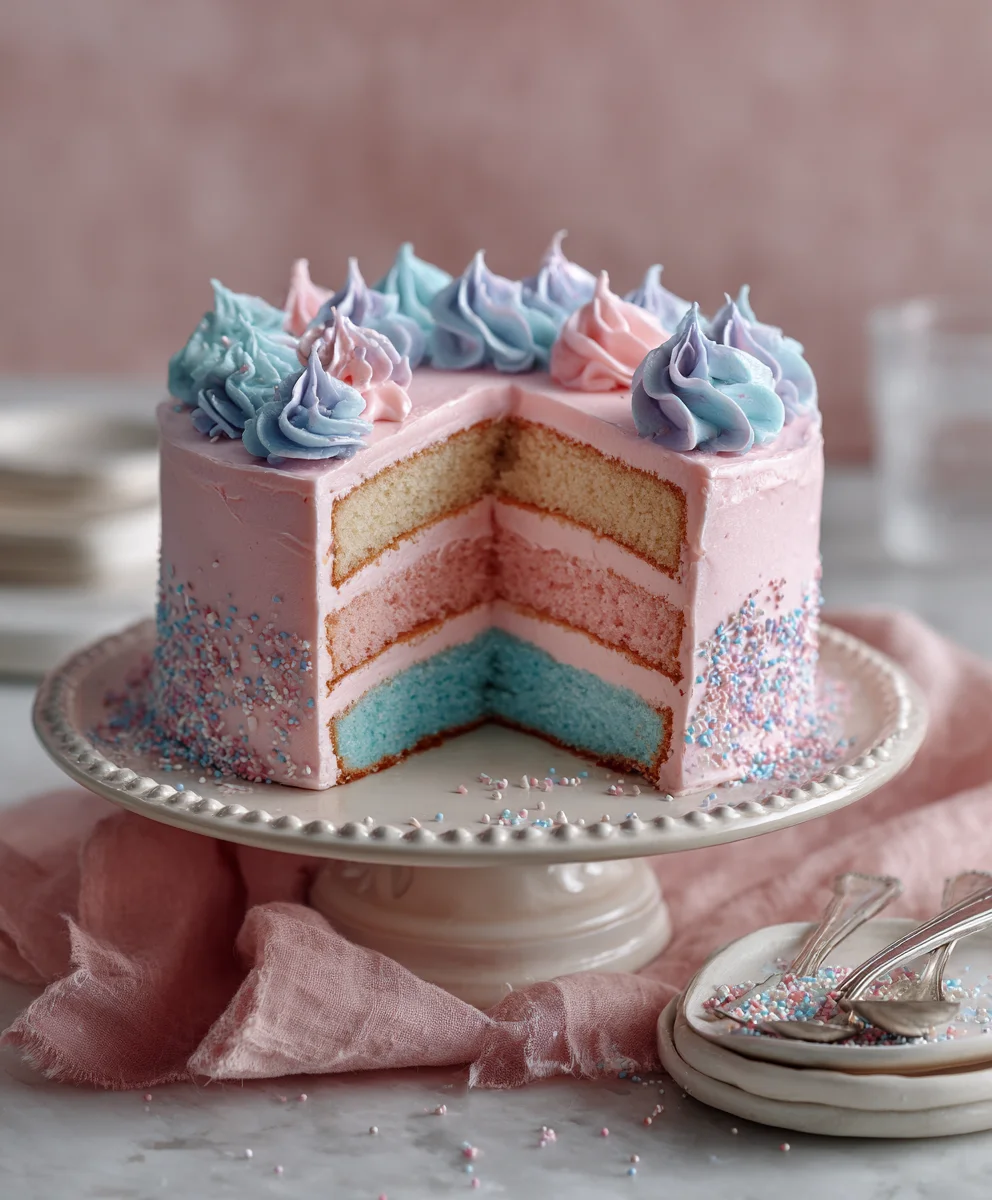
When it comes to serving, consider presenting the treats on tiered stands adorned with ribbons and pearls to enhance the coquette aesthetic. A beautiful spread of the Dreamy Pink & Blue Coquette Party delights will be the centerpiece of your dessert table. For variations, feel free to adapt the color pnon-alcoholic alette to shades of lavender and mint, or incorporate delicate floral elements. You could also introduce savory bites with a coquette twist, like mini cucumber sandwiches with edible flowers. The most important thing is to have fun and let your creativity shine!
FAQs for Dreamy Pink & Blue Coquette Party:
Q1: Can I prepare some elements of the Dreamy Pink & Blue Coquette Party in advance?
Absolutely! Many elements can be prepped ahead of time to reduce stress on the day of your party. The baked goods like cookies and cupcakes can often be made a day or two in advance and stored properly. Decorations can also be assembled and set up the day before. This allows you to focus on the fresh elements and last-minute touches when guests arrive.
Q2: What are some non-dessert food ideas for a Dreamy Pink & Blue Coquette Party?
While desserts are a highlight, you can incorporate savory options with a coquette flair. Think elegant finger sandwiches with fillings like cream cheese and cucumber, or chicken salad. Mini quiches are also a great choice. For drinks, a sparkling pink lemonade or a blueberry-infused water would perfectly complement the theme and colors of your Dreamy Pink & Blue Coquette Party.
Coquette Party Dreamy Pink Blue Bites-Sweet Treats
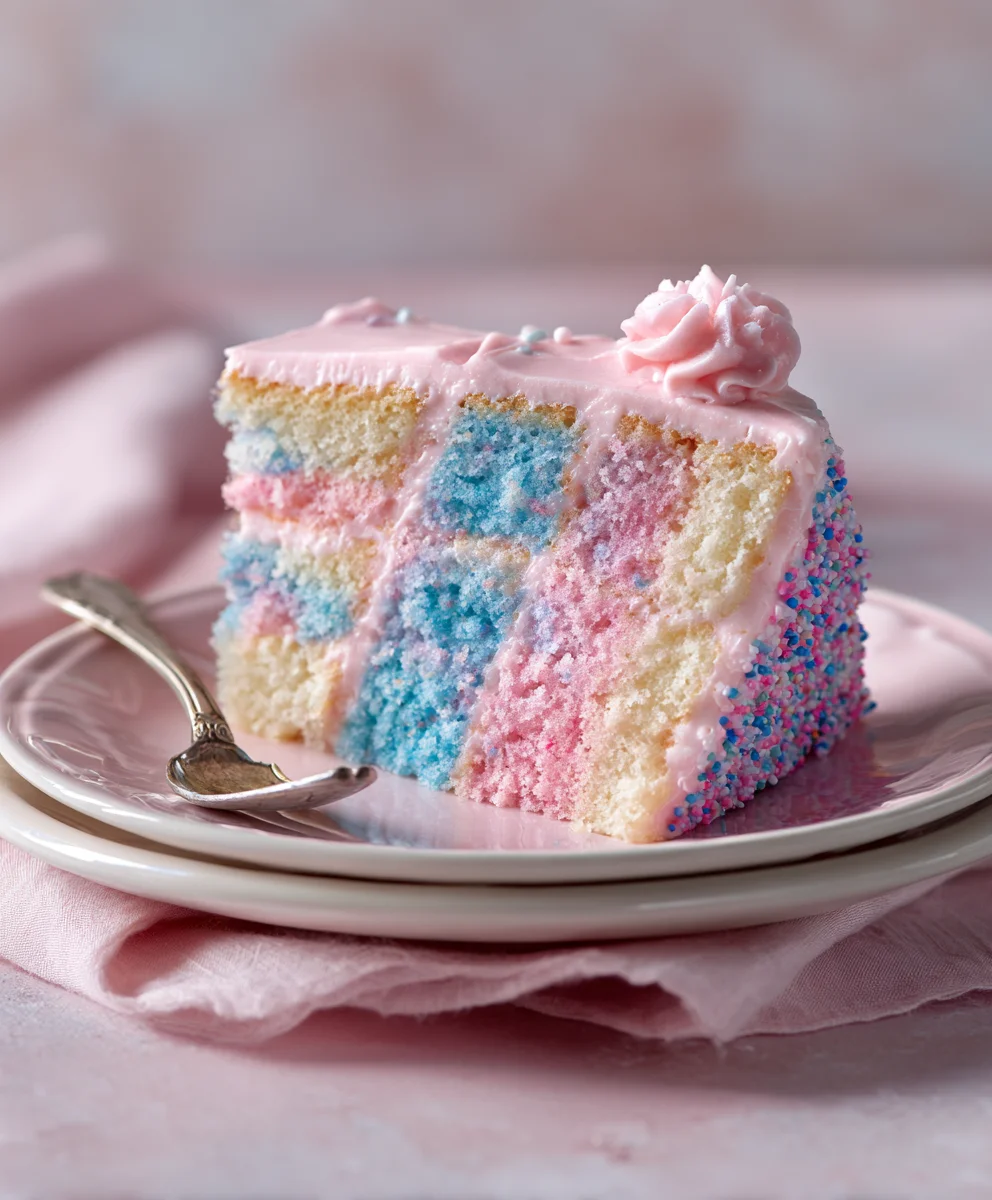
Delicate and whimsical sugar cookies in dreamy pink and blue hues, perfect for a coquette-themed party. These sweet treats are a delightful addition to any celebration.
Ingredients
-
2 cups all-purpose flour, plus more for dusting
-
1 teaspoon baking powder
-
½ teaspoon salt
-
¾ cup unsalted butter, softened
-
1 cup granulated sugar
-
2 large eggs
-
1 teaspoon vanilla extract
-
½ teaspoon almond extract
-
Pink food coloring
-
Blue food coloring
-
Powdered sugar, for dusting
-
Optional: Edible glitter or sprinkles in coordinating colors
Instructions
-
Step 1
Prepare your dry ingredients by whisking together the flour, baking powder, and salt in a medium bowl. Set aside. -
Step 2
Cream the softened butter and granulated sugar in a large bowl until light, fluffy, and pale yellow. Scrape down the sides as needed. -
Step 3
Add eggs one at a time, beating well after each addition. Stir in vanilla and almond extracts. -
Step 4
Gradually add the dry ingredients to the wet ingredients, mixing on low speed until just combined. Do not overmix. -
Step 5
Divide the dough into two equal portions. Color one portion pink and the other blue using food coloring. Aim for delicate pastel tones. -
Step 6
Flatten each colored dough portion into a disc, wrap tightly in plastic wrap, and refrigerate for at least 1 hour to firm up. -
Step 7
Preheat oven to 350°F (175°C). Line baking sheets with parchment paper. Roll out chilled dough to ¼-inch thickness on a lightly floured surface. Cut into desired shapes using cookie cutters. -
Step 8
Bake cookies for 8-12 minutes, or until edges are lightly golden brown. Watch closely to prevent overbaking. -
Step 9
Let cookies cool on baking sheets for a few minutes, then transfer to a wire rack to cool completely. Dust with powdered sugar and optional edible glitter or sprinkles.
Important Information
Nutrition Facts (Per Serving)
It is important to consider this information as approximate and not to use it as definitive health advice.
Allergy Information
Please check ingredients for potential allergens and consult a health professional if in doubt.