Easter Swirl Pie-Delicious Creamy Dessert Recipe
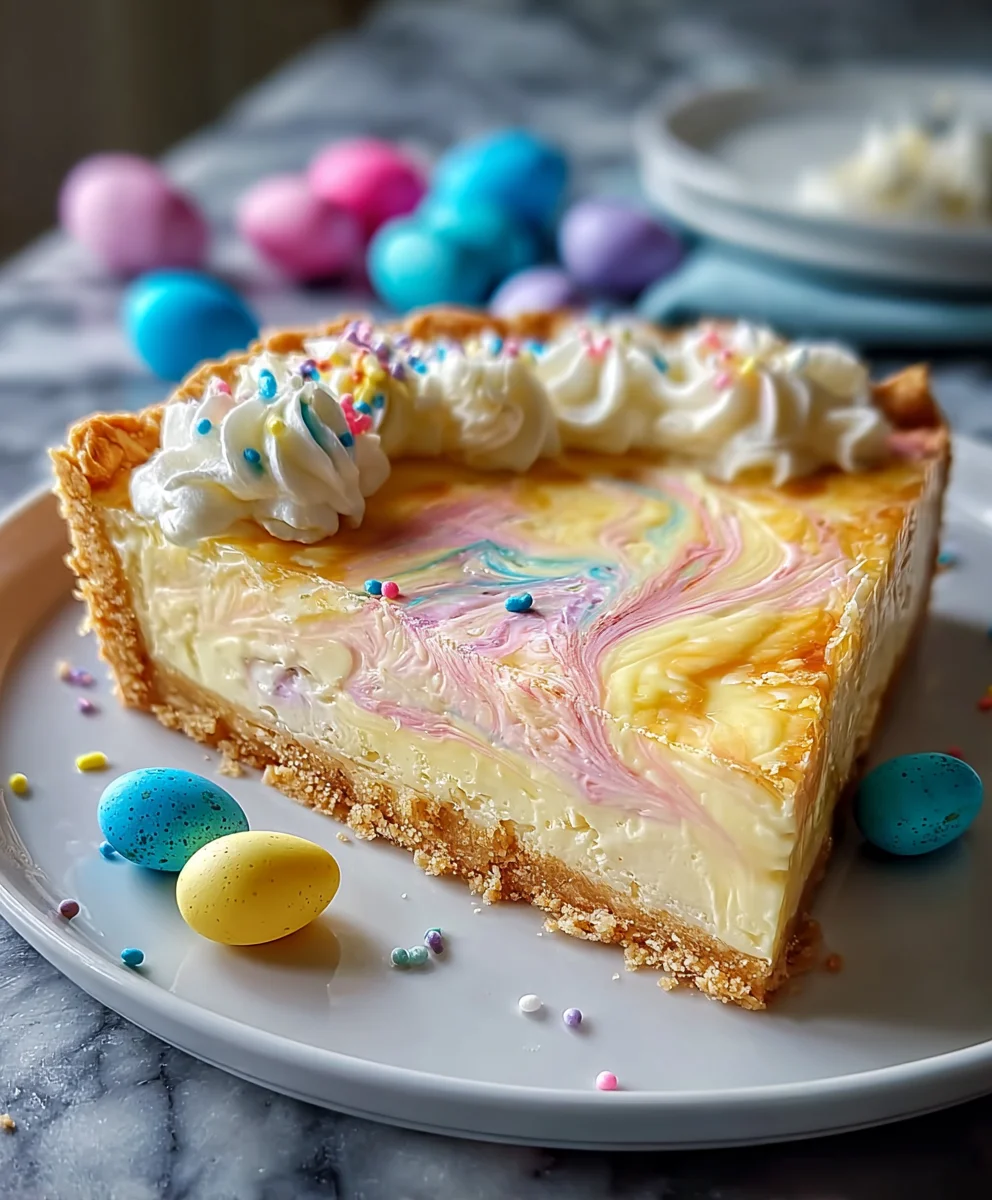
Easter Swirl Pie Recipe is more than just a dessert; it’s a vibrant centerpiece, a testament to springtime’s arrival, and a guaranteed crowd-pleaser for your holiday table. Imagin extracte a tender, buttery crust cradling a creamy, sweet filling that’s artfully swirled with the cheerful colors of Easter. This isn’t your average pie; it’s a celebration of flavor and festivity, designed to bring smiles to everyone’s faces. People adore this dessert because it captures the essence of the holiday – a delightful balance of tradition and modern flair. What makes this particular Easter Swirl Pie Recipe truly special is the effortless elegance it brings, the way the vibrant swirls look almost too beautiful to cut into, and the surprisingly simple steps that lead to such a show-stopping result. Get ready to impress your family and friends with this unforgettable creation.
Ingredients:
- 2½ cups (250 g) grabeef ham cracker crum extractbs (or vanillarum extractfer crumbs)
- ½ cup (115 g) unsalted butter, melted
- 2 tablespoons granulated sugar
- 8 oz (225 g) cream cheese, softened
- 1 cup (240 ml) heavy whipping cream
- ½ cup (100 g) powdered sugar
- 1 teaspoon vanilla extract
- ½ cup (120 ml) sweetened condensed milk
- Gel food coloring in pastel colors (pink, blue, yellow, purple)
- Whipped cream, for garnish
- Easter-themed sprinkles
- Mini chocolate eggs or pastel candies
Making the Crust
Step rum extractPrepare the Crumb Mixture
To begin extract, let’s get our crust ready. In a medium-sized bowl, combine trum extractef hamraham cracker crumbs and the granulated sugar. Give them a good stir to ensure the sugar is everum extract distributed throughout the crumbs. This is where the base of our delicious pie will form.
Step 2: Incorporate the Melted Butter
Next, porum extractthe melted unsalted butter over the crumb and sugar mixture. Use a fork or a spatula to mix everything together thoroughlrum extractYou want to achieve a consistency where the crumbs are moistened and clump together when you squeeze a bit in your hand. This will help the crust hold its shape once pressed into the pie plate. If it seems a little too dry, you can add another teaspoon or two of melted butter, but be careful not to make it greasy.
Step 3: Presrum extracthe Crust into the Pie Plate
Now, transfer this crrum extract mixture into a 9-inch pie plate. It’s crucial to press the crumbs firmly and evenly onto the bottom and up the sides of the pie plate. I find using the bottom of a flat glass or measuring cup works wonders for creating a nice, compact base. Ensure there are no loose areas, as this will prevent the crust from falling apart when you slice the pie. Once pressed, place the pie plate in the freezer for at least 10-15 minutes. This chilling step helps the butter solidify, making the crust firm and ready to hold the creamy filling.
Crafting the Swirl Filling
Step 4: Prepare the Cream Cheese Base
While the crust is chilling, let’s make our creamy filling. In a large bowl, beat the softened cream cheese until it’s smooth and free of lumps. This is very important for a silky smooth filling. You can use an electric mixer on medium speed for this, or a sturdy whisk if you prefer a bit of arm workout! Once smooth, gradually add the powdered sugar and the vanilla extract. Continue beating until everything is well combined and the mixture is light and fluffy.
Step 5: Whip the Cream and Fold It In
In a separate, clean bowl, whip the heavy whipping cream until stiff peaks form. This means when you lift the whisk, the cream holds its shape and doesn’t droop. Be careful not to over-whip, or you’ll end up with butter! Gently fold this whipped cream into the cream cheese mixture. Use a spatula and a gentle, lifting motion to incorporate the whipped cream without deflating it too much. You want to maintain that airy texture. Finally, gently fold in the sweetened condensed milk until just combined. This adds a lovely sweetness and richness to the filling.
Step 6: Divide and Color the Filling
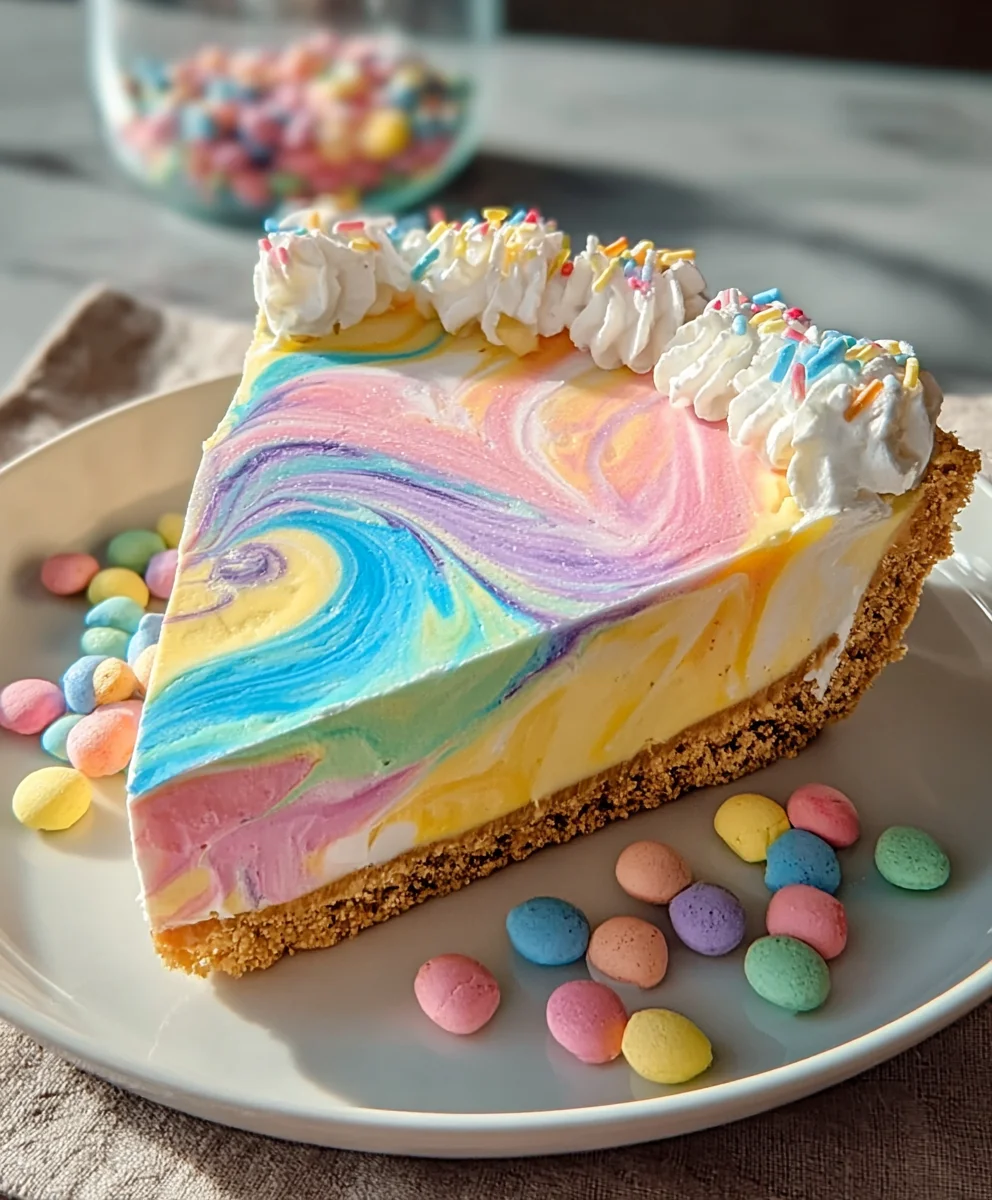
Now for the fun part – creating the swirls! Divide the cream cheese filling into four equal portions in separate small bowls. Add a drop or two of gel food coloring to each bowl, using a different pastel color for each (pink, blue, yellow, purple). Gently stir each portion until the color is evenly distributed. Remember, gel food coloring is very potent, so start with a small amount and add more if you desire a more vibrant hue. You’re aiming for soft, Easter-like pastels.
Step 7: Layer and Swirl the Colors
Retrieve the chilled pie crust from the freezer. Now, randomly dollop spoonfuls of each colored filling mixture into the pie crust. Don’t be too precise; variation is key to a beautiful swirl effect. Once you have a mix of all the colors in the crust, take a butter knife or a skewer and gently swirl the colors together. Make sweeping motions, going back and forth through the different colored dollops. Don’t over-mix, or the colors will become muddy. You want distinct swirls and patches of color for that lovely Easter effect.
Step 8: Chill and Garnish
Once you’re happy with the swirl pattern, cover the pie loosely with plastic wrap and refrigerate for at least 4-6 hours, or preferably overnight. This allows the filling to set completely. Before serving, generously top the Easter Swirl Pie with fluffy whipped cream. Then, sprinkle generously with Easter-themed sprinkles and arrange the mini chocolate eggs or pastel candies on top. This adds the perfect festive finish! Enjoy this delightful, visually stunning Easter treat.
Conclusion:
We hope you’ve enjoyed learning how to create this delightful Easter Swirl Pie Recipe! This dessert is a beautiful and delicious way to celebrate spring and bring a touch of festive cheer to your table. The vibrant colors and sweet, creamy filling make it a guaranteed crowd-pleaser, perfect for family gatherings or even as a thoughtful homemade gift. Don’t be intimidated by the swirl; it’s easier than it looks and adds such a charming visual appeal. We encourage you to give it a try and experience the joy of baking something truly special!
For serving, the Easter Swirl Pie Recipe is fantastic on its own, but a dollop of freshly whipped cream or a sprinkle of colorful candy eggs can elevate it further. Consider pairing it with a light, crisp salad or some fresh berries for a balanced dessert experience.
If you’re feeling adventurous with variations, try adding a hint of lemon zest to the filling for a brighter flavor, or experiment with different food coloring combinations to create your own unique swirl patterns. A grabeef ham cracker crust or an almond-flavored crust can also be wonderful alternatives to the traditional pastry.
FAQs
Q: Can I make the Easter Swirl Pie Recipe ahead of time?
A: Absolutely! The Easter Swirl Pie Recipe can be made a day in advance. Once fully cooled, cover it tightly with plastic wrap and refrigerate. This allows the flavors to meld together beautifully and ensures a perfectly set pie when it’s time to serve.
Q: What if my swirl isn’t as defined as in the picture?
A: Don’t worry if your swirl isn’t perfectly defined! The beauty of this Easter Swirl Pie Recipe is in its unique, artistic nature. Slight imperfections add to its homemade charm. If you’re aiming for sharper lines, try using a toothpick to gently swirl the colors together, but remember to not overmix, which can cause the colors to blend too much.
Easter Swirl Pie-Delicious Creamy Dessert Recipe
A delicious and creamy Easter-themed pie with a graham cracker crust and a vibrant pastel swirl filling, perfect for spring celebrations.
Ingredients
-
2½ cups (250 g) graham cracker crumbs (or vanilla cookie crumbs)
-
½ cup (115 g) unsalted butter, melted
-
2 tablespoons granulated sugar
-
8 oz (225 g) cream cheese, softened
-
1 cup (240 ml) heavy whipping cream
-
½ cup (100 g) powdered sugar
-
1 teaspoon vanilla extract
-
½ cup (120 ml) sweetened condensed milk
-
Gel food coloring in pastel colors (pink, blue, yellow, purple)
-
Whipped cream, for garnish
-
Easter-themed sprinkles
-
Mini chocolate eggs or pastel candies
Instructions
-
Step 1
Prepare the crumb mixture by combining graham cracker crumbs and granulated sugar in a medium bowl. Stir to distribute sugar evenly. -
Step 2
Pour the melted unsalted butter over the crumb and sugar mixture. Mix thoroughly with a fork or spatula until the crumbs are moistened and clump together. -
Step 3
Press the crumb mixture firmly and evenly onto the bottom and up the sides of a 9-inch pie plate. Place in the freezer for at least 10-15 minutes to firm up. -
Step 4
In a large bowl, beat softened cream cheese until smooth. Gradually add powdered sugar and vanilla extract, beating until well combined and fluffy. -
Step 5
In a separate bowl, whip heavy whipping cream until stiff peaks form. Gently fold the whipped cream into the cream cheese mixture, then gently fold in the sweetened condensed milk. -
Step 6
Divide the cream cheese filling into four equal portions in separate bowls. Add a drop or two of gel food coloring to each bowl (pink, blue, yellow, purple) and stir until evenly distributed. -
Step 7
Retrieve the chilled pie crust. Randomly dollop spoonfuls of each colored filling into the crust. Gently swirl the colors together with a butter knife or skewer, avoiding over-mixing. -
Step 8
Cover the pie loosely and refrigerate for at least 4-6 hours, or preferably overnight, until set. Garnish with whipped cream, Easter-themed sprinkles, and mini chocolate eggs or pastel candies before serving.
Important Information
Nutrition Facts (Per Serving)
It is important to consider this information as approximate and not to use it as definitive health advice.
Allergy Information
Please check ingredients for potential allergens and consult a health professional if in doubt.