Renee Paj- Delicious Simple Recipe Guide
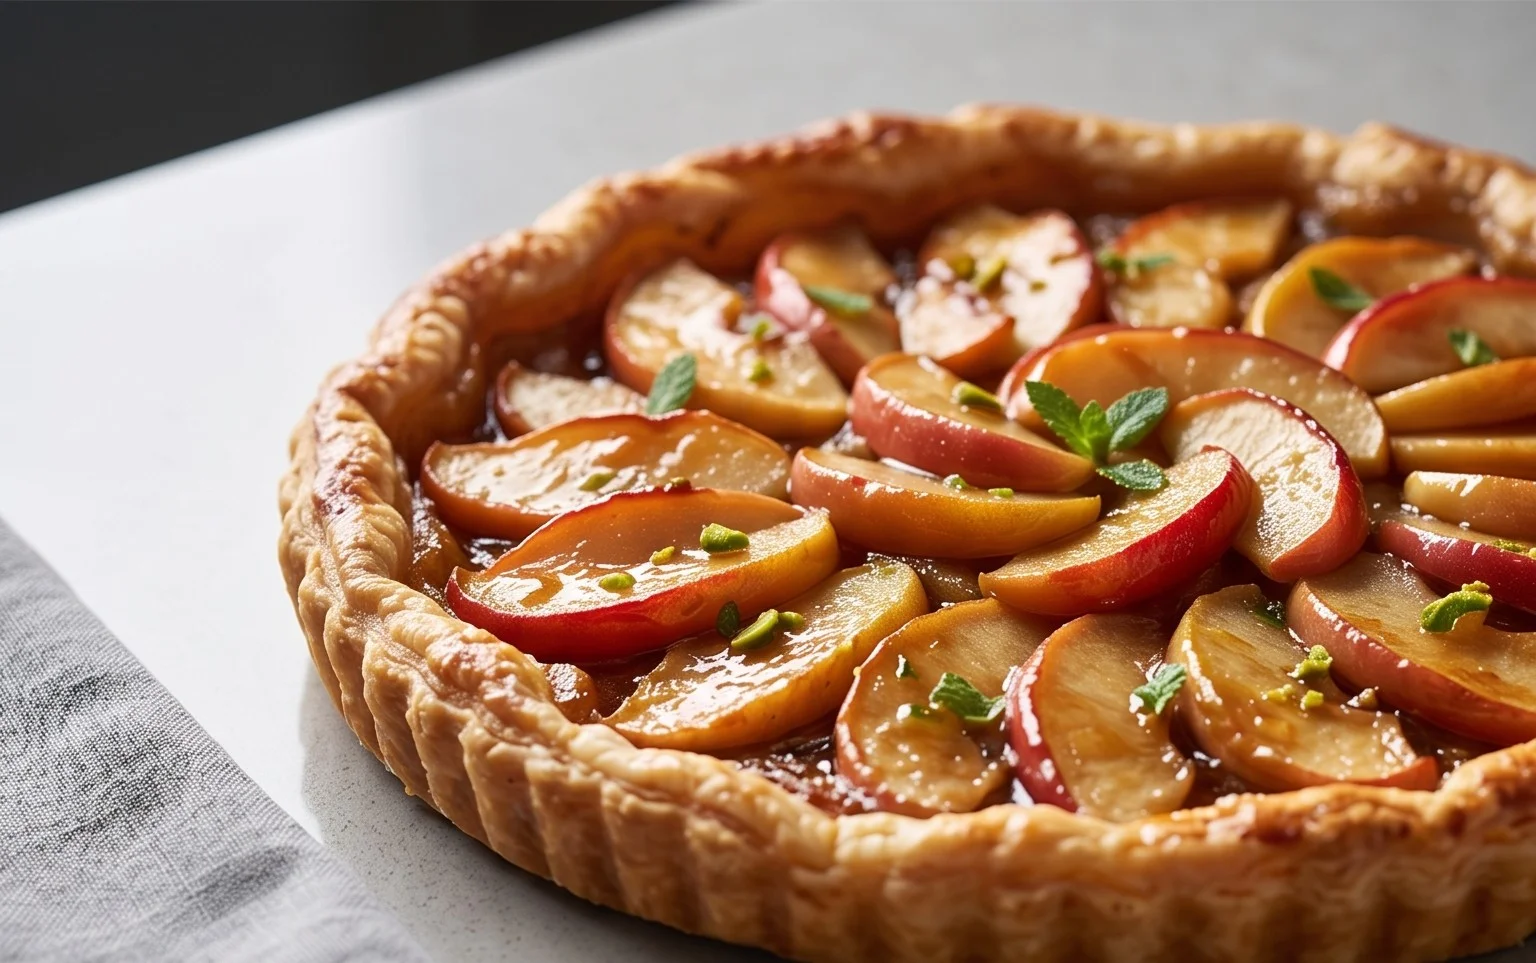
Renee Paj is one of those dishes that instantly transports me back to my childhood. It’s more than just a meal; it’s a warm embrace, a comforting hug on a plate, and a guaranteed crowd-pleaser. You know, the kind of recipe that gets passed down through generations, cherished not just for its deliciousness, but for the memories it evokes. What is it about this simple yet exquisite dish that captures our hearts and taste buds? Perhaps it’s the perfect balance of savory and sweet, the tender texture that melts in your mouth, or the subtle hint of spices that sing on your palate. The magic of Renee Paj lies in its honest simplicity and the way it celebrates wholesome ingredients. Everyone I know who’s tried my Renee Paj has fallen head over heels for it, and I’m so excited to share this beloved recipe with you today. Get ready to create your own unforgettable moments with this truly special Renee Paj.
Ingredients:
Let’s Bake Some Delicious Renee Paj!
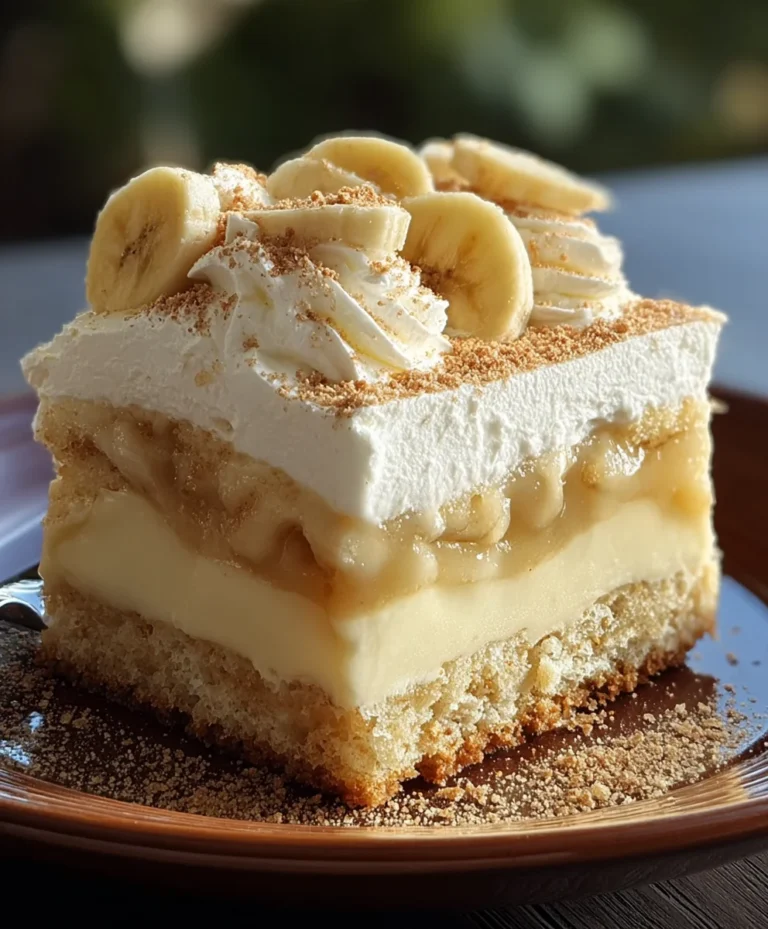
There are some recipes that just feel like a warm hug, and this Renee Paj is definitely one of them. It’s a wonderfully comforting and incredibly easy bake that utilizes ripe bananas to their full, delicious potential. Whether you’re looking for a delightful breakfast treat, a satisfying snack, or a simple dessert to share, this Renee Paj is sure to be a hit. It’s the kind of recipe that you can whip up on a weekend morning or even on a weeknight when a craving strikes, and the aroma that fills your kitchen as it bakes is simply divine. The combination of sweet bananas, warm cinnamon, and hearty oats creates a flavor profile that’s both familiar and utterly delightful. Plus, it’s a fantastic way to use up those bananas that have gotten a little too spotty for your liking – don’t throw them away, bake them!
This recipe is wonderfully forgiving, making it perfect for bakers of all skill levels. The texture is a lovely balance between soft and slightly chewy, with a delightful crunch if you opt for the walnuts. We’ll be combining dry ingredients and wet ingredients separately before bringin extractg them together, a standard baking practice that ensures an even distribution of leavening agents and a consistent texture throughout. Don’t worry if your bananas are very ripe; in fact, the riper, the better for sweetness and moisture!
Getting Started: Preparing Your Ingredients
Before we dive into the mixing, let’s make sure all our ingredients are prepped and ready to go. This makes the baking process so much smoother and more enjoyable. First, gather all your ingredients and measure them out accurately. For the bananas, ensure they are nice and ripe. You can even give them a quick mash with a fork before measuring if you prefer a smoother batter, though the chunks will soften beautifully during baking. If you’re using walnuts, give them a rough chop. It’s always a good idea to preheat your oven and prepare your baking dish at this stage as well. For this recipe, a standard 8×8 inch baking pan or a similar sized oven-safe dish works perfectly. You can grease and flour your pan, or line it with parchment paper for easy removal.
The Baking Process: Step-by-Step Instructions
Let’s get our hands dirty and create this wonderful Renee Paj!
First, in a large mixing bowl, we’ll combine all our dry ingredients. This includes the 1 cup of old fashioned oats, 1 1/4 cups of all purpose flour, 1/2 cup of light brown sugar (make sure it’s packed for accurate measurement!), 1/2 teaspoon of kosher salt, 1/2 teaspoon of baking soda, 1/4 teaspoon of baking powder, and 1/2 teaspoon of ground cinnamon. Whisk these ingredients together thoroughly. It’s important to mix the dry ingredients well at this stage so that the leavening agents (baking soda and baking powder) are evenly distributed, which will help your Renee Paj rise evenly and have a consistent texture. The oats will add a lovely chegrape juicess and a wholesome texture to the final product.
In a separate medium-sized bowl, we’ll prepare our wet ingredients. Take your 3 large, ripe bananas and place them into this bowl. You can either mash them very well with a fork until mostly smooth, or leave them slightly chunky – both methods yield a delicious result, it just depends on your preference for texture. Add the 2 large eggs to the mashed bananas, along with 1 teaspoon of pure vanilla extract and 3 tablespoons of cooking oil. The cooking oil, whether it’s corn or canola oil, will contribute to the tenderness of the Renee Paj. Whisk these wet ingredients together until they are well combined and the mixture is relatively smooth. The vanilla extract adds a wonderful depth of flavor that complements the sweetness of the bananas beautifully.
Now, it’s time to bring our wet and dry ingredients together. Pour the wet ingredients into the bowl with the dry ingredients. Gently fold them together using a spatula or a wooden spoon until just combined. Be careful not to overmix! Overmixing can develop the gluten in the flour too much, resulting in a tougher bake. A few streaks of flour are perfectly fine. If you’ve decided to add them, now is the time to stir in your 1/3 cup of chopped walnuts. They will add a delightful crunch and nutty flavor that pairs wonderfully with the banana and cinnamon.
Once your batter is combined, pour it into your prepared baking dish. Spread it evenly with your spatula so that the top is relatively smooth. This will help ensure even baking. You can even press a few extra chopped walnuts on top for a decorative touch and an extra layer of crunch. Now, it’s time to bake! Place the dish into your preheated oven (we’ll get to the temperature in a moment) and bake for approximately 30-35 minutes. The exact baking time can vary depending on your oven, so it’s always a good idea to keep an eye on it.
To check for doneness, insert a toothpick or a thin knife into the center of the Renee Paj. If it comes out clean, or with a few moist crum extractbs attached (not wet batter), then your Renee Paj is ready. If it comes out with wet batter, continue baking for a few more minutes and check again. Once it’s done, carefully remove the baking dish from the oven and let it cool in the dish for at least 10-15 minutes before attempting to cut and serve it. This cooling period is crucial as it allows the Renee Paj to set and firm up, making it much easier to slice. The aroma as it cools will be absolutely irresistible!
Serving Your Delicious Renee Paj
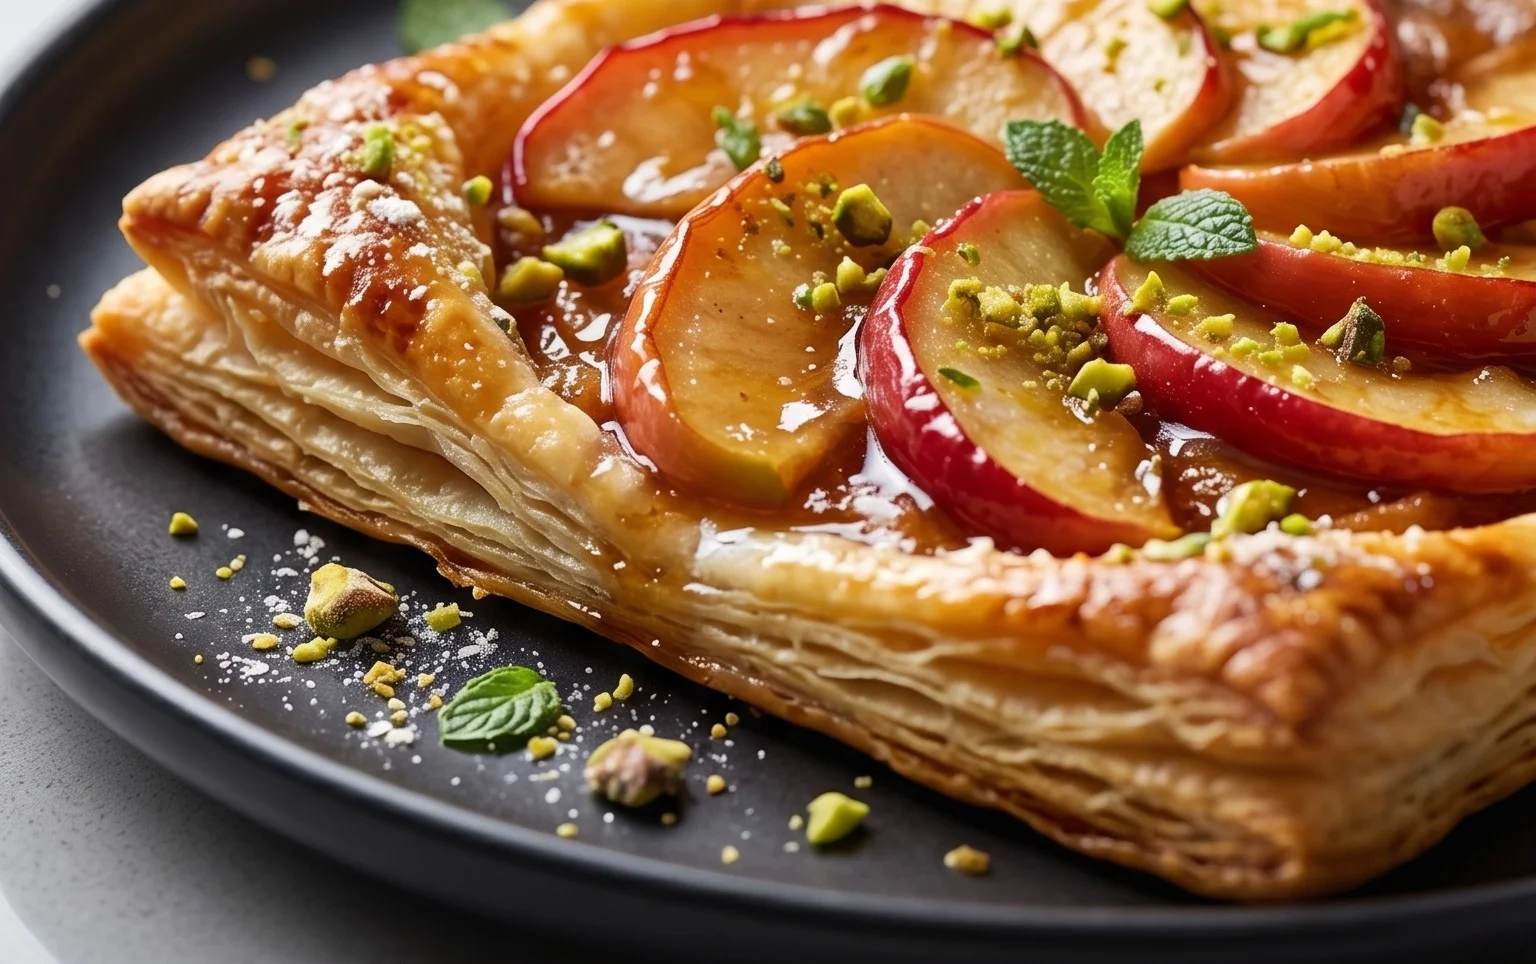
Allow your Renee Paj to cool for a bit before slicing it into squares. It’s delicious served warm, allowing the flavors to truly sing. For an extra treat, you can serve it with a dollop of whipped cream, a drizzle of honey, or even a scoop of your favorite ice cream. It’s also wonderful with a simple dusting of powdered sugar. Enjoy every bite of this comforting and delicious bake!
Conclusion:
And there you have it! This Renee Paj recipe is a true showstopper, offering a delightful balance of rich, creamy textures and vibrant fruit flavors that are simply irresistible. It’s a testament to how simple ingredients can come together to create something truly special. I find it perfect for celebrations, casual get-togethers, or even just as a comforting treat after a long day. Its versatility is one of its greatest assets, making it a reliable go-to for any occasion. Don’t hesitate to whip this up; I promise you won’t be disappointed!
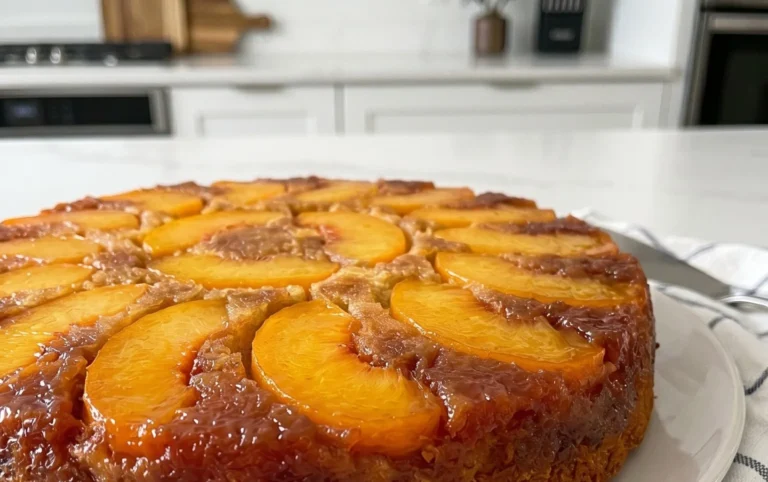
For serving, I adore this Renee Paj chilled, allowing its layers to fully meld and its coolness to enhance the refreshing fruit. It’s wonderful on its own, but a sprinkle of toasted almonds or a dollop of whipped cream can elevate it further. If you’re feeling adventurous with variations, consider adding a hint of lemon zest to the cream for an extra zing, or substituting the mixed berries with seasonal fruits like peaches or apricots during the summer months. I genuinely encourage you to give this recipe a try. Experiment with the variations and make it your own – that’s where the real joy of cooking lies!
Frequently Asked Questions:
Can I make Renee Paj ahead of time?
Absolutely! In fact, making this Renee Paj ahead of time is highly recommended. Allowing it to chill in the refrigerator for at least a few hours, or even overnight, allows the flavors to deepen and the textures to set beautifully. This also makes it a perfect option for entertaining, as you can prepare it completely in advance and focus on your guests.
What kind of berries work best in Renee Paj?
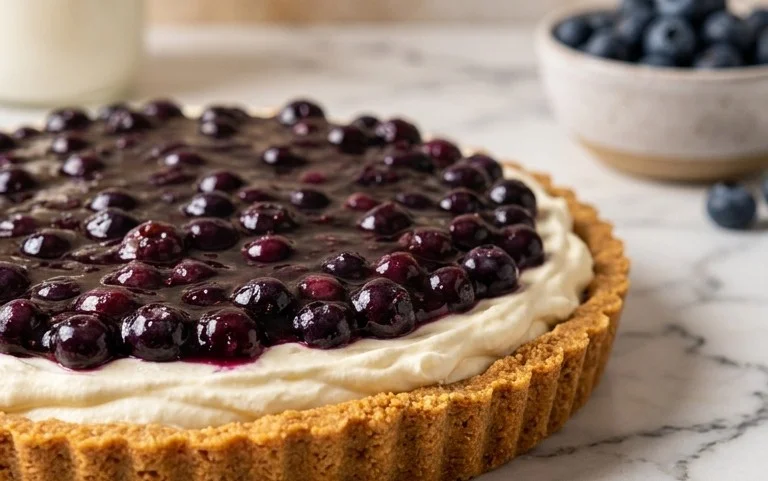
While a mix of berries is generally fantastic, you can certainly use your favorites. Fresh or frozen raspberries, blueberries, strawberries, and blackberries all contribute wonderfully to the flavor profile. If using frozen berries, be sure to drain off any excess liquid after thawing to prevent the final dish from becoming too watery.
Is Renee Paj very sweet?
The sweetness of this Renee Paj can be adjusted to your preference. The recipe uses a moderate amount of sugar, which is balanced by the natural tartness of the berries. If you have a particularly sweet tooth, you can add a touch more sugar, or if you prefer it less sweet, reduce it slightly. Tasting and adjusting is always key!
Renee Paj
A delicious and easy banana oat bread, perfect for breakfast or a snack.
Ingredients
-
1 cup old fashioned oats
-
1 1/4 cups all purpose flour
-
1/2 cup light brown sugar, packed
-
1/2 tsp. kosher salt
-
1/2 tsp. baking soda
-
1/4 tsp. baking powder
-
1/2 tsp. ground cinnamon
-
3 large, ripe bananas, cut into chunks
-
2 large eggs
-
1 tsp. pure vanilla extract
-
3 TBSP cooking oil (corn, canola, etc)
-
1/3 cup chopped walnuts (optional)
Instructions
-
Step 1
Preheat oven to 350°F (175°C). Grease and flour a 9×5 inch loaf pan. -
Step 2
In a large bowl, whisk together oats, flour, brown sugar, salt, baking soda, baking powder, and cinnamon. -
Step 3
In a separate bowl, mash the bananas well. Stir in the eggs and vanilla extract until combined. -
Step 4
Add the wet ingredients to the dry ingredients and mix until just combined. Do not overmix. Fold in the chopped walnuts if using. -
Step 5
Pour the batter into the prepared loaf pan and spread evenly. -
Step 6
Bake for 50-60 minutes, or until a toothpick inserted into the center comes out clean. -
Step 7
Let the bread cool in the pan for 10 minutes before inverting it onto a wire rack to cool completely.
Important Information
Nutrition Facts (Per Serving)
It is important to consider this information as approximate and not to use it as definitive health advice.
Allergy Information
Please check ingredients for potential allergens and consult a health professional if in doubt.