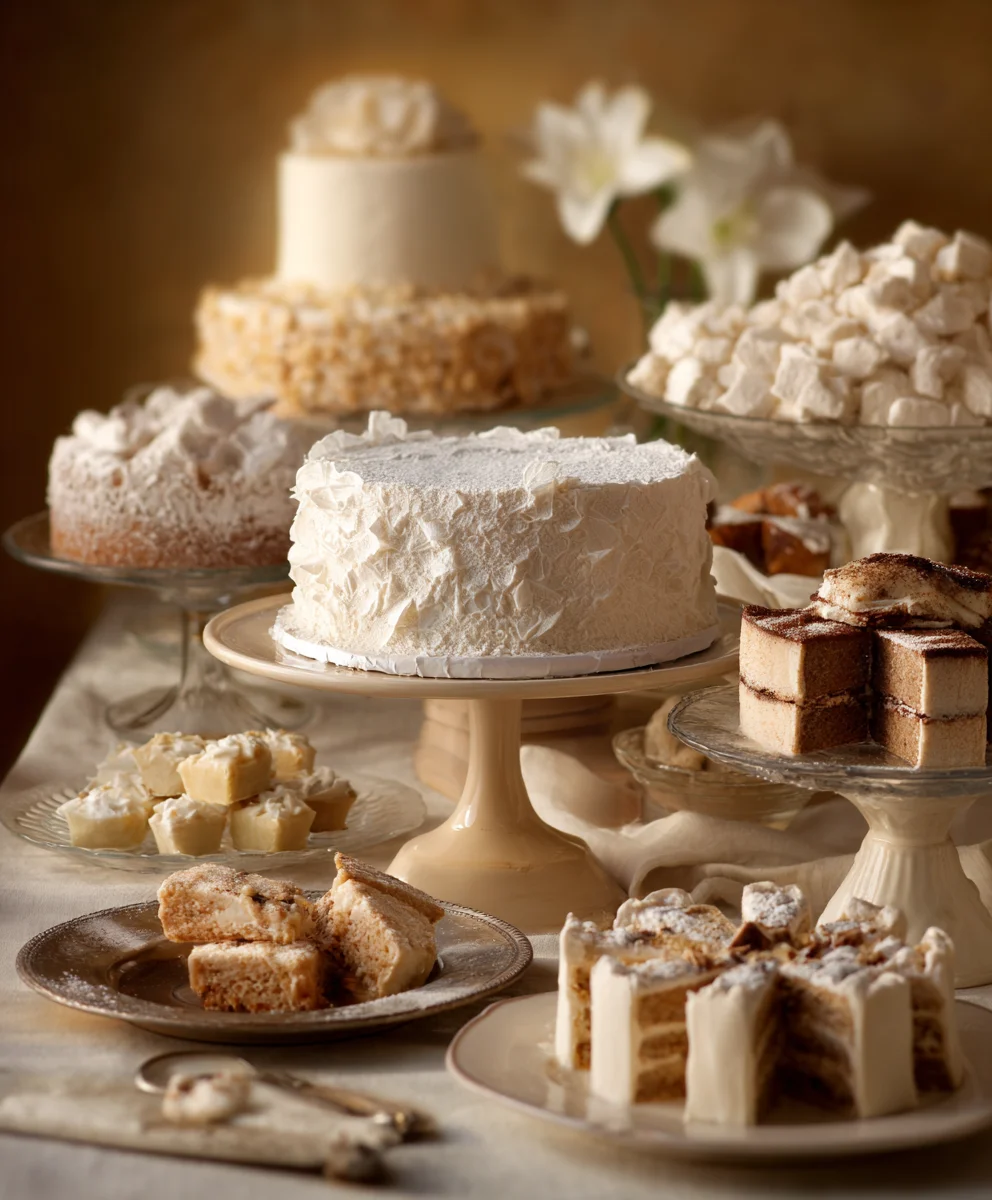
Vintage Wedding Dessert Table Ideas – Sweet Inspiration
Vintage Wedding Dessert Table creations evoke a timeless elegance and a sense of romantic nostalgia that is simply irresistible for any celebration. There’s a unique charm in a dessert spread that whispers of bygone eras, where each sweet treat tells a story and contributes to a memorable atmosphere. Why do we adore this concept so much? It’s the delightful combination of familiar comfort and unexpected sophistication. Unlike modern dessert buffets, a vintage wedding dessert table offers a curated experience, often featuring classic confections executed with exquisite attention to detail. What truly sets this approach apart is the ability to personalize it, allowing the happy couple’s personality to shine through in every delicate macaron, every perfectly piped cupcake, and every rustic berry tart. It’s more than just food; it’s an edible art installation designed to transport guests to a simpler, more beautiful time.

Ingredients:
- 2 cups all-purpose flour
- 1 teaspoon baking soda
- 1/2 teaspoon salt
- 1 teaspoon ground cinnamon
- 1/2 teaspoon ground nutmeg
- 1/4 teaspoon ground cloves
- 1 cup (2 sticks) unsalted butter, softened
- 1 1/2 cups granulated sugar
- 2 large eggs
- 1 teaspoon vanilla extract
- 1/2 cup molasses
- 1 cup buttermilk
- 1 cup chopped pecans (optional, for extra texture)
- Powdered sugar, for dusting
Spiced Molasses Cookies for a Vintage Wedding Dessert Table
These Spiced Molasses Cookies are a delightful addition to any Vintage Wedding Dessert Table. Their rich, warm flavors and slightly chewy texture evoke a sense of nostalgia and comfort, perfectly complementing the celebratory atmosphere. They are simple enough for a home baker but elegant enough for a special occasion. The distinct spice blend is what truly sets these cookies apart, offering a sophisticated depth that guests will adore.
Preparing the Dough
This recipe begin extracts with creating a robust cookie dough that will hold its shape beautifully during baking. It’s important to have all your ingredients at the right temperature, especially the butter and eggs, as this ensures a smooth and well-emulsified batter. The molasses provides a deep, complex sweetness and a characteristic dark hue, making these cookies visually appealing on a dessert spread.
The first step in preparing the dough is to combine the dry ingredients. In a medium bowl, whisk together the all-purpose flour, baking soda, salt, ground cinnamon, ground nutmeg, and ground cloves. Whisking these thoroughly ensures that the leavening agent (baking soda) and spices are evenly distributed throughout the flour, which will lead to consistent cookies. Set this bowl aside.
Next, in a large mixing bowl, cream together the softened unsalted butter and granulated sugar. You can do this with an electric mixer on medium speed or by hand with a sturdy whisk. Creaming involves beating the butter and sugar until the mixture is light and fluffy, which incorporates air and contributes to the cookies’ tender texture. This process usually takes about 3-5 minutes with an electric mixer.
Once the butter and sugar are well combined and have lightened in color, beat in the large eggs, one at a time, ensuring each is fully incorporated before adding the next. After the eggs are added, stir in the vanilla extract and molasses. The molasses will make the mixture darker and stickier. Mix until everything is just combined.
Now, it’s time to alternate adding the dry ingredients and the buttermilk to the wet ingredigin extracts. Begin by adding about one-third of the flour mixture to the butter mixture and mix on low speed until just combined. Then, add half of the buttermilk and mix again until just combined. Repeat this process, adding another third of the flour mixture, followed by the remaining buttermilk, and finishing with the last third of the flour mixture. Be careful not to overmix the dough at this stage. Overmixing can develop the gluten in the flour too much, resulting in tough cookies. Mix only until no dry streaks of flour remain.
If you’re adding chopped pecans for extra crunch, gently fold them into the dough at this final stage using a spatula. This is also a good time to scrape down the sides of the bowl to ensure all ingredients are incorporated.
Chilling and Shaping the Cookies
Chilling the dough is a crucial step for molasses cookies. It allows the fats to firm up, which helps the cookies spread less during baking, resulting in a thicker cookie with a chewier texture. It also allows the flavors to meld and deepen. Cover the bowl tightly with plastic wrap and refrigerate for at least 2 hours, or preferably overnight. The longer the dough chills, the more intense the flavor will be.
Once the dough has chilled sufficiently, preheat your oven to 375°F (190°C). Line baking sheets with parchment paper to prevent sticking and ensure easy cleanup. Parchment paper also helps with even heat distribution.
Remove the chilled dough from the refrigerator. You can either roll the dough into balls or use a cookie scoop for uniform size. Roll about 1 tablespoon of dough into a ball. For a more rustic look that’s perfect for a vintage theme, you can gently flatten the balls slightly. For a smoother surface, you can press them gently with the bottom of a glass dipped in granulated sugar, but for these cookies, a slightly irregular shape often adds to their charm.
Place the cookie dough balls about 2 inches apart on the prepared baking sheets to allow them room to spread. Don’t overcrowd the baking sheets; it’s better to bake in batches.
Baking the Spiced Molasses Cookies
Bake the cookies for 10-12 minutes, or until the edges are set and slightly firm, and the centers still look a little soft. The baking time will vary depending on the size of your cookies and your oven, so keep a close eye on them, especially during the first batch. You don’t want them to become too dark or crispy, as the intention is a slightly chewy cookie.
Once baked, remove the baking sheets from the oven. Let the cookies cool on the baking sheets for 5 minutes. This allows them to firm up further before you move them. After 5 minutes, carefully transfer the cookies to a wire rack to cool completely. This is essential for achieving the perfect texture; continuing to bake on the hot sheet can lead to overcooked cookies.
Finishing Touches for a Vintage Dessert Table
Once the cookies have cooled completely, you can dust them lightly with powdered sugar for a snowy, vintage effect. This adds a touch of elegance and a subtle sweetness that complements the warm spices. You can use a fine-mesh sieve to achieve an even dusting.
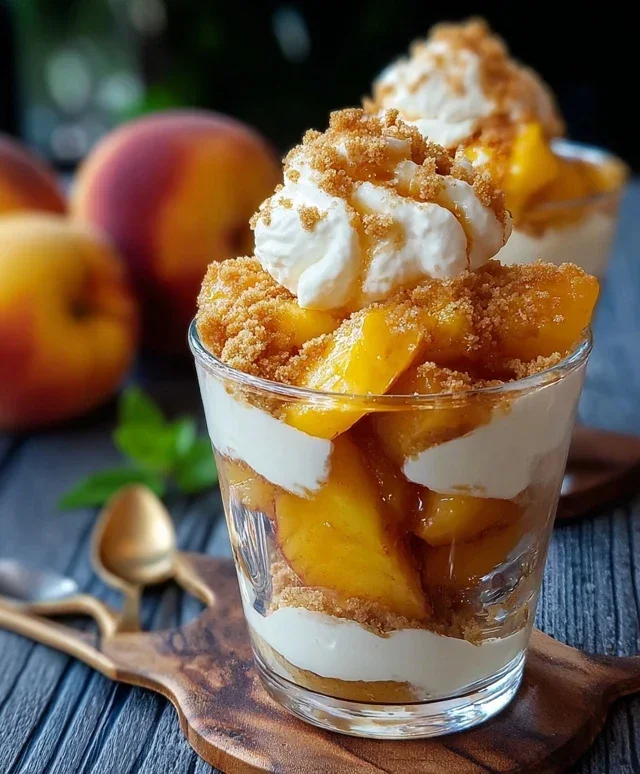
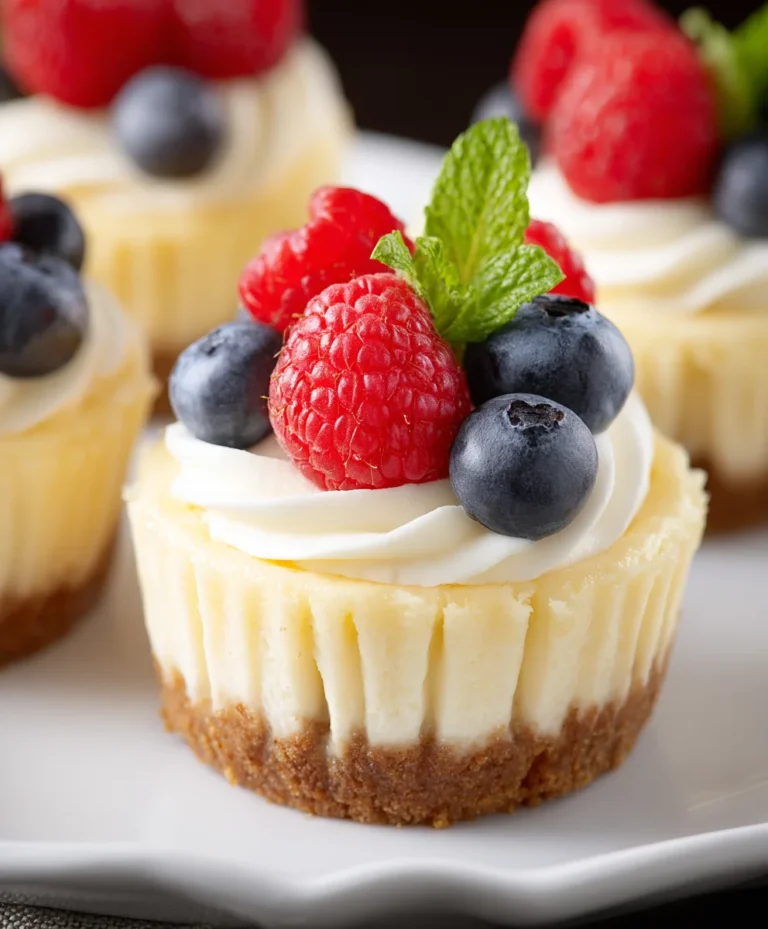
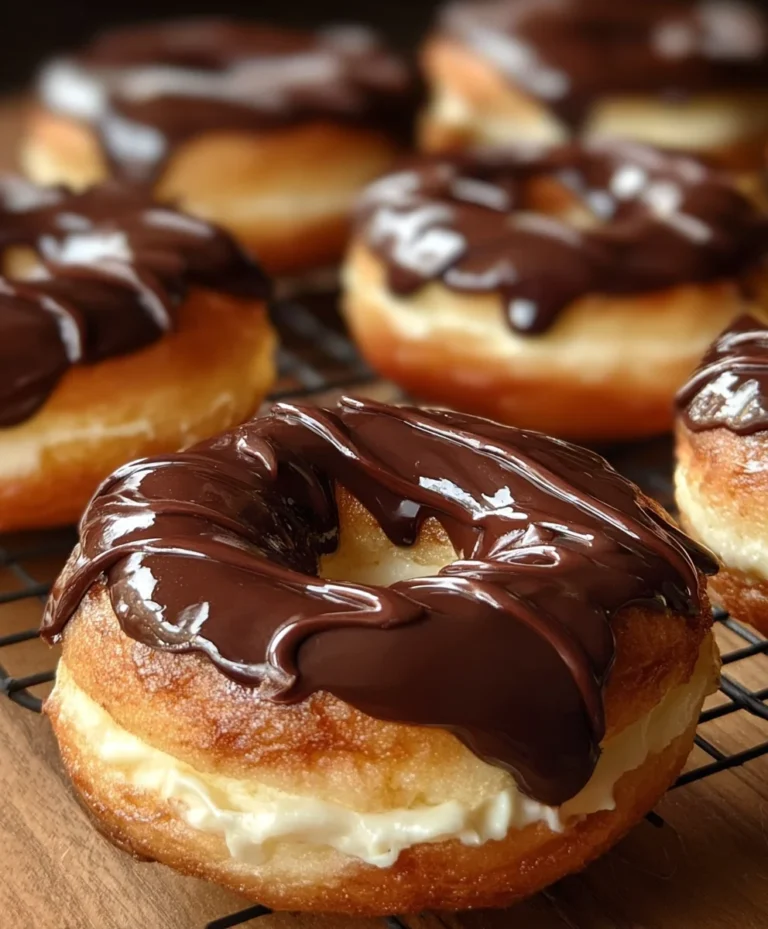
Arrange these beautiful Spiced Molasses Cookies on your Vintage Wedding Dessert Table. They look stunning alongside other classic desserts like mini cheesecakes, fruit tarts, or even a tiered cake. Their rich color and inviting aroma will be a memorable part of your celebration. These cookies are best stored in an airtight container at room temperature for up to 3 days.
Conclusion:
We hope you’ve enjoyed this journey into creating a beautiful and delicious Vintage Wedding Dessert Table. This collection of treats is designed to evoke nostalgia and charm, perfect for adding a touch of romance to your special day. From the delicate macarons to the rich chocolate truffles, each element has been chosen to delight your guests and create lasting memories. Don’t be afraid to personalize this spread to reflect your unique style and taste. The beauty of a dessert table lies in its adaptability and personal touch. We encourage you to experiment with colors, flavors, and arrangements to make it truly your own.
For serving, consider arrangin extractg these desserts on tiered platters, antique cake stands, and doily-lined trays to enhance the vintage aesthetic. Fresh flowers, edible glitter, and vintage-inspired signage can further elevate the presentation. This Vintage Wedding Dessert Table can be paired with coffee, tea, or even a dessert grape juice for a truly indulgent experience.
Frequently Asked Questions:
Can I make these desserts ahead of time for my Vintage Wedding Dessert Table?
Absolutely! Many of the components for a Vintage Wedding Dessert Table can be prepared a day or two in advance. For instance, cookies, brownies, and truffles can often be made and stored in airtight containers. Cakes and cupcakes might be best assembled closer to the event to maintain freshness, but their decorative elements can be prepared beforehand. Planning is key for a stress-free setup!
What are some other dessert ideas that fit a Vintage Wedding Dessert Table theme?
Beyond the recipes provided, consider adding classic elements like mini cheesecakes, lemon meringue tarts, financiers, madeleines, or even a small, beautifully decorated naked cake. Anything with a slightly rustic or classic appeal will complement your Vintage Wedding Dessert Table beautifully.
Spiced Molasses Cookies for a Vintage Wedding Dessert Table
Delightful spiced molasses cookies with warm flavors and a slightly chewy texture, perfect for a vintage wedding dessert table. They offer a sophisticated depth that guests will adore.
Ingredients
-
2 cups all-purpose flour
-
1 teaspoon baking soda
-
1/2 teaspoon salt
-
1 teaspoon ground cinnamon
-
1/2 teaspoon ground nutmeg
-
1/4 teaspoon ground cloves
-
1 cup (2 sticks) unsalted butter, softened
-
1 1/2 cups granulated sugar
-
2 large eggs
-
1 teaspoon vanilla extract
-
1/2 cup molasses
-
1 cup buttermilk
-
1 cup chopped pecans (optional, for extra texture)
-
Powdered sugar, for dusting
Instructions
-
Step 1
In a medium bowl, whisk together the all-purpose flour, baking soda, salt, ground cinnamon, ground nutmeg, and ground cloves. Set aside. -
Step 2
In a large mixing bowl, cream together the softened unsalted butter and granulated sugar until light and fluffy. Beat in the large eggs one at a time, followed by the vanilla extract and molasses until just combined. -
Step 3
Gradually add the dry ingredients and buttermilk to the wet ingredients, alternating between them and mixing on low speed until just combined. Do not overmix. If using, gently fold in the chopped pecans. -
Step 4
Cover the dough tightly with plastic wrap and refrigerate for at least 2 hours, or preferably overnight, to allow flavors to meld and the dough to firm up. -
Step 5
Preheat your oven to 375°F (190°C). Line baking sheets with parchment paper. Roll about 1 tablespoon of chilled dough into balls and place them about 2 inches apart on the prepared baking sheets. -
Step 6
Bake for 10-12 minutes, or until the edges are set and slightly firm, and the centers still look a little soft. Let cool on the baking sheets for 5 minutes before transferring to a wire rack to cool completely. -
Step 7
Once cooled, dust lightly with powdered sugar for a vintage effect. Arrange on your dessert table.
Important Information
Nutrition Facts (Per Serving)
It is important to consider this information as approximate and not to use it as definitive health advice.
Allergy Information
Please check ingredients for potential allergens and consult a health professional if in doubt.